1mm pitch flex cable passthrough

By popular demand, the breakout/passthrough combination boards family now includes a 1mm pitch variant:

This version handles up to 30 signals which seems to be a practical limit of most 1mm FPC connectors. Each signal is numbered and brought to a 0.1 in spacing header for easy connection to your favorite logger/analyzer/scope. Continue reading

Flex cable passthrough breakout- 0.5mm

Introduction

Front side

Front side

Here is a product whose origin lies in the pain and suffering of an actual development project. Imagine you have a shiny new display made somewhere out there in a world that comes with a demo board and some datasheets.  So you take a display, hook it up to your favorite development board and try to follow the documentation. Except nothing works. And yet a a demo next to you works well, but is very tiny, has no test points and not documented. So you poke at the fine pitch flex connector with a scope for a bit, and realize you need a better way to capture what’s going on. Off you go to the lab and cobble together what is essentially a pass-through: two FPC breakout boards back to back, with a 0.1″ header in between.

How it started

Now you can hook up your trusty Saleae Logic analyzer and look at what the demo board is actually sending down as opposed to what the datasheet says it should. This board is exactly that, but made into one neat package. It can handle standard 0.5mm pitch FPC connectors up to 40 pins wide.

Continue reading

Sharp Memory LCD Breakout A2

This is a simple breakout board for Sharp’s Memory LCD display family (LS013B4DN02, LS013B4DN04, LS013B7DH03, LS013B7DH06LS027B7DH01 and LS044Q7DH01). Those are the parts known at the time of the writing, though more models are coming out all the time. So far Sharp’s been keeping very consistent interface and there is a fairly high chance the board will work with all of them. In a table below is a list of displays I am aware of on the US market. Models needing 5V boost are marked accordingly.

The board brings all pins to a 0.1″ header and provides necessary caps and resistors. Revision A2 adds an optional boost converter for those wanting to run 5V display from sub 3.3V supply which is needed on color version, 2.7″ and larger screens and also some of the older ones.The footprints are there, but parts are not populated to save cost on the base version. A version with boost is now also available. This is an open design under CC BY SA license.

Continue reading

First product for sale- Sharp Memory LCD breakout

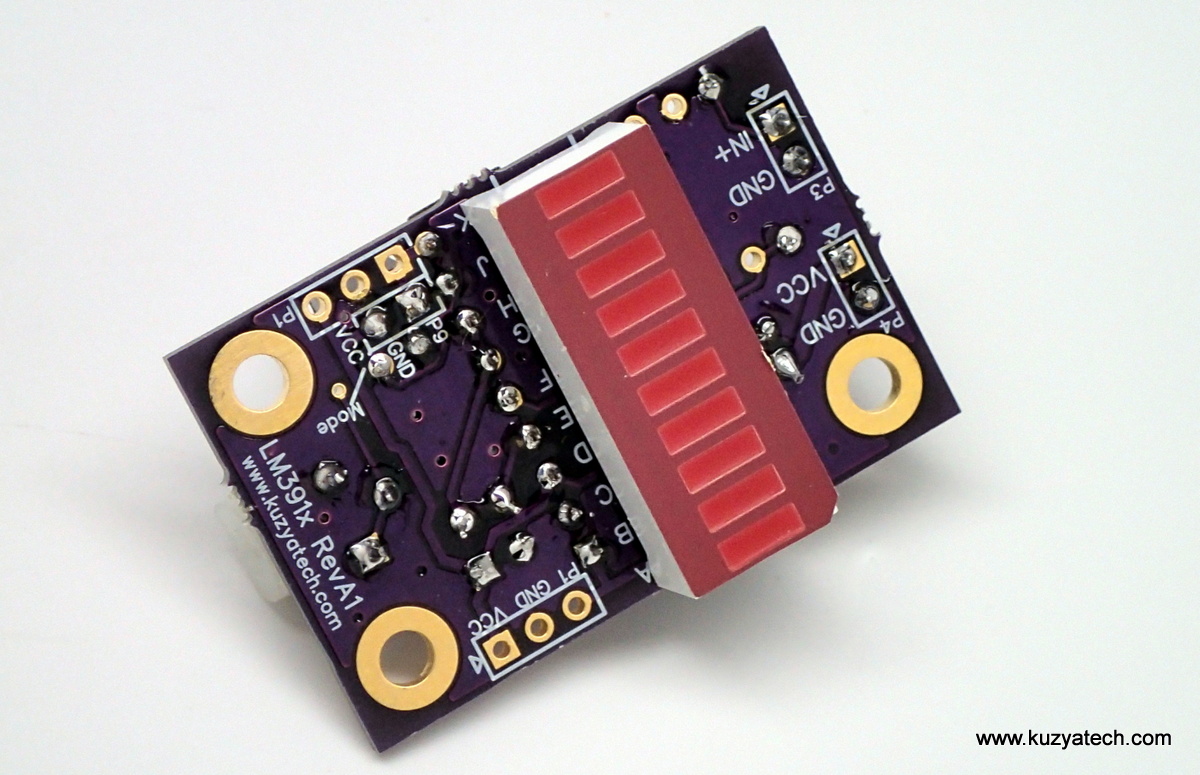
I have a few of the LCD breakout boards available for sale.

Schematic diagram is here .

Note: the header is included but not soldered, to make life easier in case you need to run wires to the board instead. Sharp LCD is not included. You can get the 5V version (LS013B4DN02) from Mouser. Part number is 852-LS013B4DN02. The boards were tested with Arduino Uno driving the LCD directly with 5V IO. That seems to be fine for the display according to the Sharp Datasheet.

First solder the header or wires as needed, then attach the display using a small piece of double sided tape and connect the flex. See my previous post for pictures on how a fully assembled board should look like, and this post for testing details

Connections for Arduino  :

Breakout pin Arduino pin Breakout Pin Arduino  Pin
1 SCLK 13 6 EXTMODE 4
2 SI 11 7 GND GND
3 SCS 12 8 VCC 5V
4 EXTCOMIN 3
5 DISP 2

Shipping is via  USPS First Class Mail. Items in stock usually ship the next business day ARO. Allow a week or so for delivery in the US


Testing Sharp LCD breakout board

Sure, there is not much to test there- two connectors and a few caps. But the idea was to make the breakout so I can play with the display and see what I can design it in. For a while I stared at the datasheet, figuring out what it needs to be driven, then on a whim went to Google for an existing driver library for it. A library by craftycoder came up. It is based on Adafruit’s Arduino GFX library and includes an example that was more than enough to test the display. So I dug out my Arduino Uno and set things up:

Breadboard, Arduino Uno, uCurrent from EEVblog and a DMM.

Continue reading