
It’s been a while since something broke, but that never lasts around here. This time our circa 2005 microwave decided to scare us. It started randomly staying on after the door was opened upon cycle completion. That was especially scary since it was hard to tell what exactly stayed on just by the noise.

Warning: Microwaves have lethal voltages inside, always unplug power when working on them. Proceed at your own risk.
Diagnostic
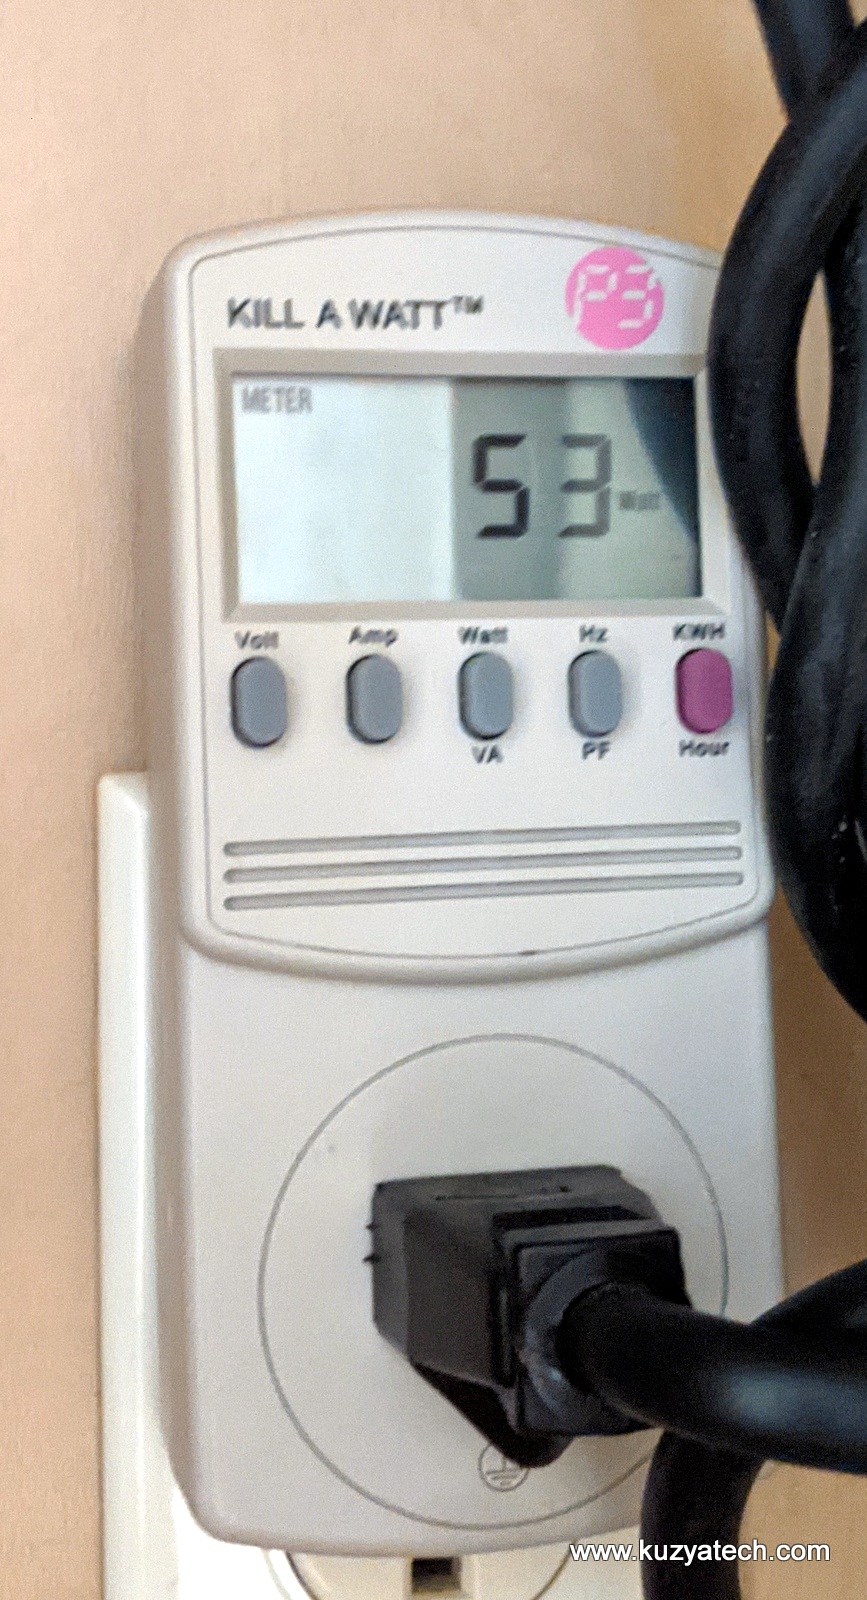
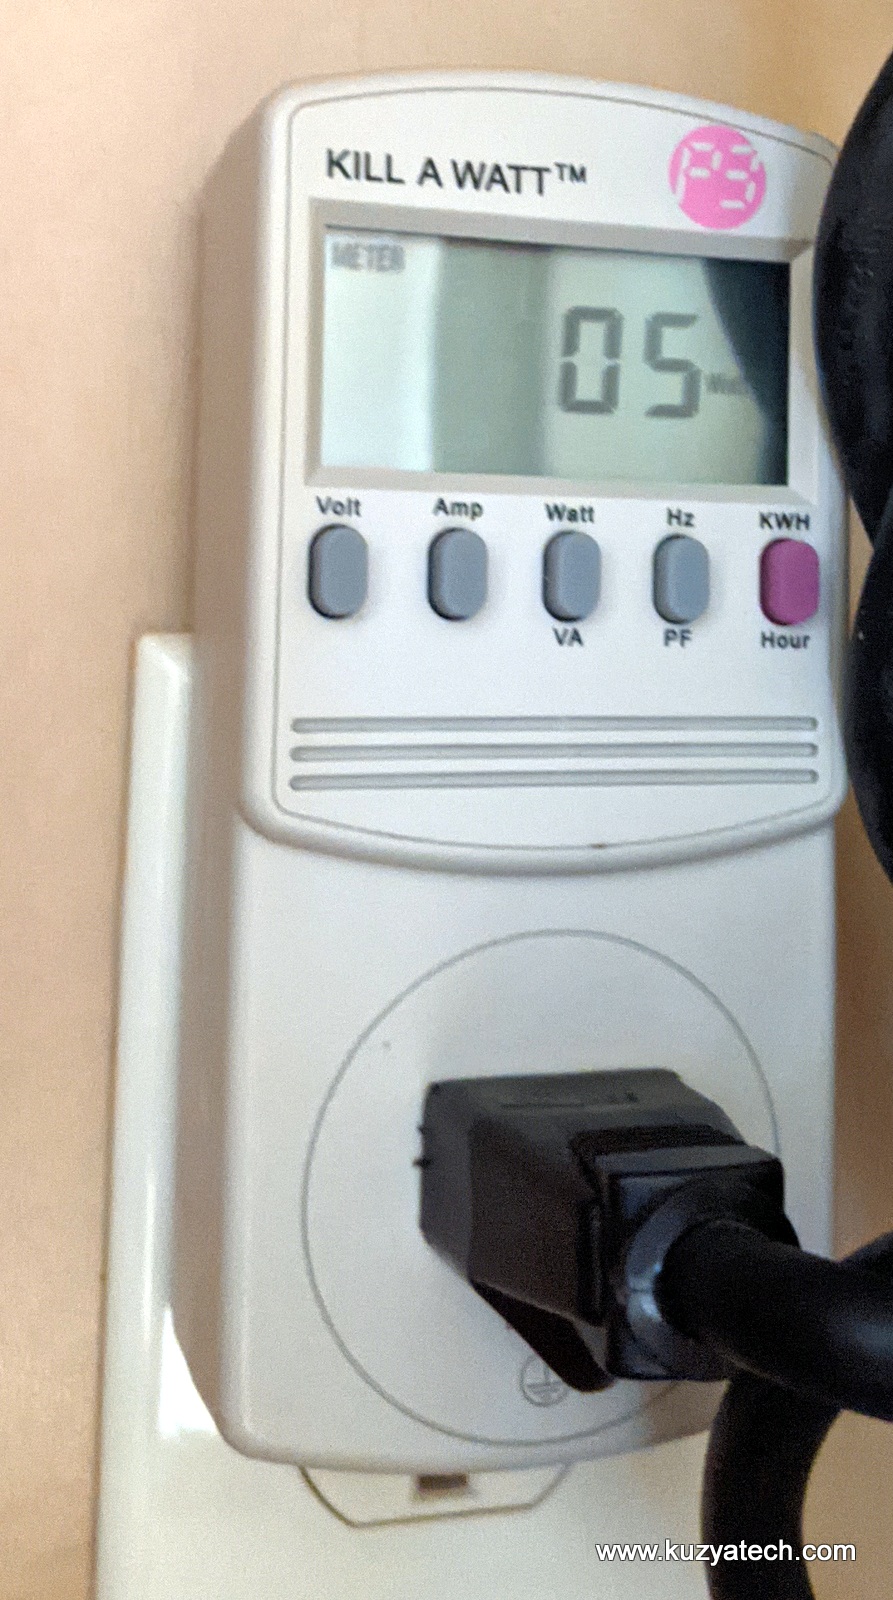
After panic subsided and nothing seems microwaved on me, I plugged the microwave into my trusty Kill-A-Watt and realized we were safe. With door open and something running, only 53-ish watts were being consumed. With microwave idle that dropped to 5W and when actually microwaving it got up to 1.5kW.
Schematic analysis
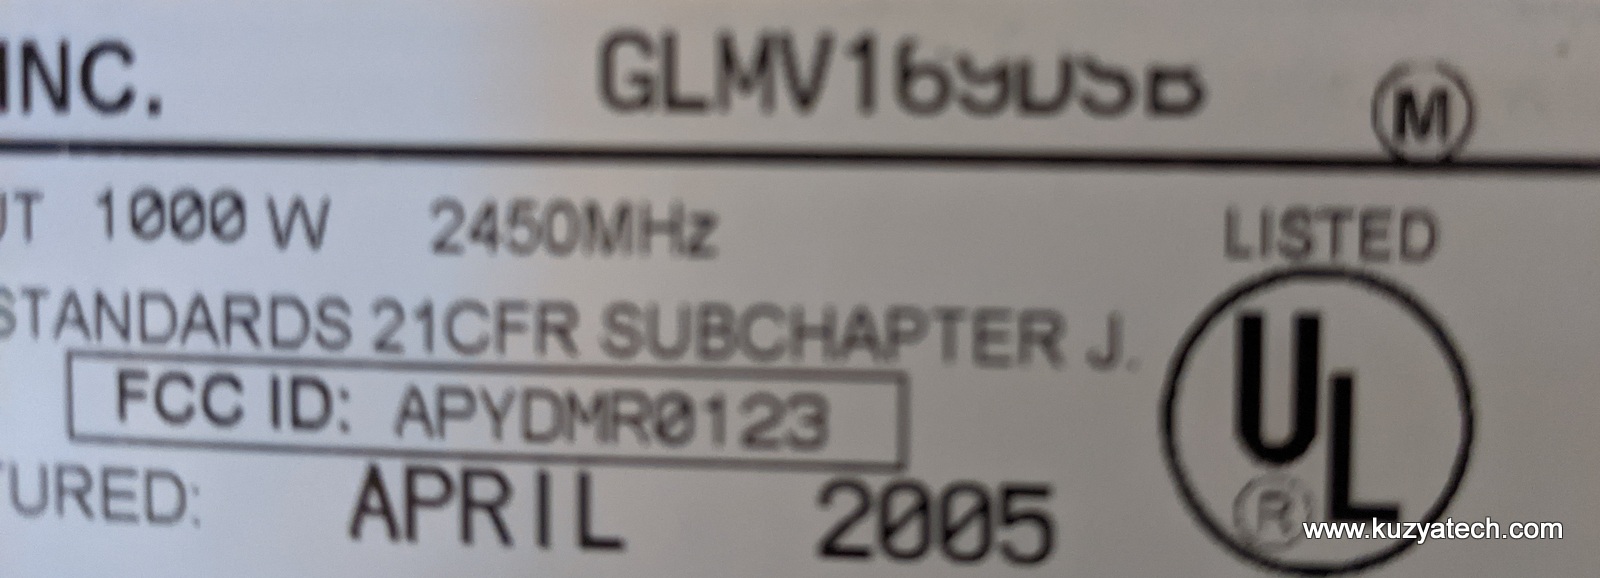
Luckily, schematic is readily available for this unit from Electrolux (GLMV169DSB).
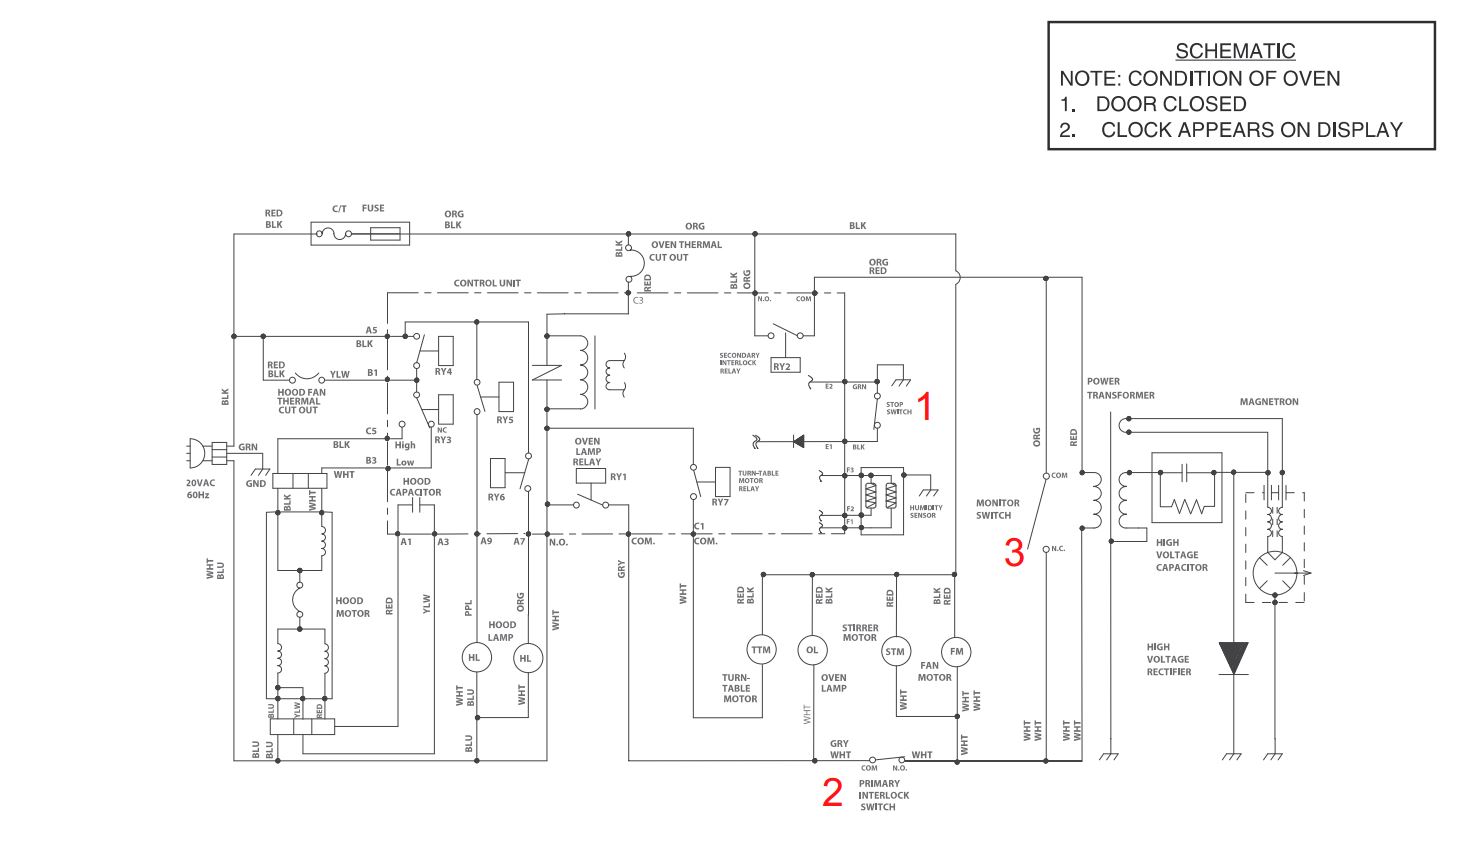
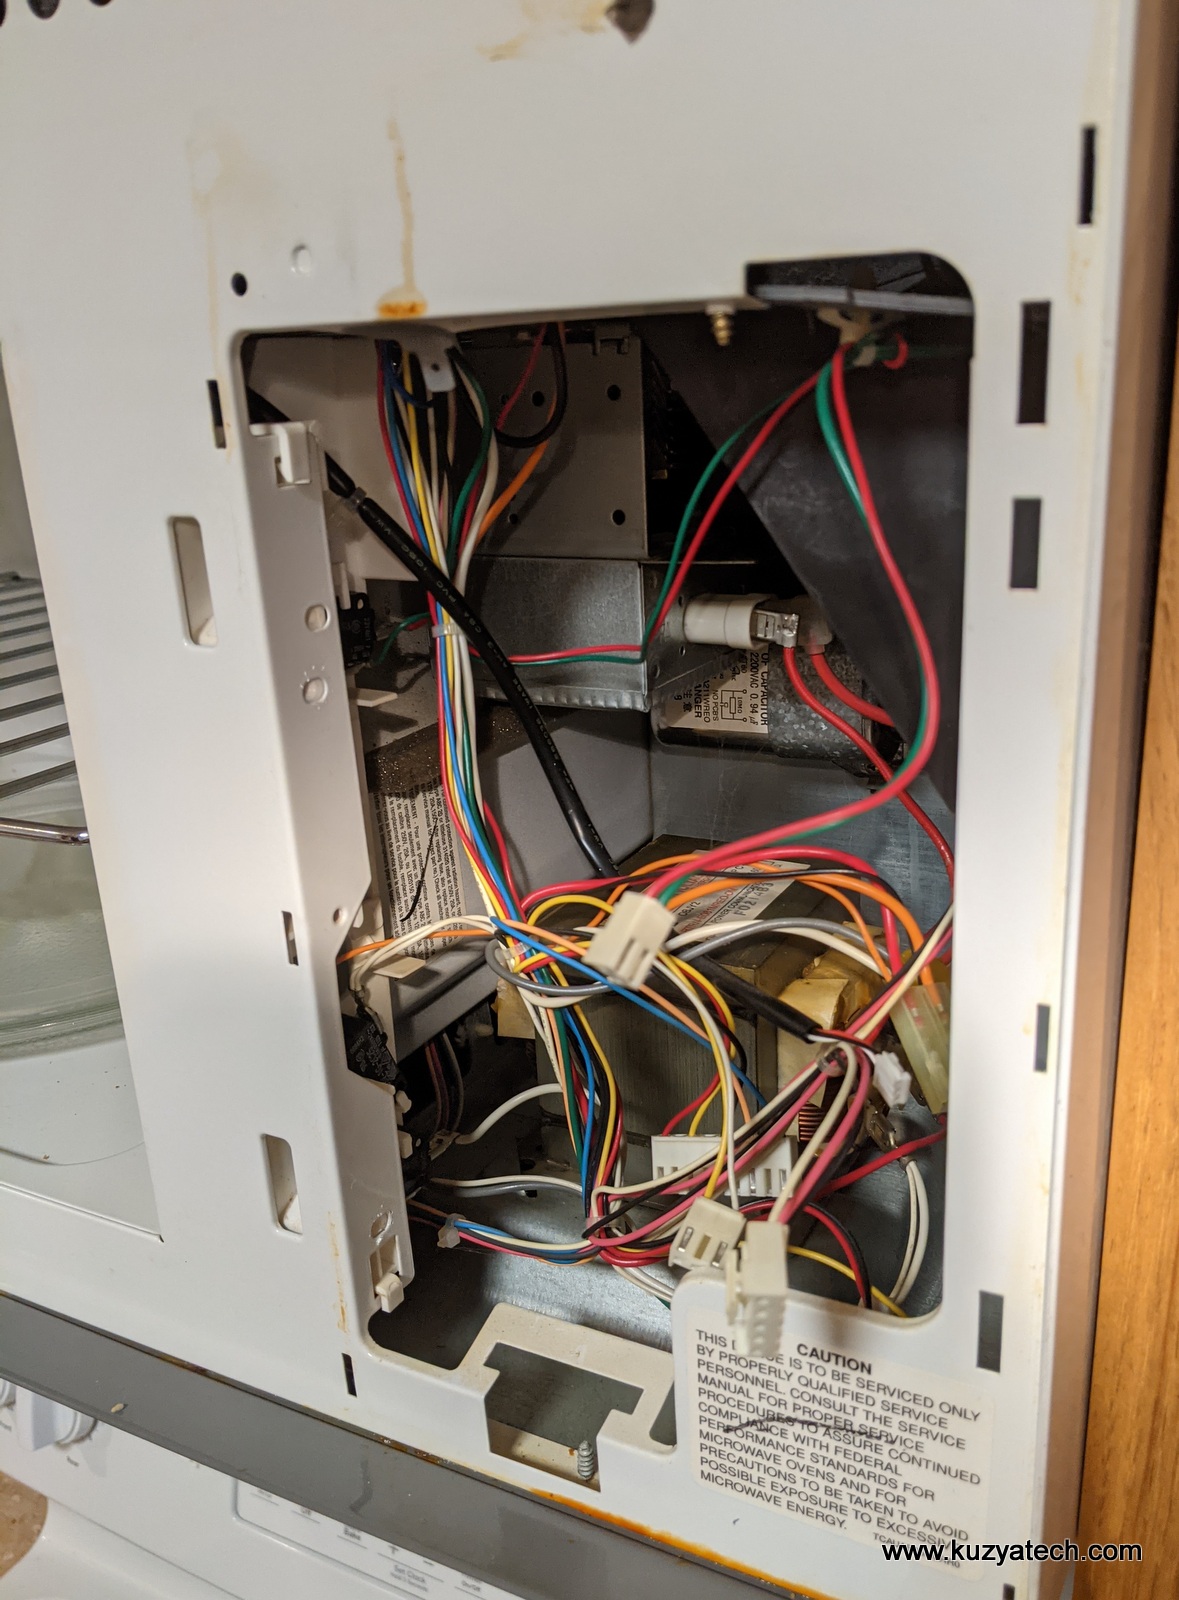
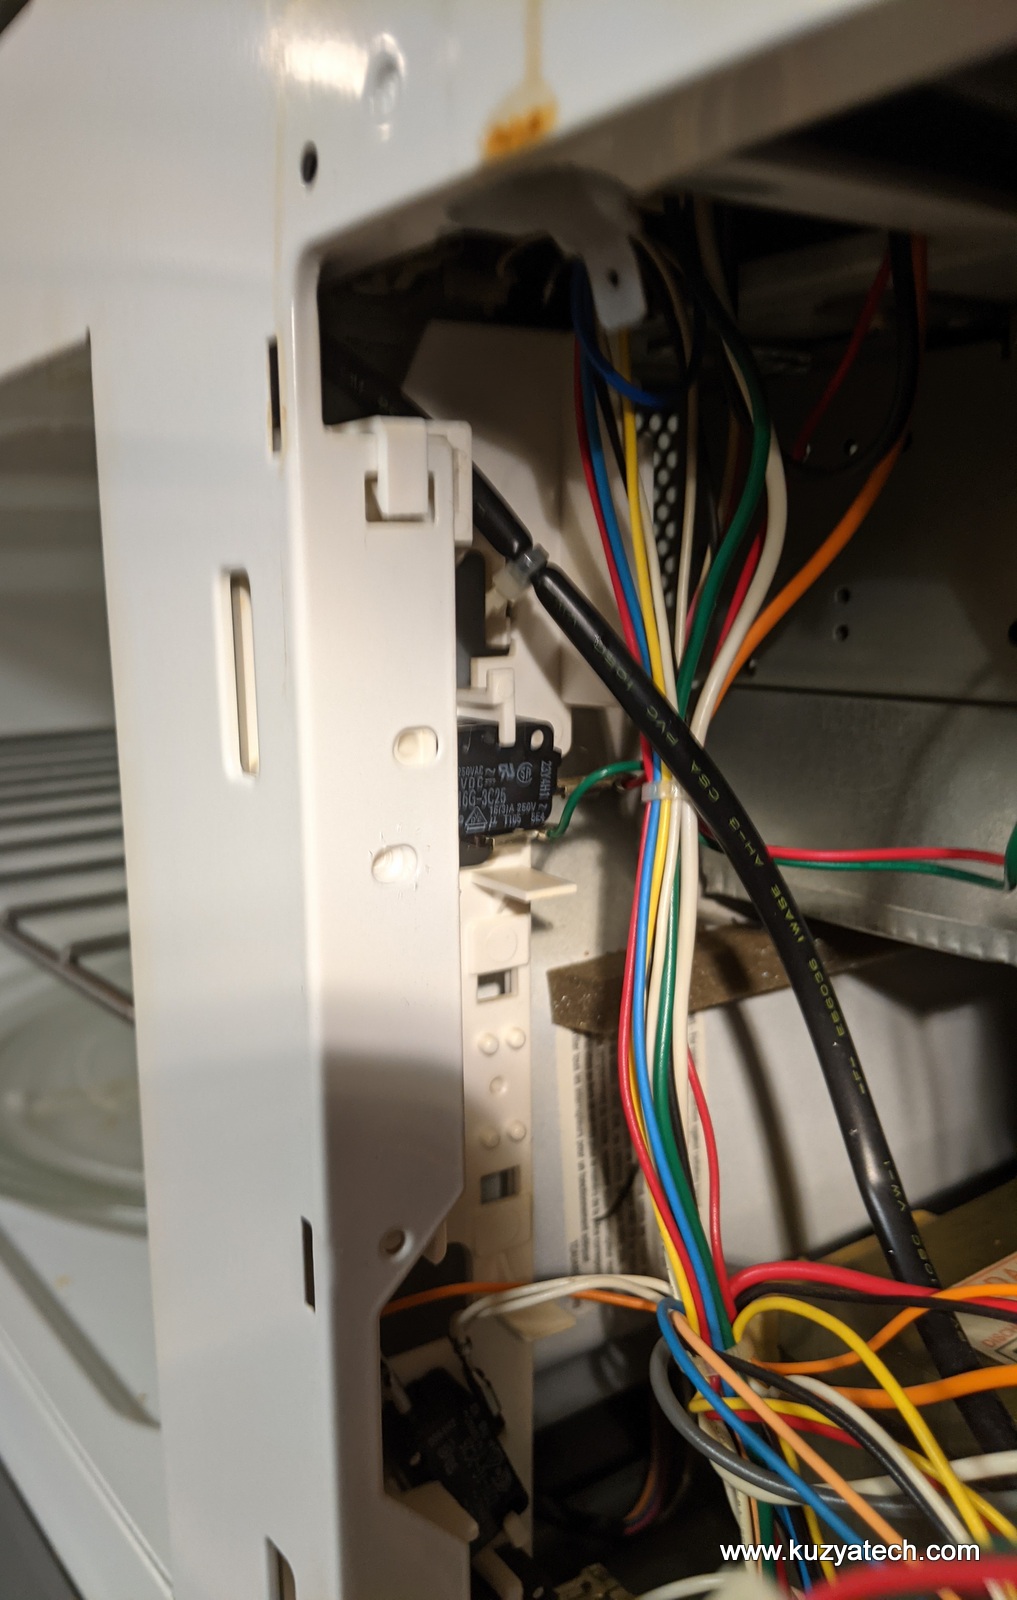
Since things change on door opening, we have to suspect some sort of door switches. As it turns out there are three of them here.
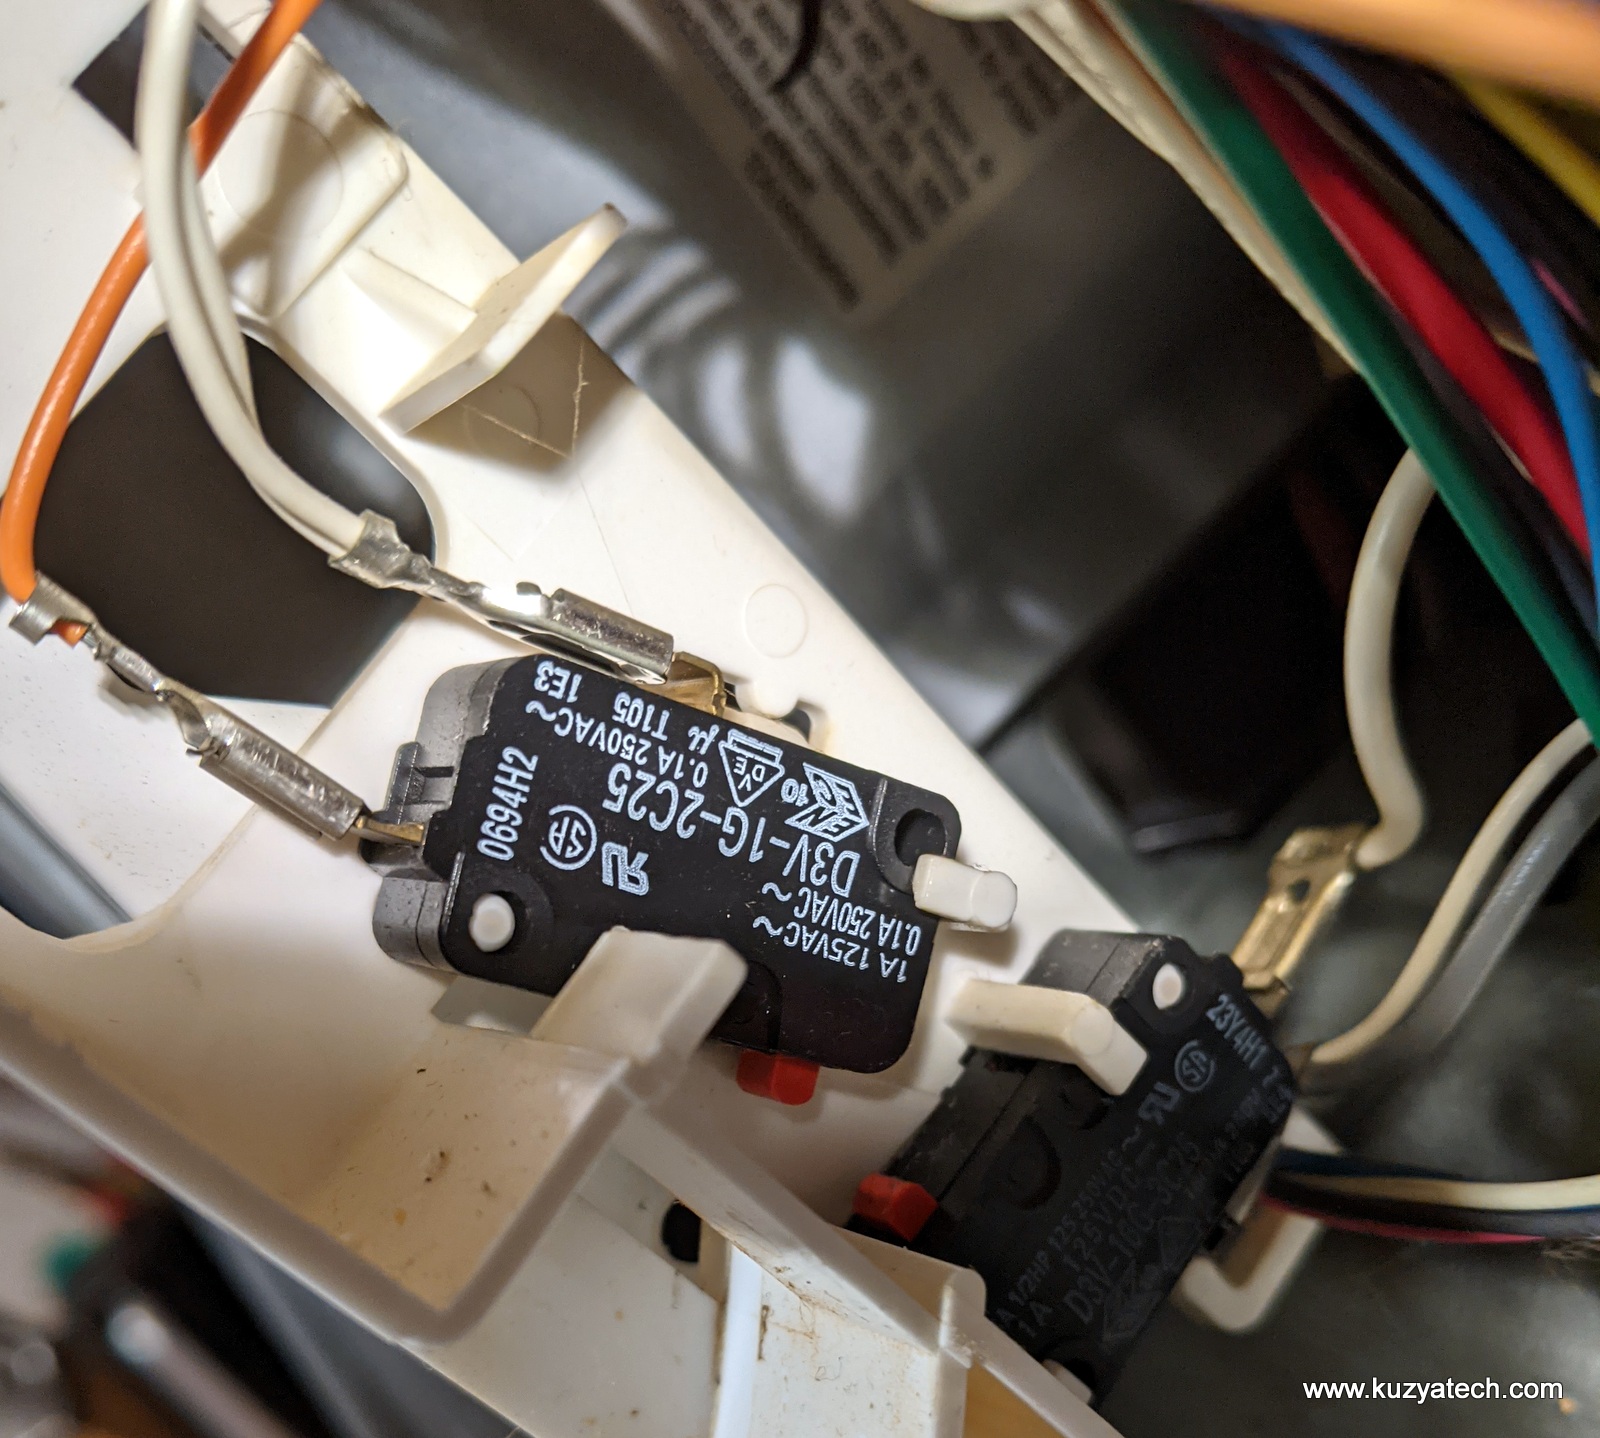
- Switch #1 (STOP SWITCH) is Normally Open and closes with the door to signal controller board that door is indeed closed. It seems to be low voltage/low current circuit.
- Switch #2 (PRIMARY INTERLOCK SWITCH), also Normally Open appears to be powering fan motor FM if OVEN LAMP RELAY RY1 is on and door is closed. It also supplies one side of power to HV transformer. The other side comes from Interlock Relay RY2 which has to be turned on by the control board. This seems to be the likely culprit as 50W is about right for the fan and one light bulb.
- Switch #3 is an interesting beast- it’s Normally Closed and sits directly across HV transformer leads. It also comes in a kit with a replacement fuse. With door open, the switch is closed, shorting transformer. If somehow other safeties fail and power arrives there, the short will assure that the fuse gets blown and magnetron does not turn on.
Repair
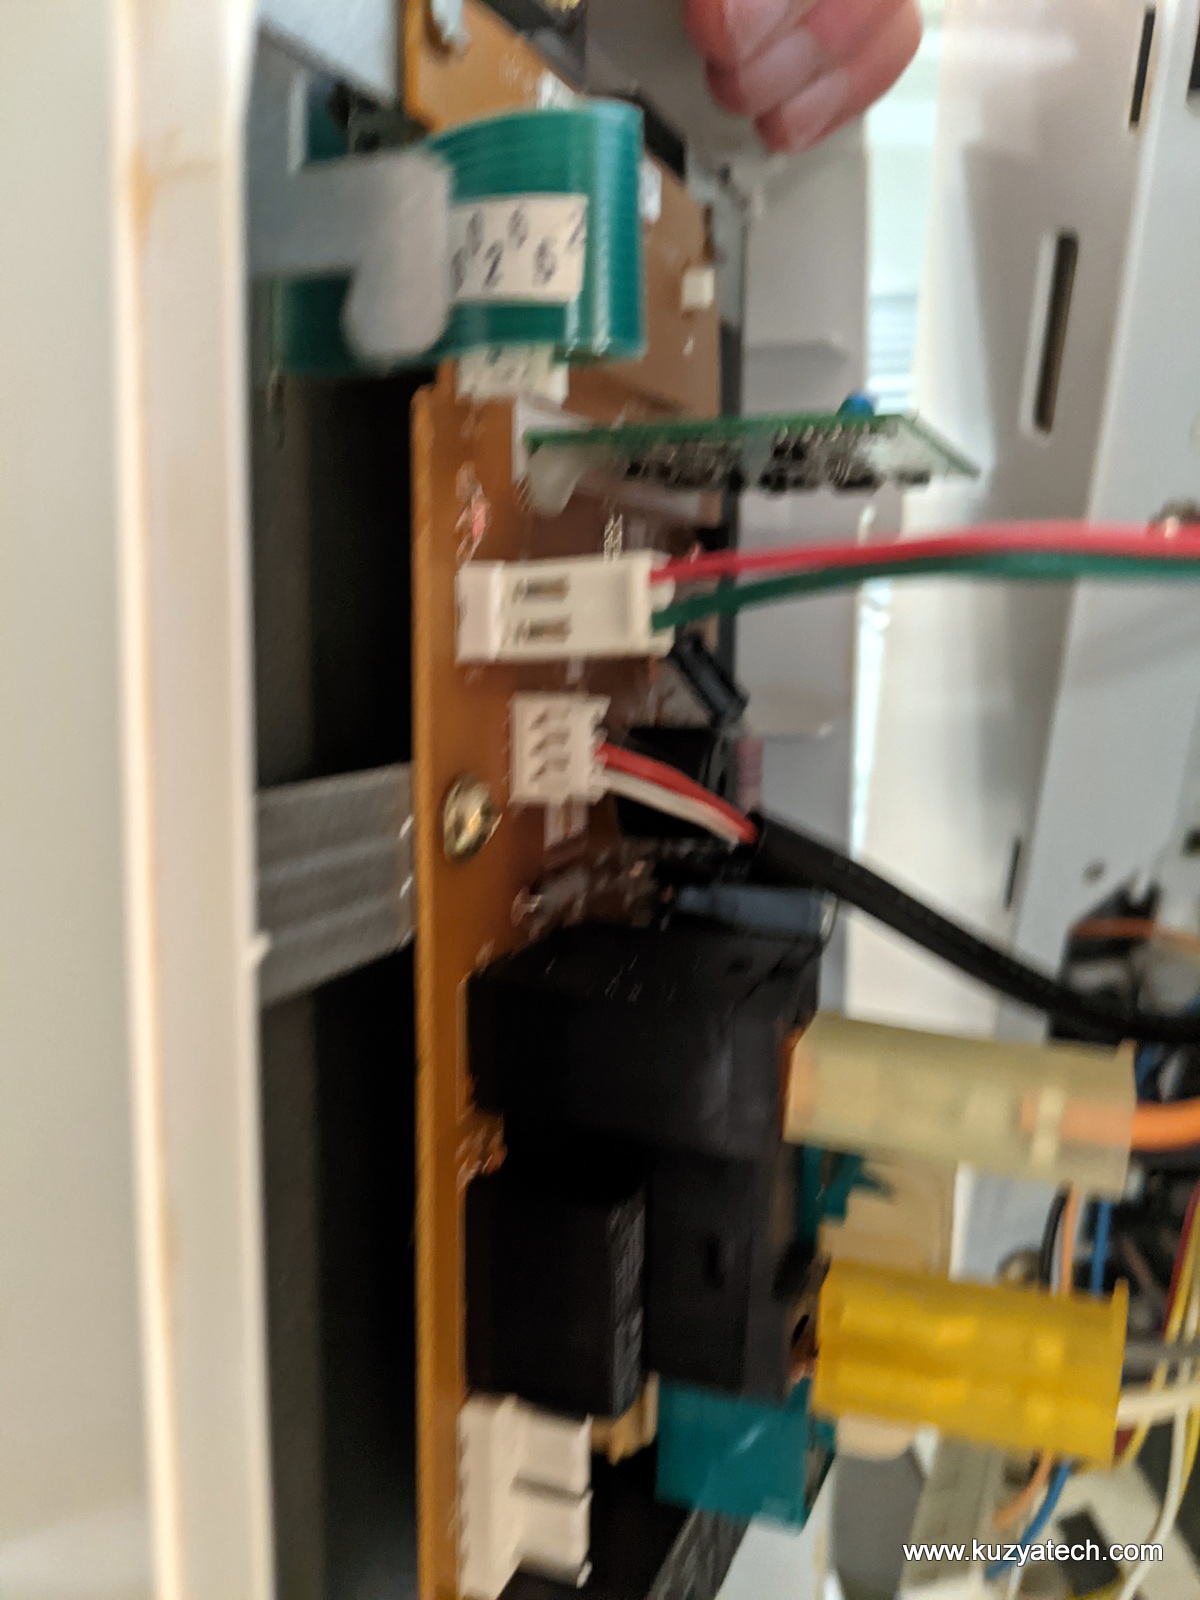
The repair was fairly straightforward, and with plenty of youtube videos available I am going over it in somewhat cursory details. I did replace both NO switches while at it, though that was not strictly necessary. I used wire color coding to tell which switch is which (Top- #1, Middle-#3, bottom #2)
- Unplug power
- Remove three screws holding top vent grille and take grille off
- Remove screw on top of control panel
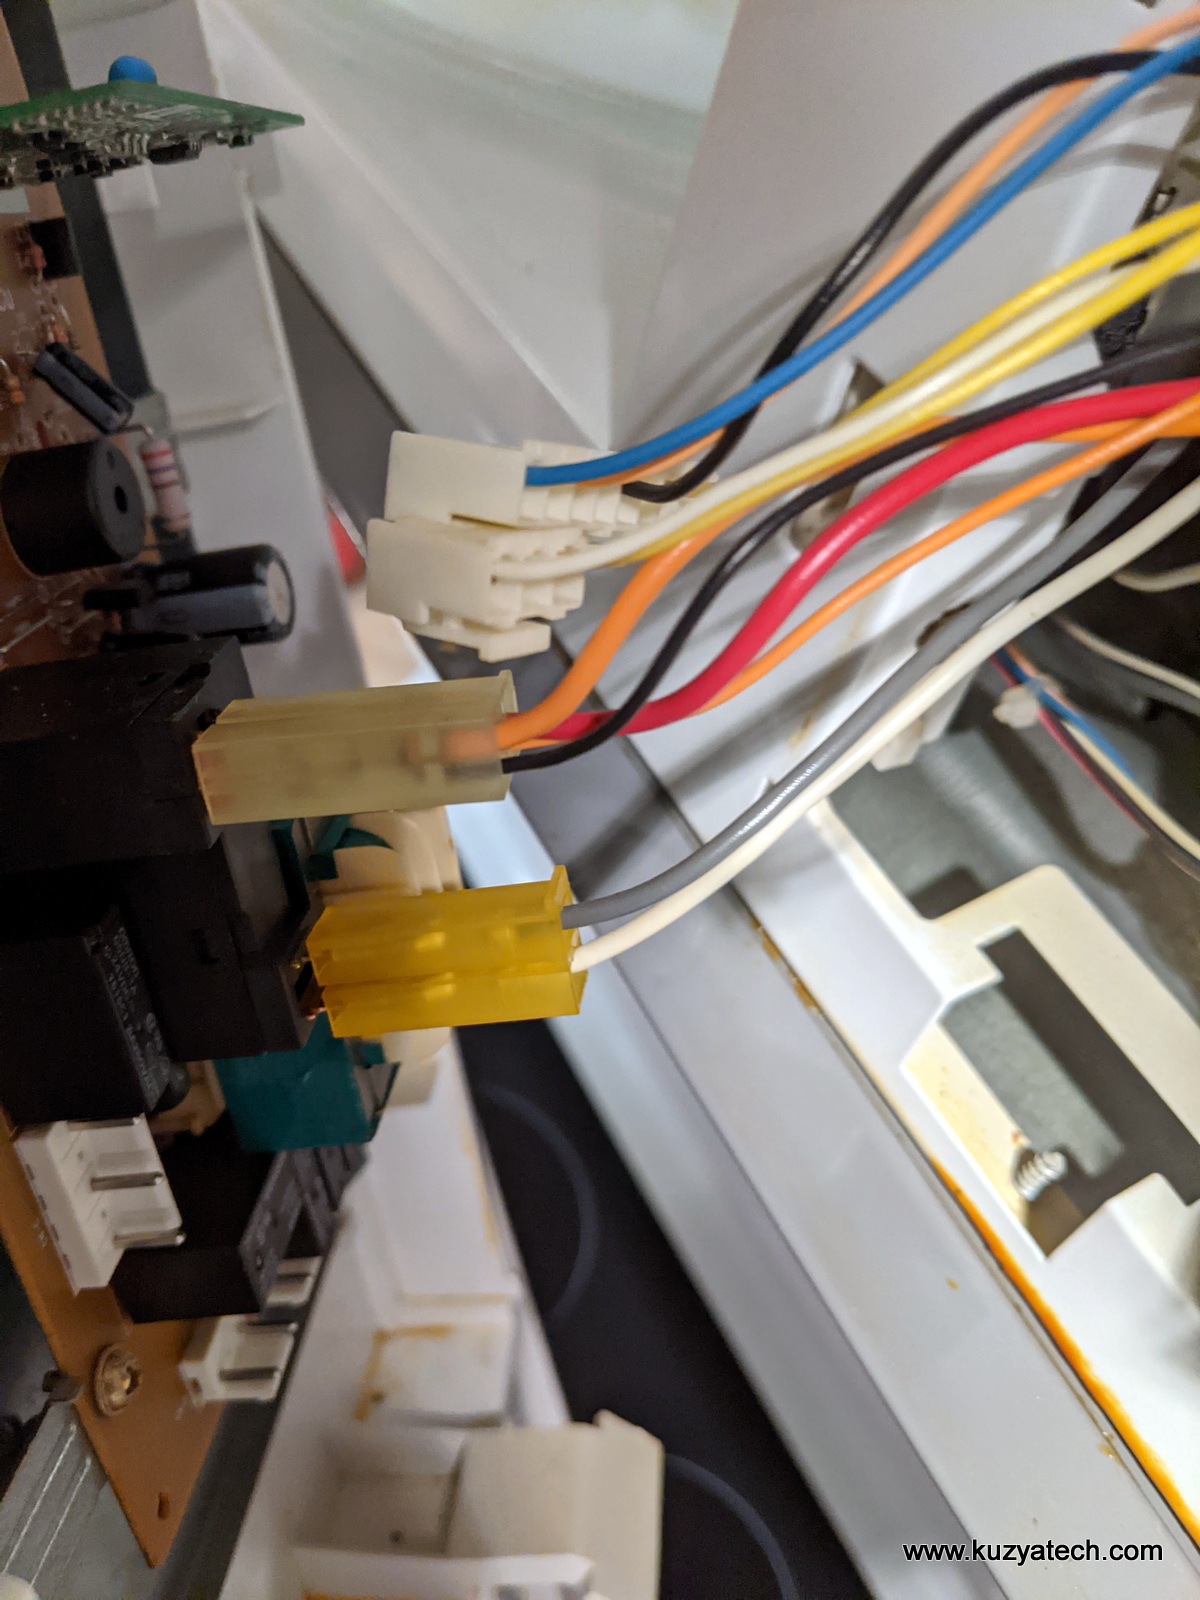
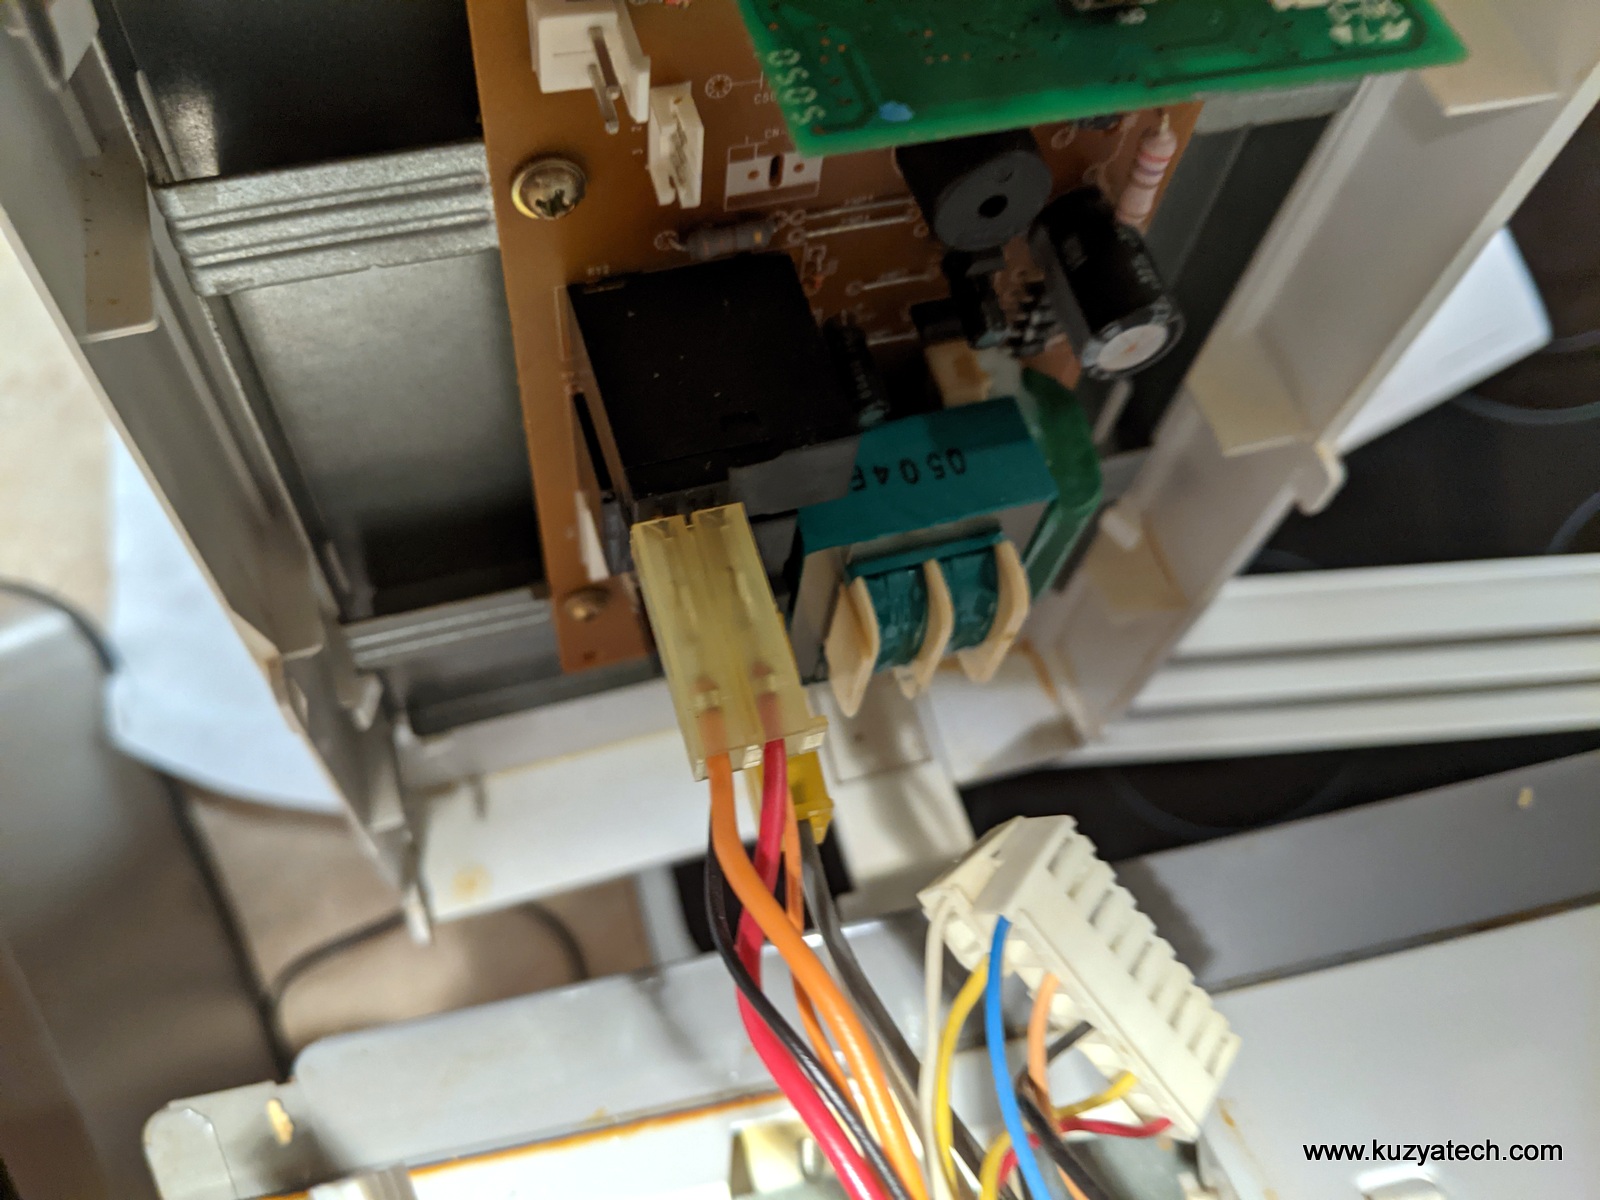
- Remove control panel assembly enough to unplug all cables
- Unscrew and lift plastic frame with switches
- Remove failed switch by rotating it around the plastic peg till it unclips.. Unplug harness, install new switch, plug harness back.
- Reinstall and screw down switches frame
- Connect back all harnesses
- Reassemble
NC middle swithc 
NO Top 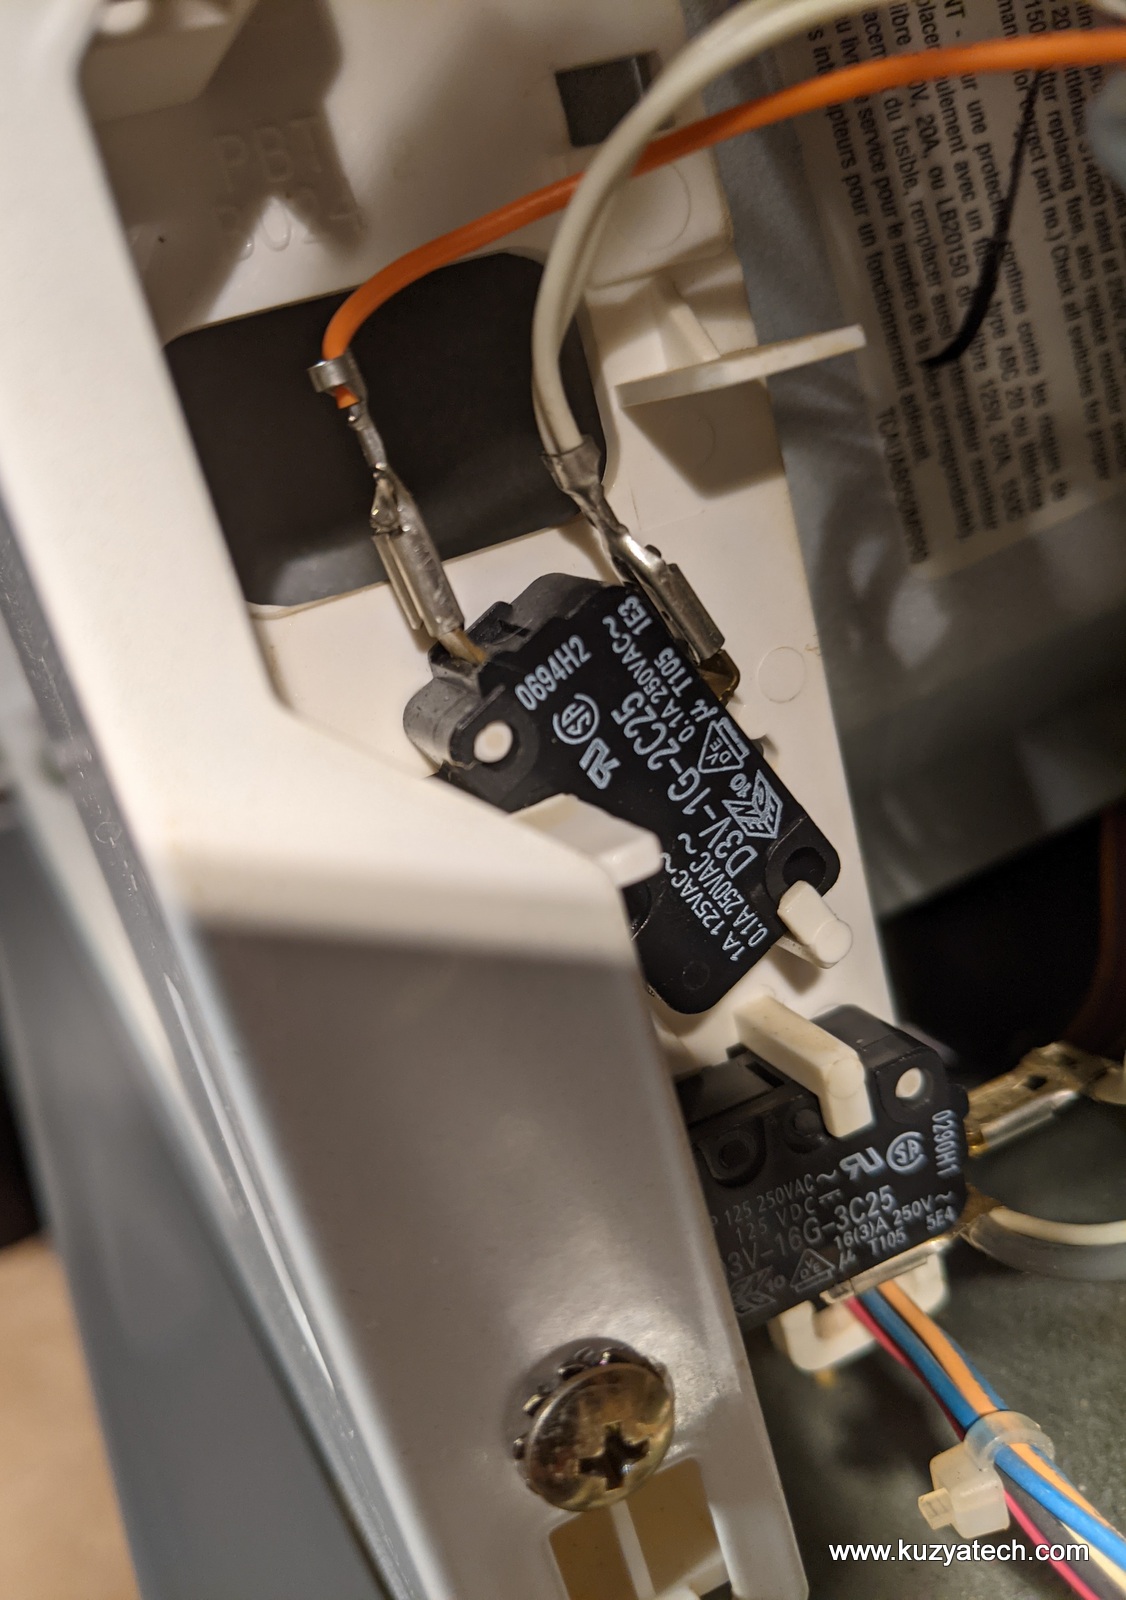
Summary
This was a fairly straightforward repair, with parts cheap and easily available.
After analysis, the only switch that really looked worn (#2) was the primary interlock and as such it switches under load. It is rated to 10 million cycles, but for that to happen in 16 years, one would have to open the door 1700 times a day. Seems unlikely. Maybe 100 a day, which is 0.5mln total cycles. Though to be fair, there was no complete failure, just occasional sticking under load.
Switch #1 looked as good as new, which further proves that it leads easy signaling life.
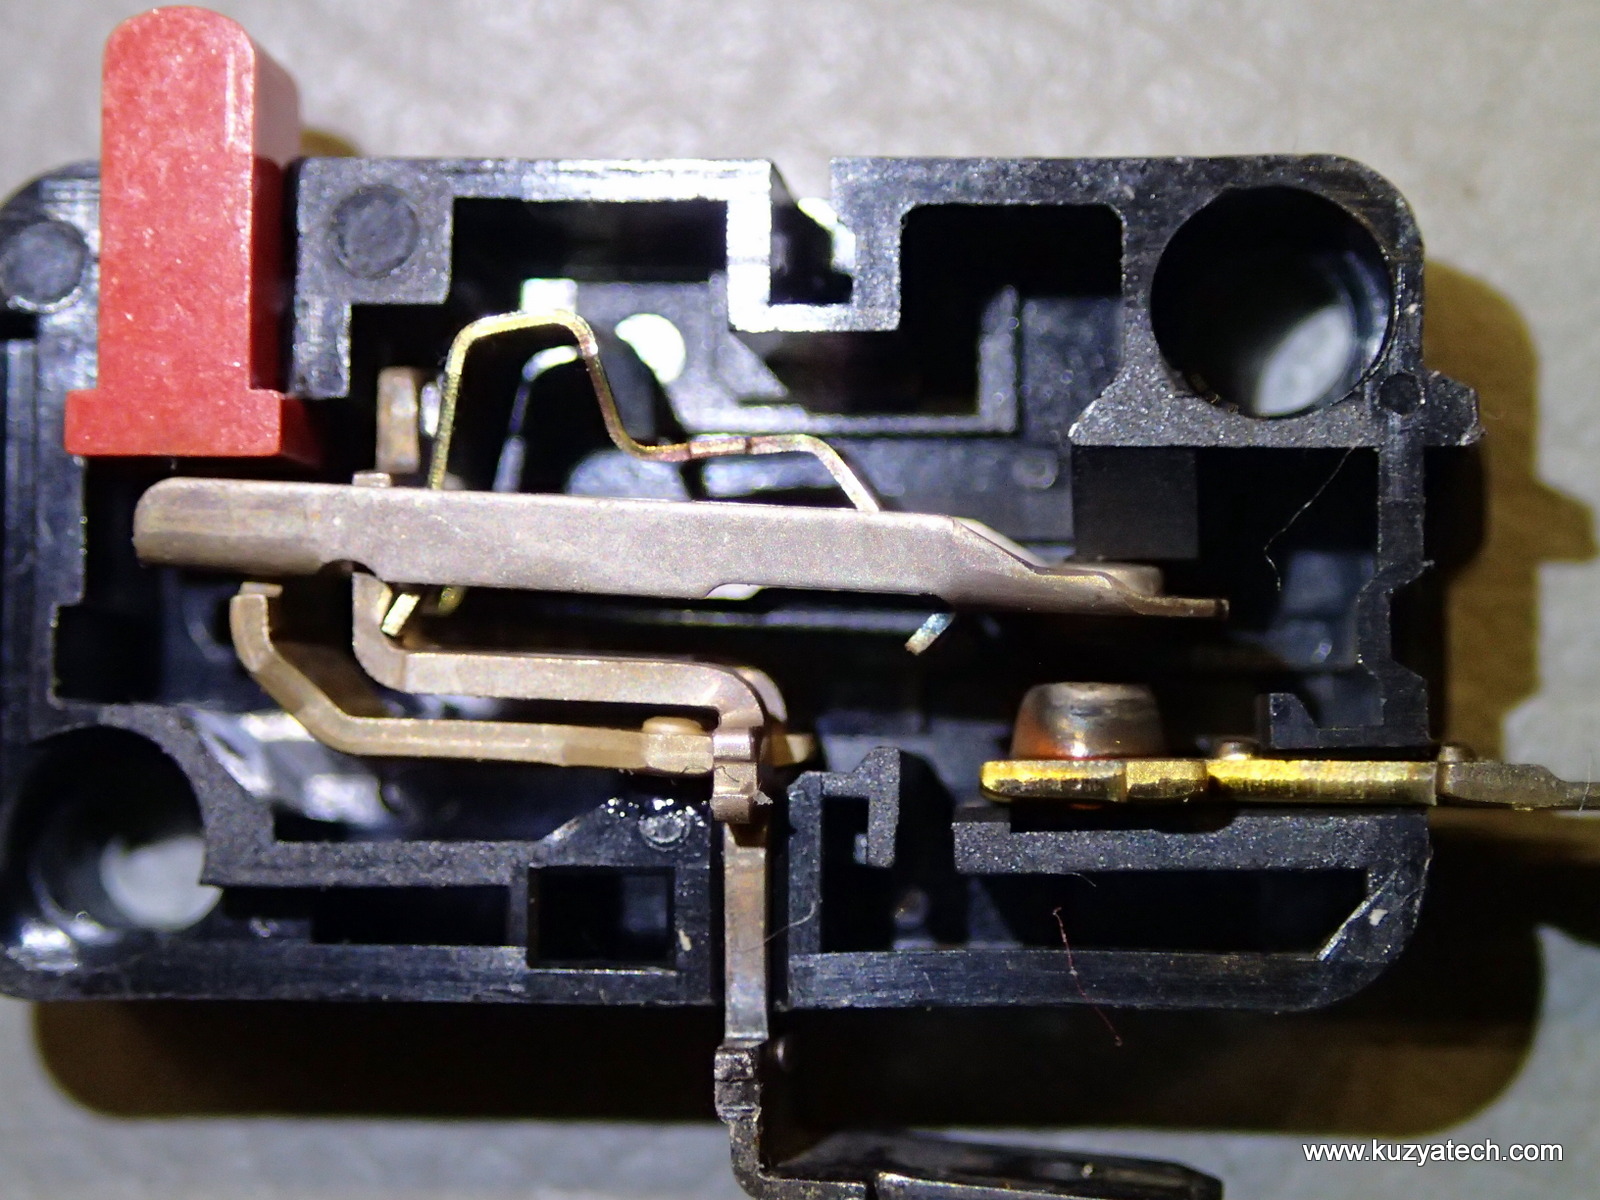
Failed Switch#2 
Failed Switch#2 Contact worn 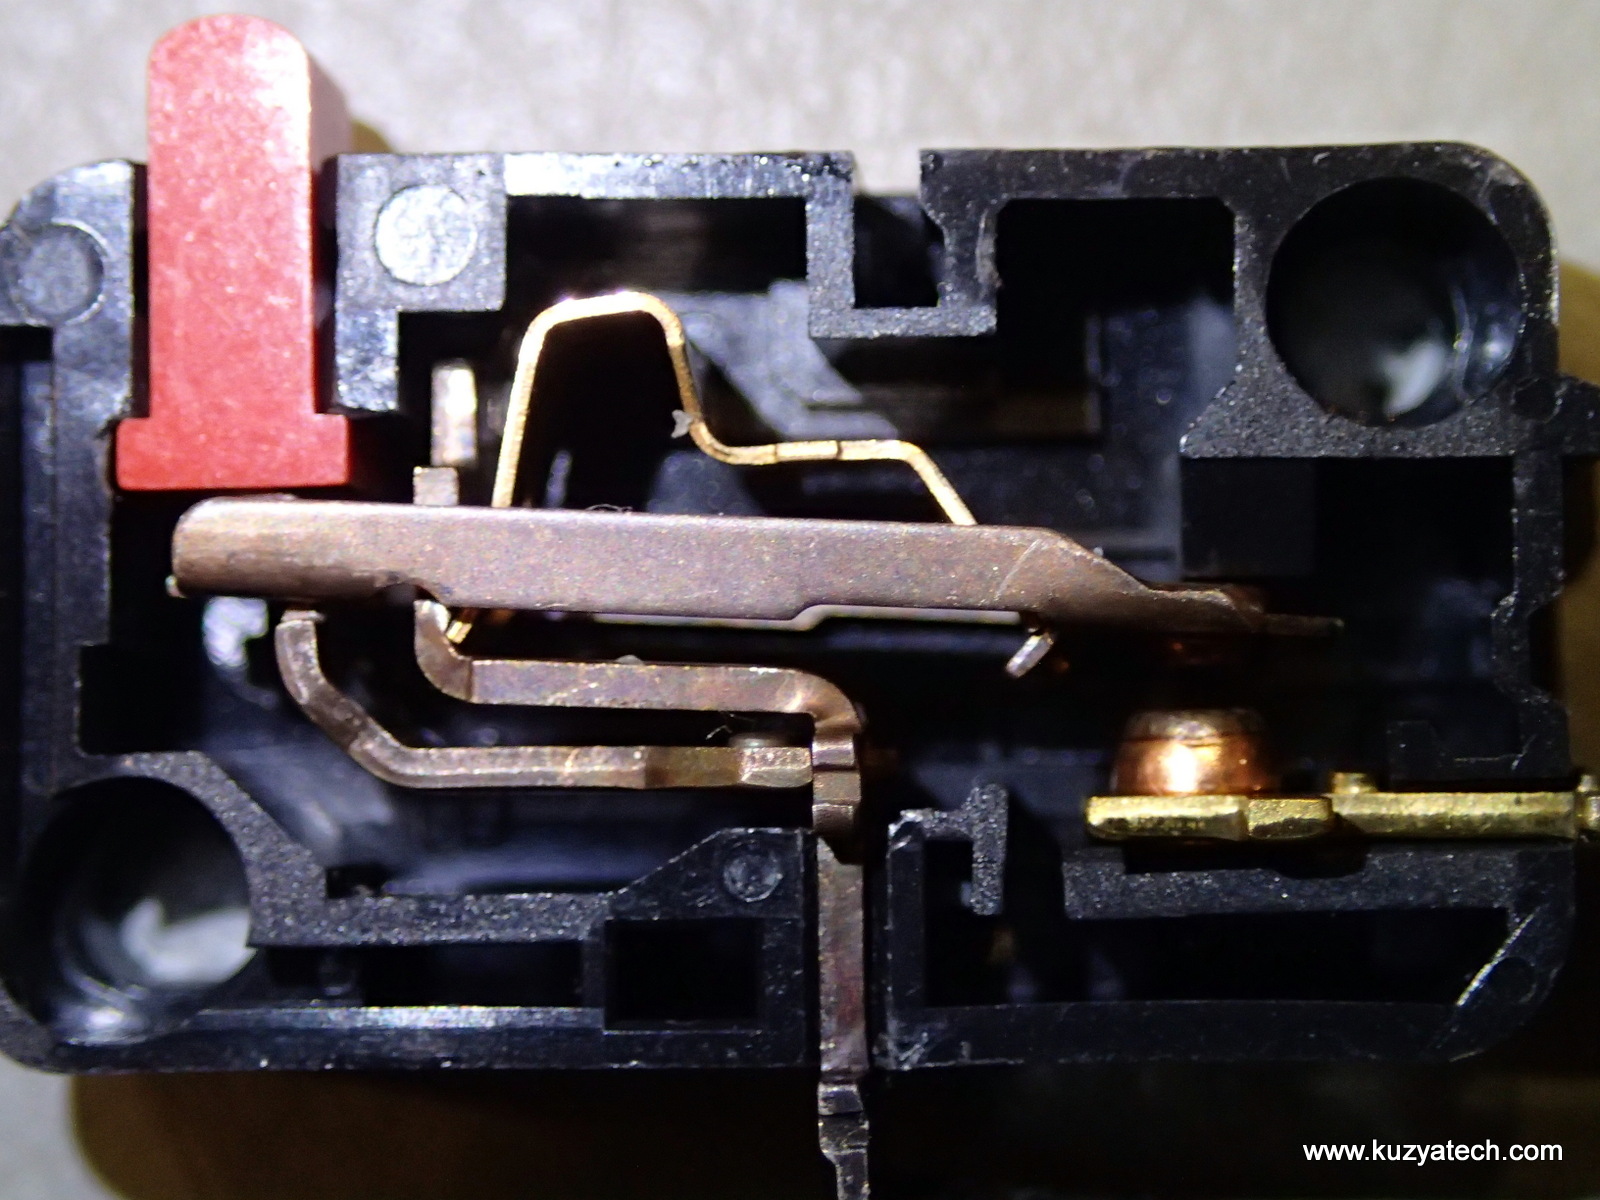
OK Switch#1 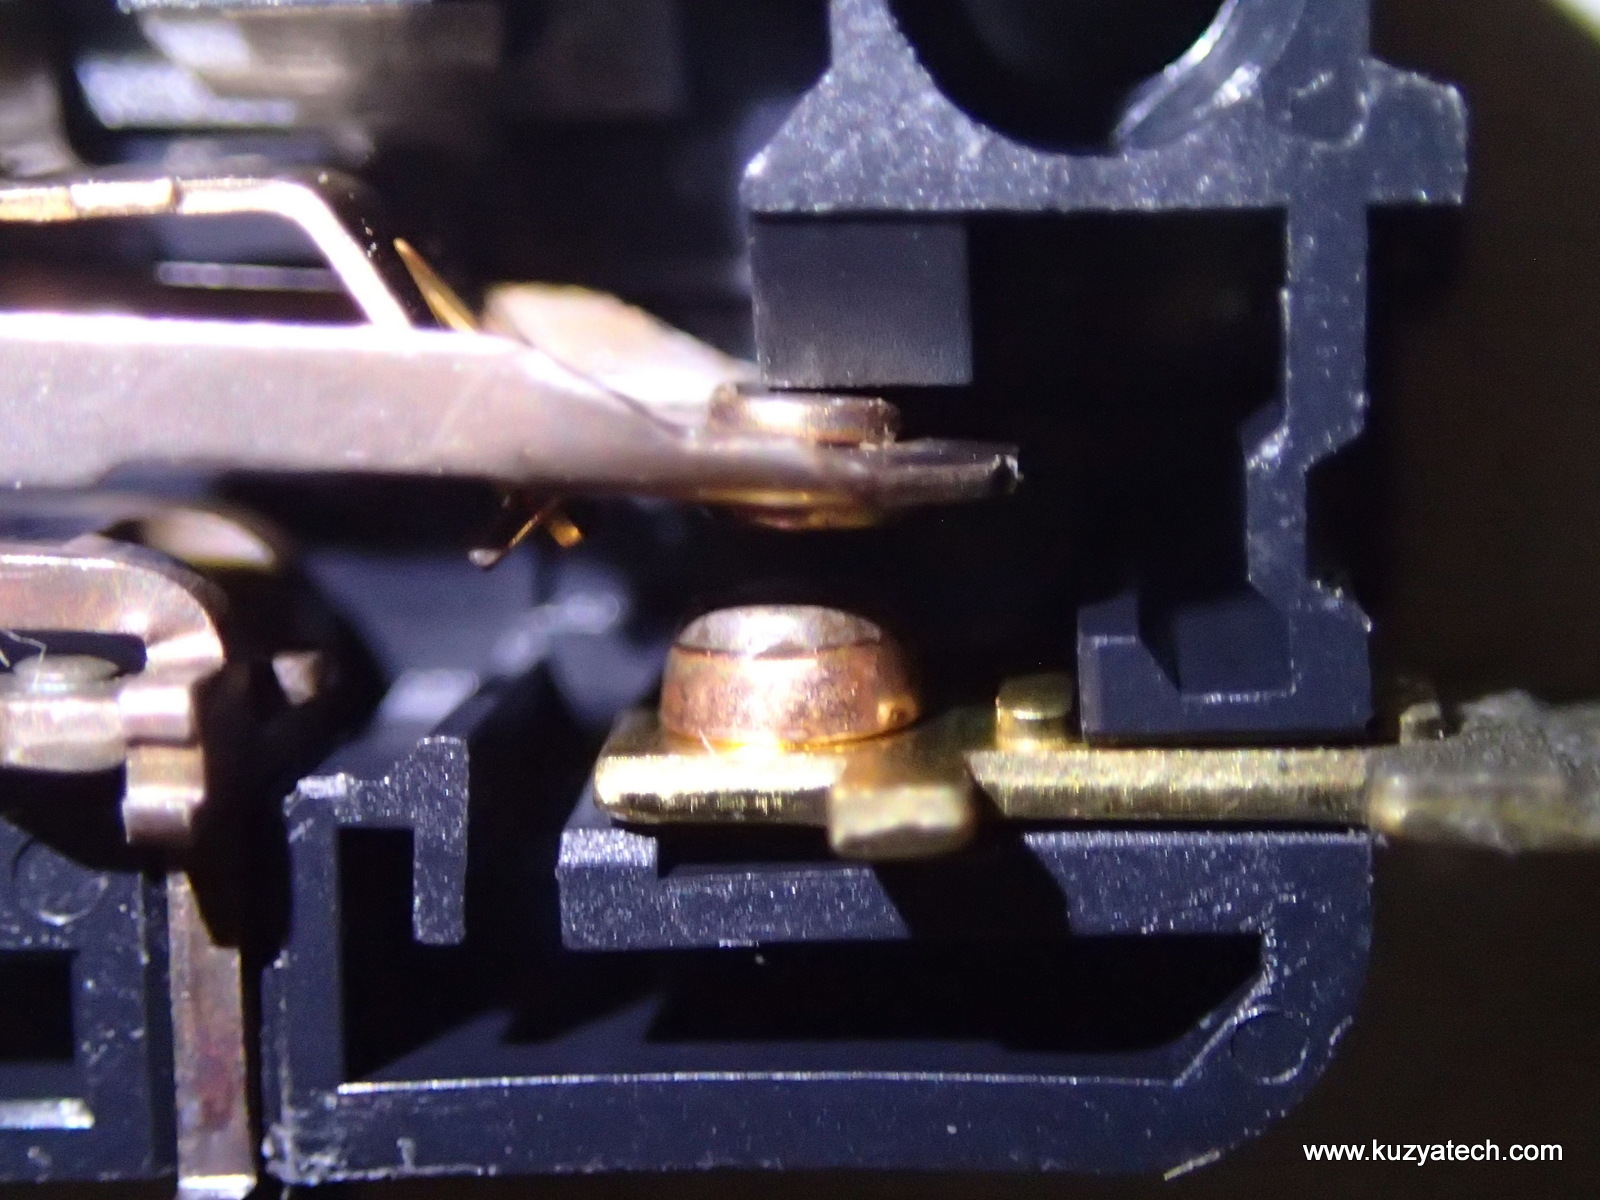
OK Switch#1 Contact looks new 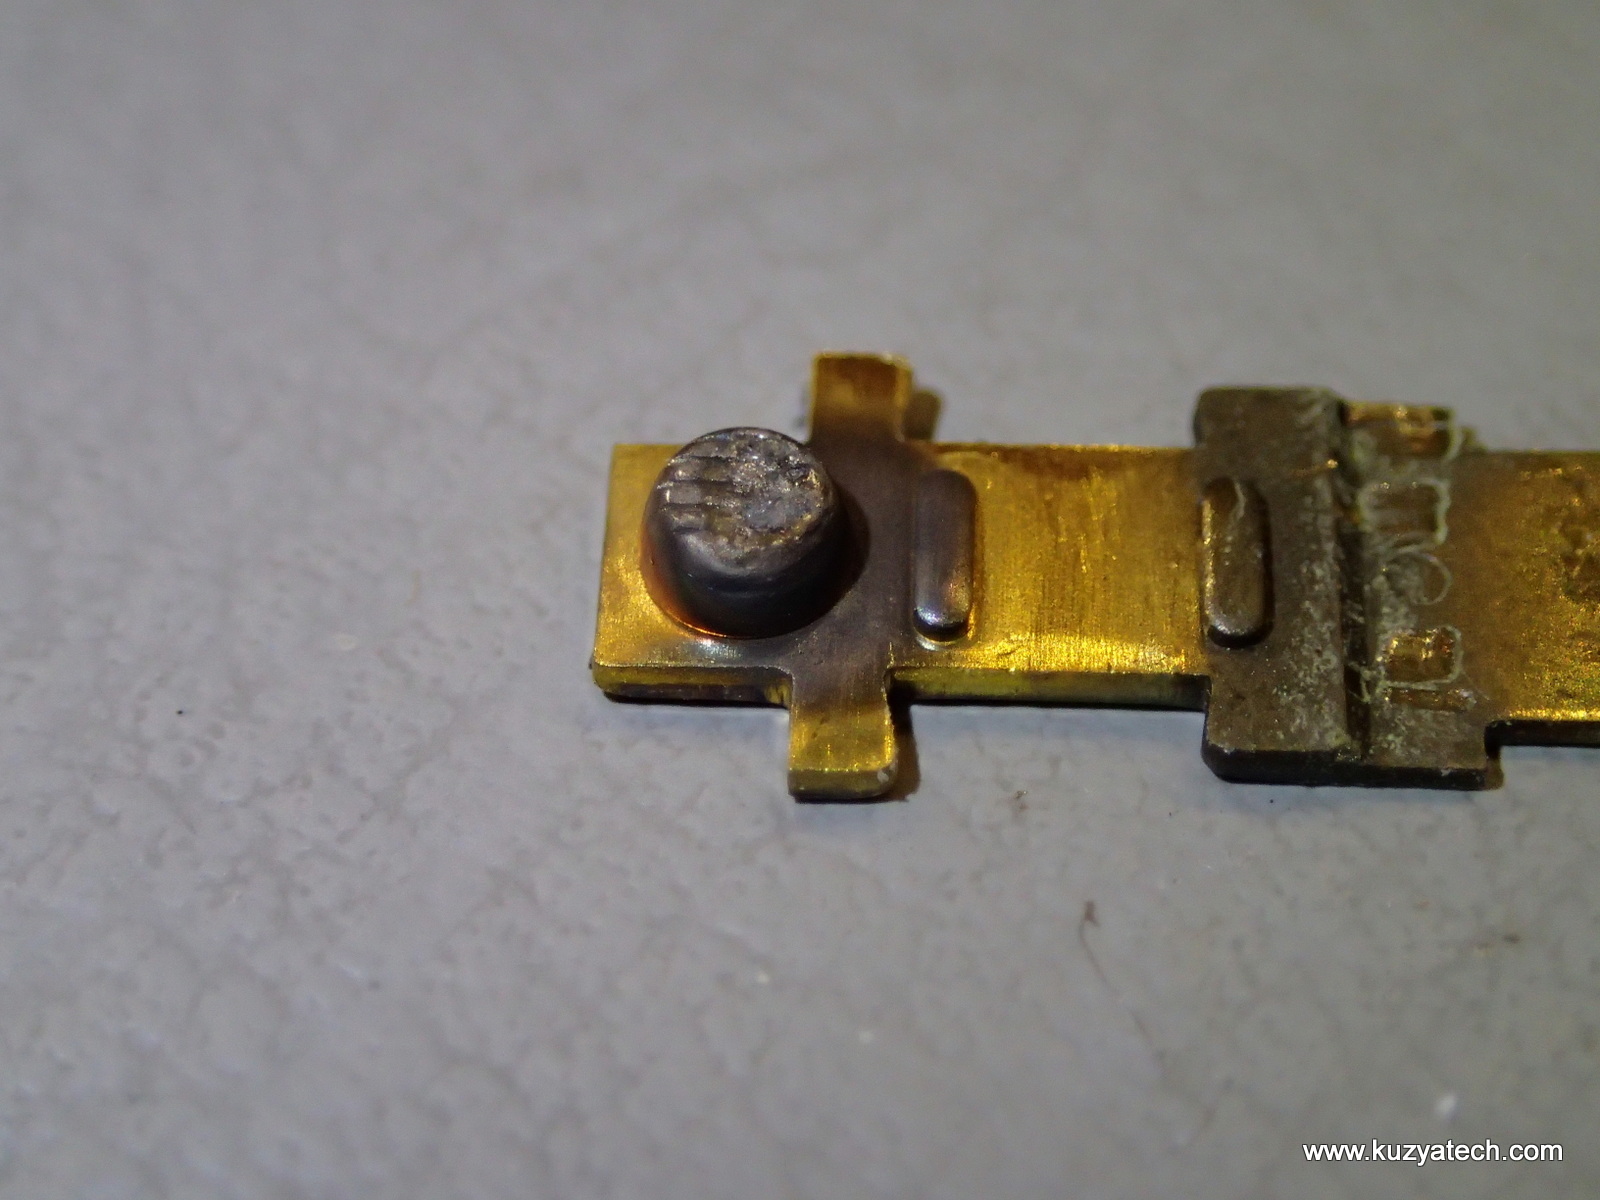
Switch #2 contact damage 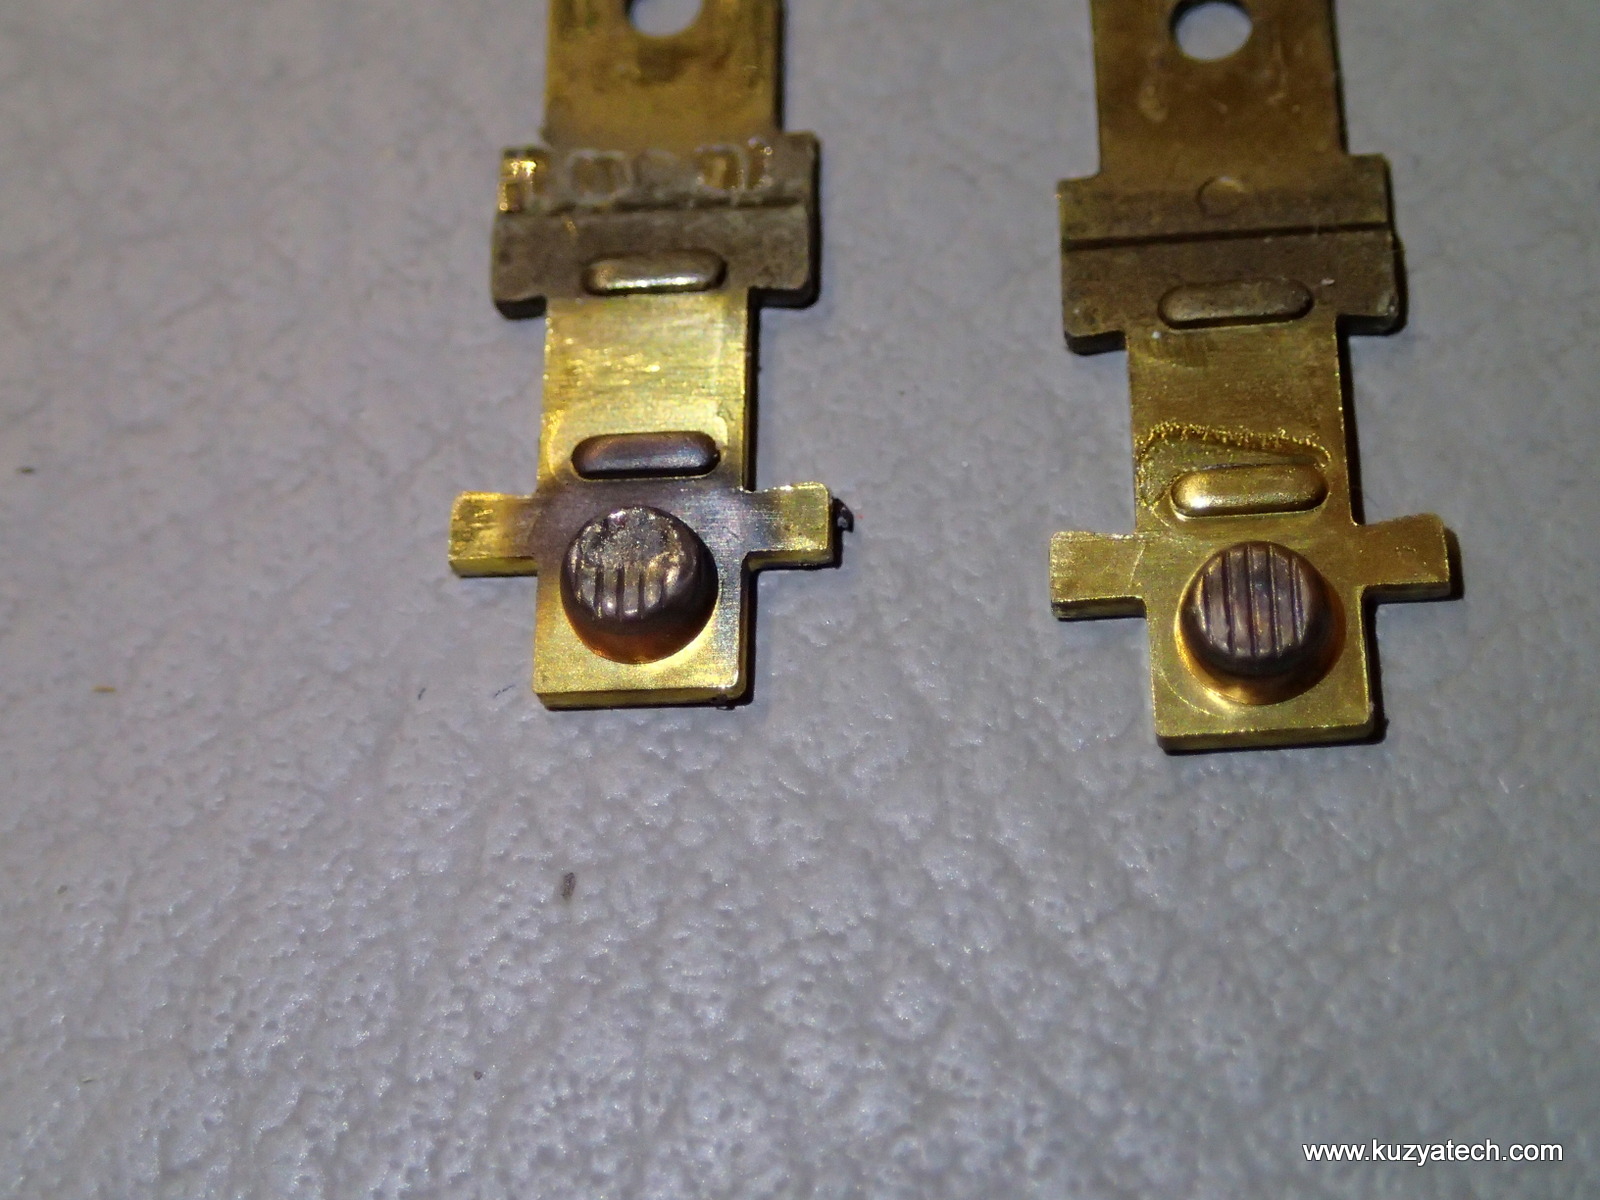
Side by side contacts: Switch #2 vs Switch #1
FCC ID APYDMR0123 is interesting as it points to Sharp Corporation as the actual manufacturer. That matches component choices inside- mainly Japanese brands. Seeing how the unit is 16 years old and is built pretty well, this may be one way to sort through brand names veneer and see if the candidate appliance you are buying is just a rebadged one made by the same one Chinese co (Midea) or an actual brand’s design.
For comparison, let’s check FCC ID VG8XM131AYY on a Kenmore 405.72122310 unit in which switch failed in less than4 years. It is made by Guangdong Midea Kitchen Appliances in China. Taking that switch apart yields quite a “designed down to price picture”- deformed springs, melted plastic and much thinner contacts:

Kenmoore Switch 
Note bent springs 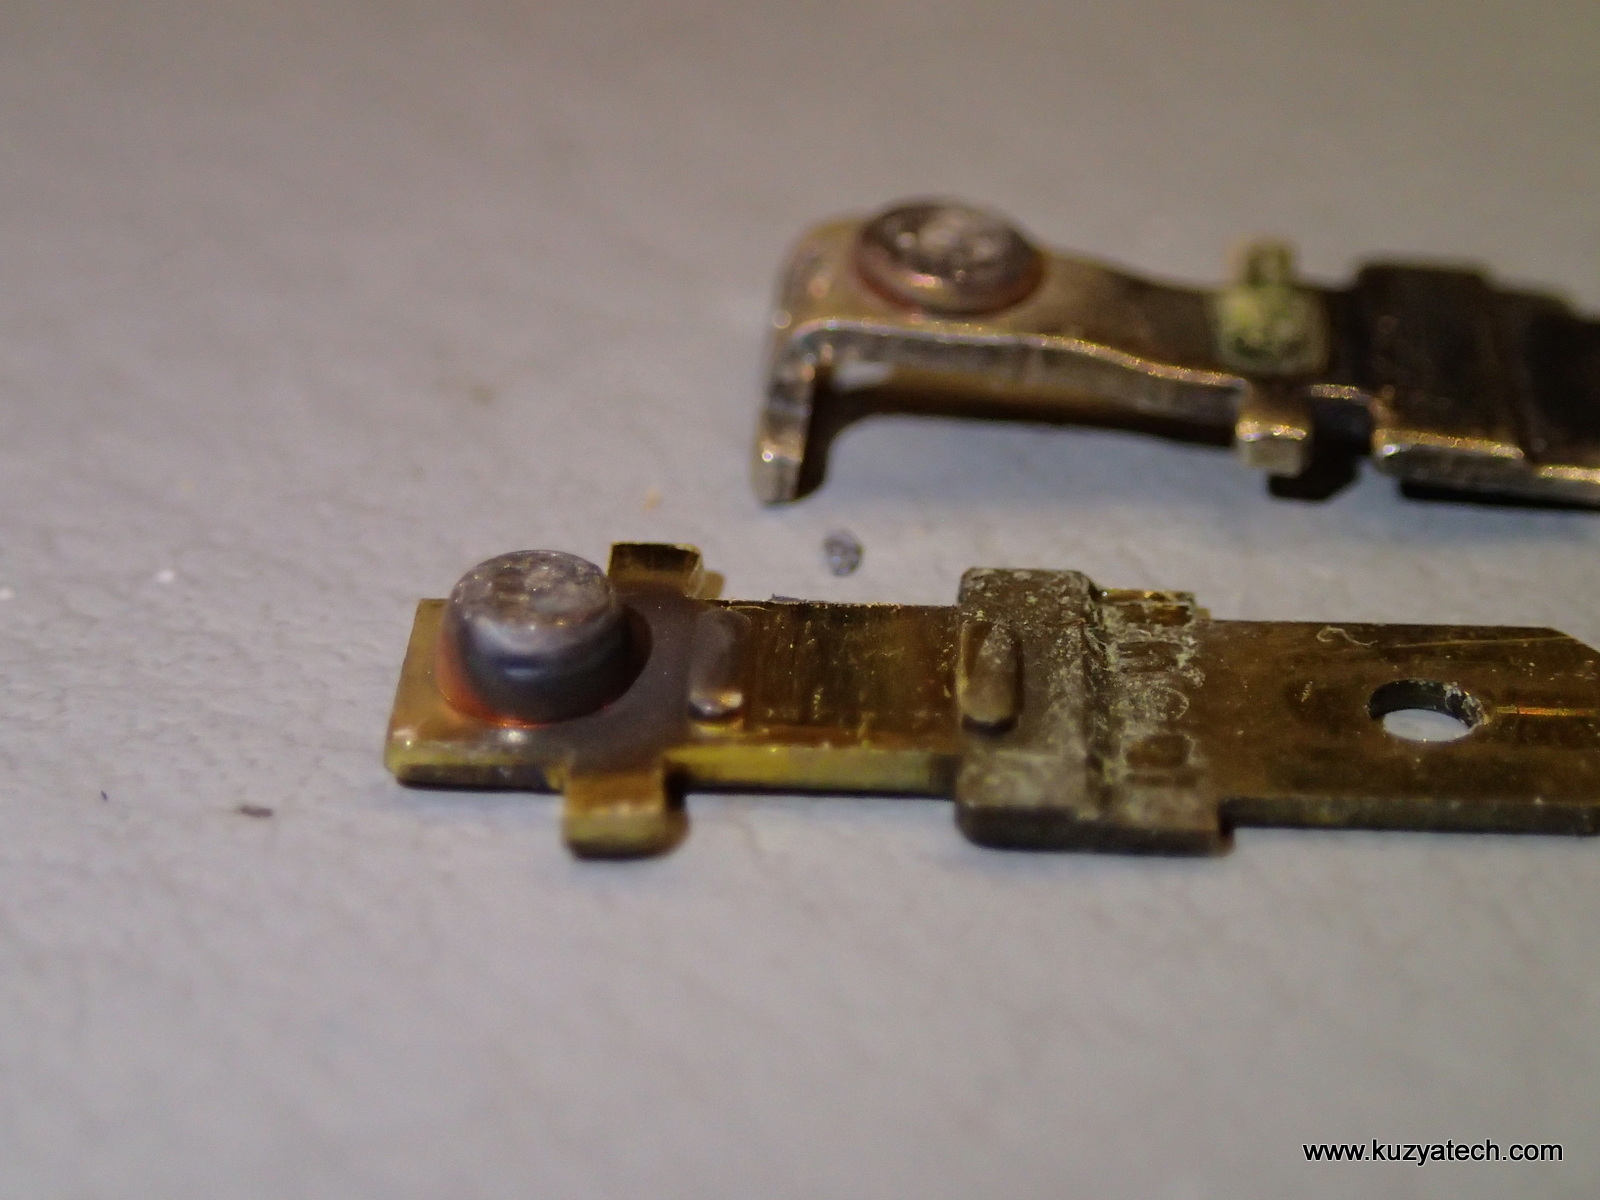
Omron front- not doublethe thickness of contacts 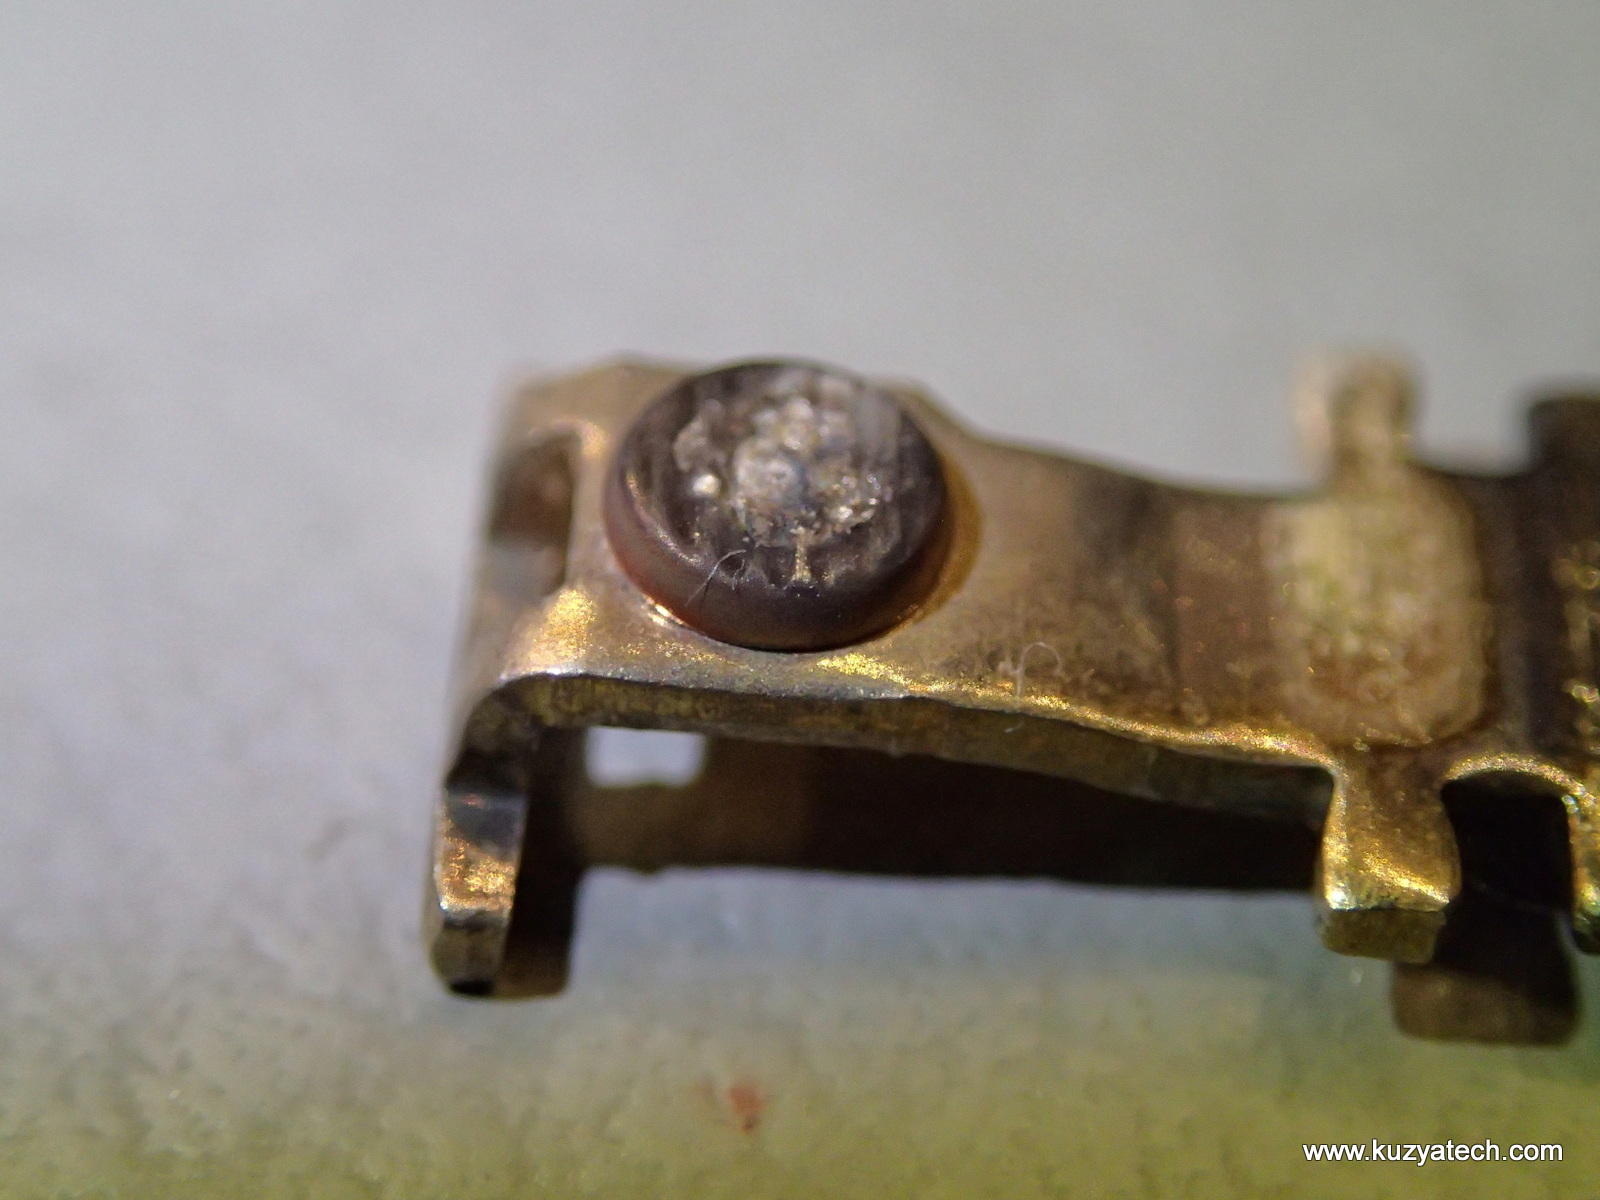
Damage after four years
Resources and links
| Type | Position | Qty | Part Number | OEM | P/N | Details |
|---|---|---|---|---|---|---|
| . | ||||||
| NO | 8 | 2 | 5304440026 | Omron | D3V-16G-3C25 | Relay/Switch Assy, sec. interlock, door sense sw. |
| NC | 9 | 1 | 5304440027 | Omron (Sw), Fuse- TBD | D3V-1G-2C25 TBD | Switch Kit, monitor, with CT fuse |