
Today we have a repair that’s somewhat off-topic for the typical posts here. But hey, it broke, got fixed- might as well document for others. Plus it has some wires inside- that counts!
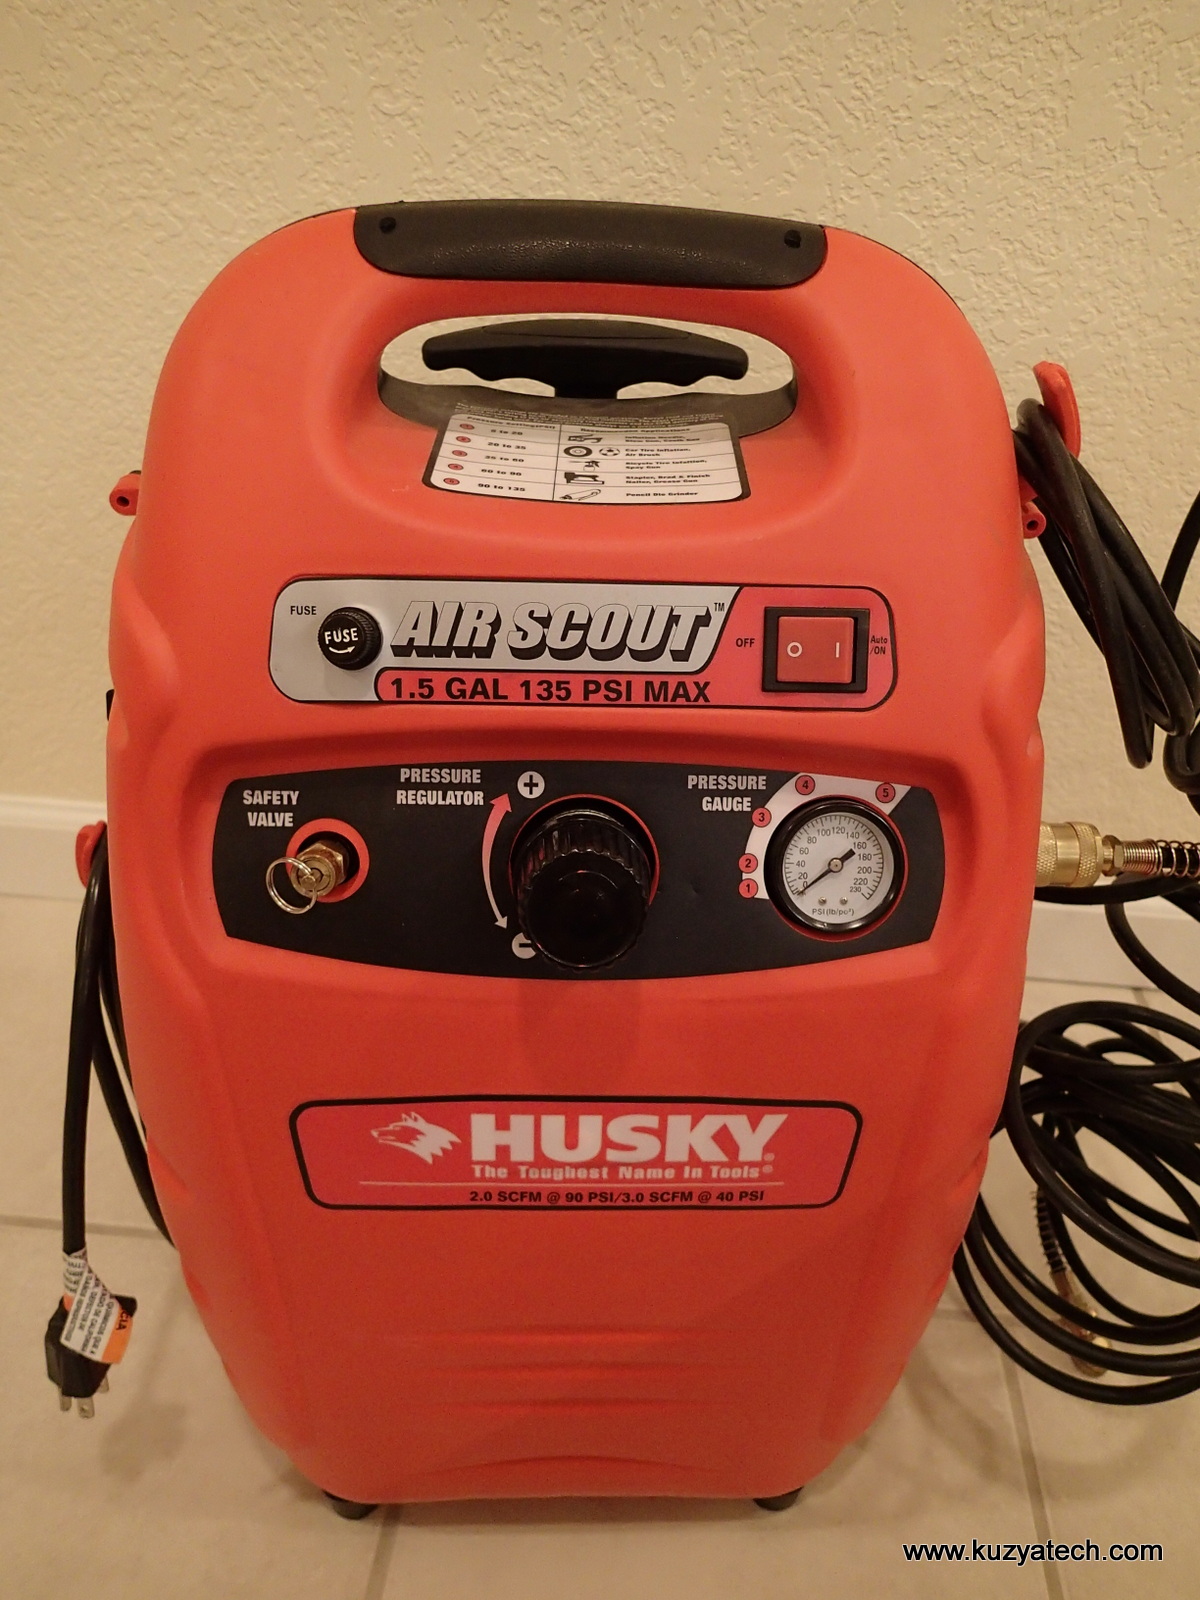
This particular failure – pressure regulator not holding air is not new for me. When this unit was purchased new, the regulator failed immediately and had to be replaced under warranty. The manufacturer was nice enough to ship me the parts and I swapped it out. Now, a few years of very infrequent usage later I was back to the same exact failure. So here is a step by step list of how I replaced it:
- Ordered part #SUN-3110375 (Pressure regulator) from www.ordertree.com as directed by tech support. At the time of this post, the price was $15 + shipping
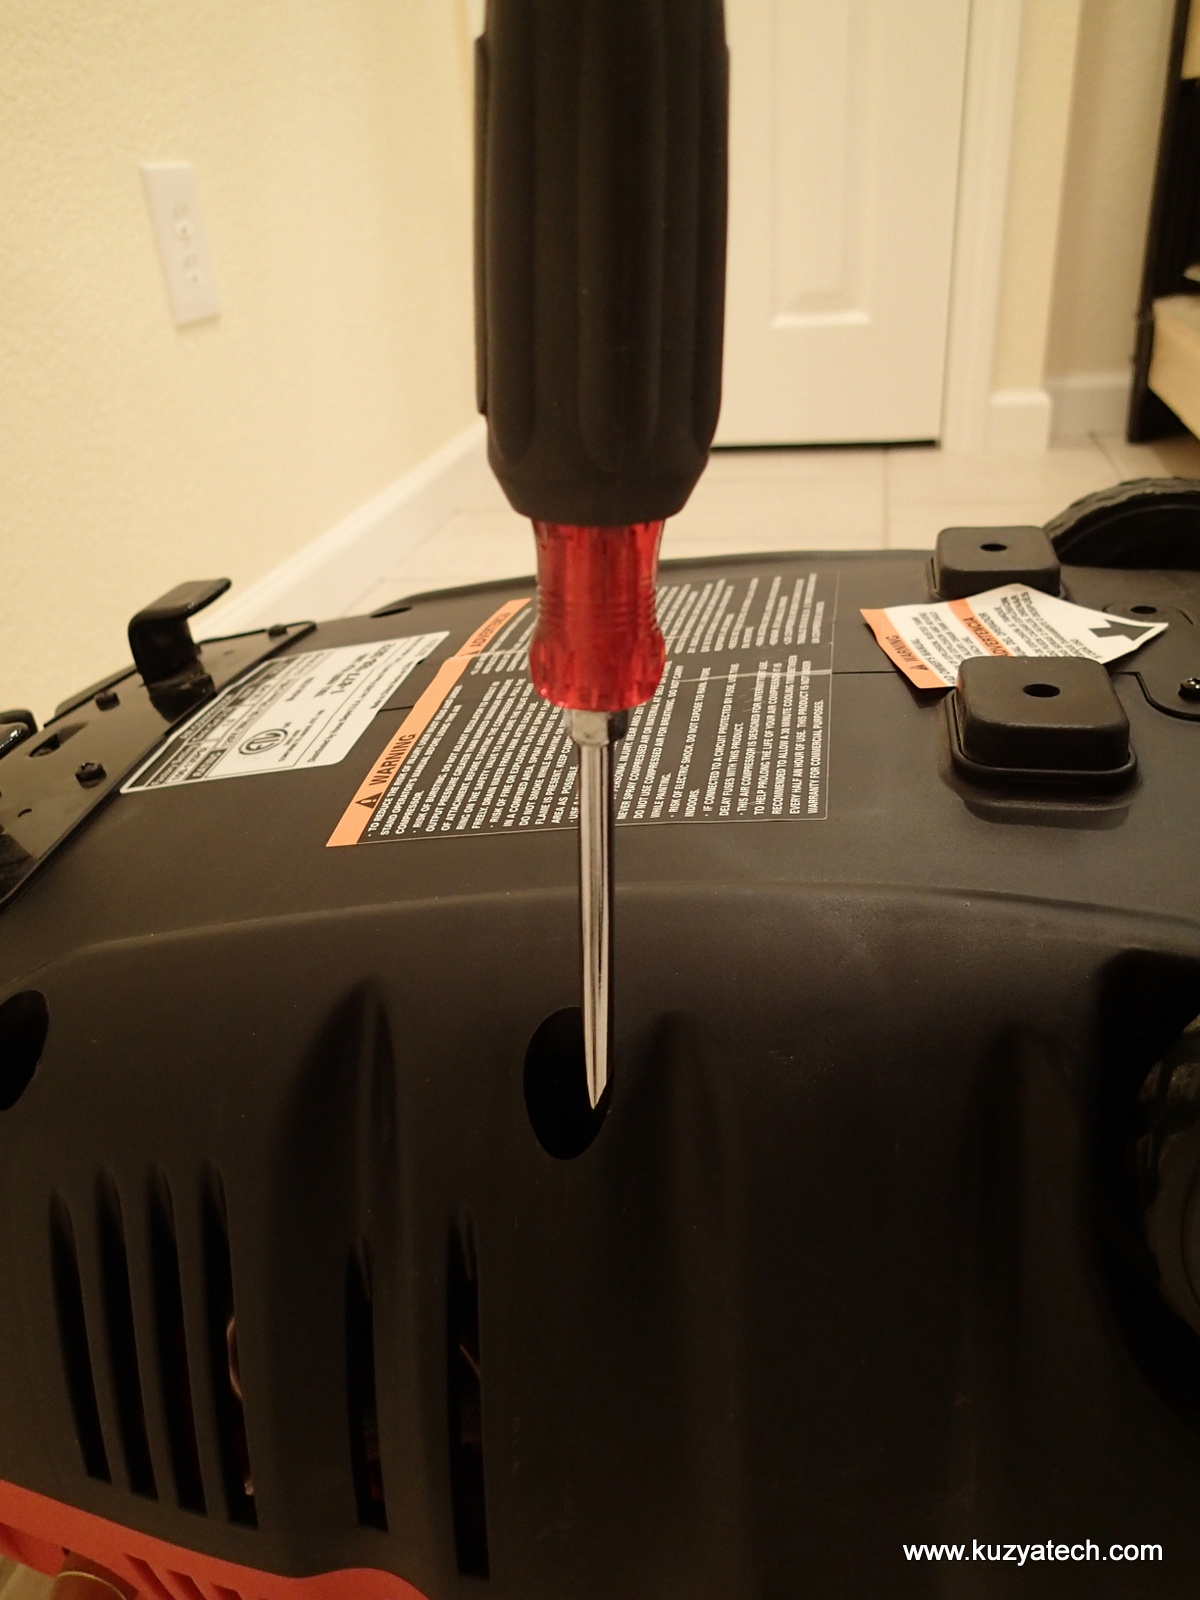
- Bought a long phillips screwdriver- it is needed to reach recessed screws in the cover
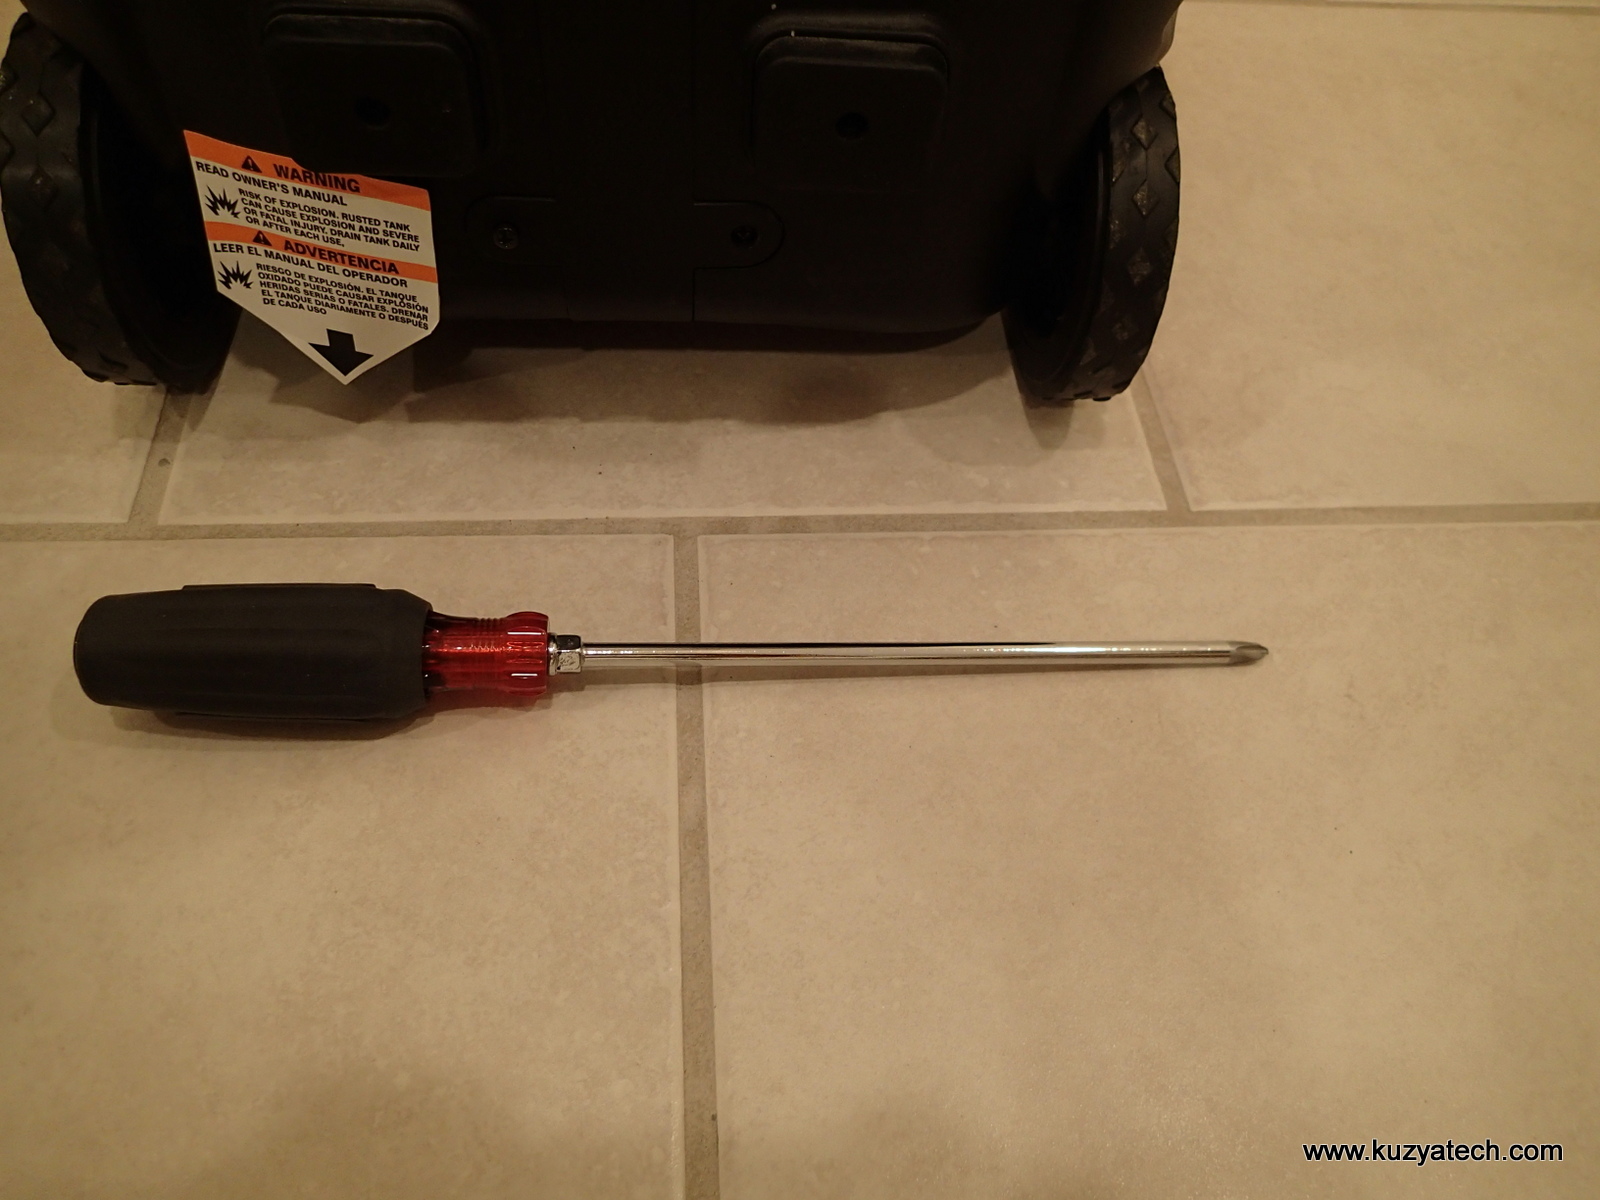
Long screwdriver is needed
- Disconnected power, air hose and removed visible screws from the back cover perimeter
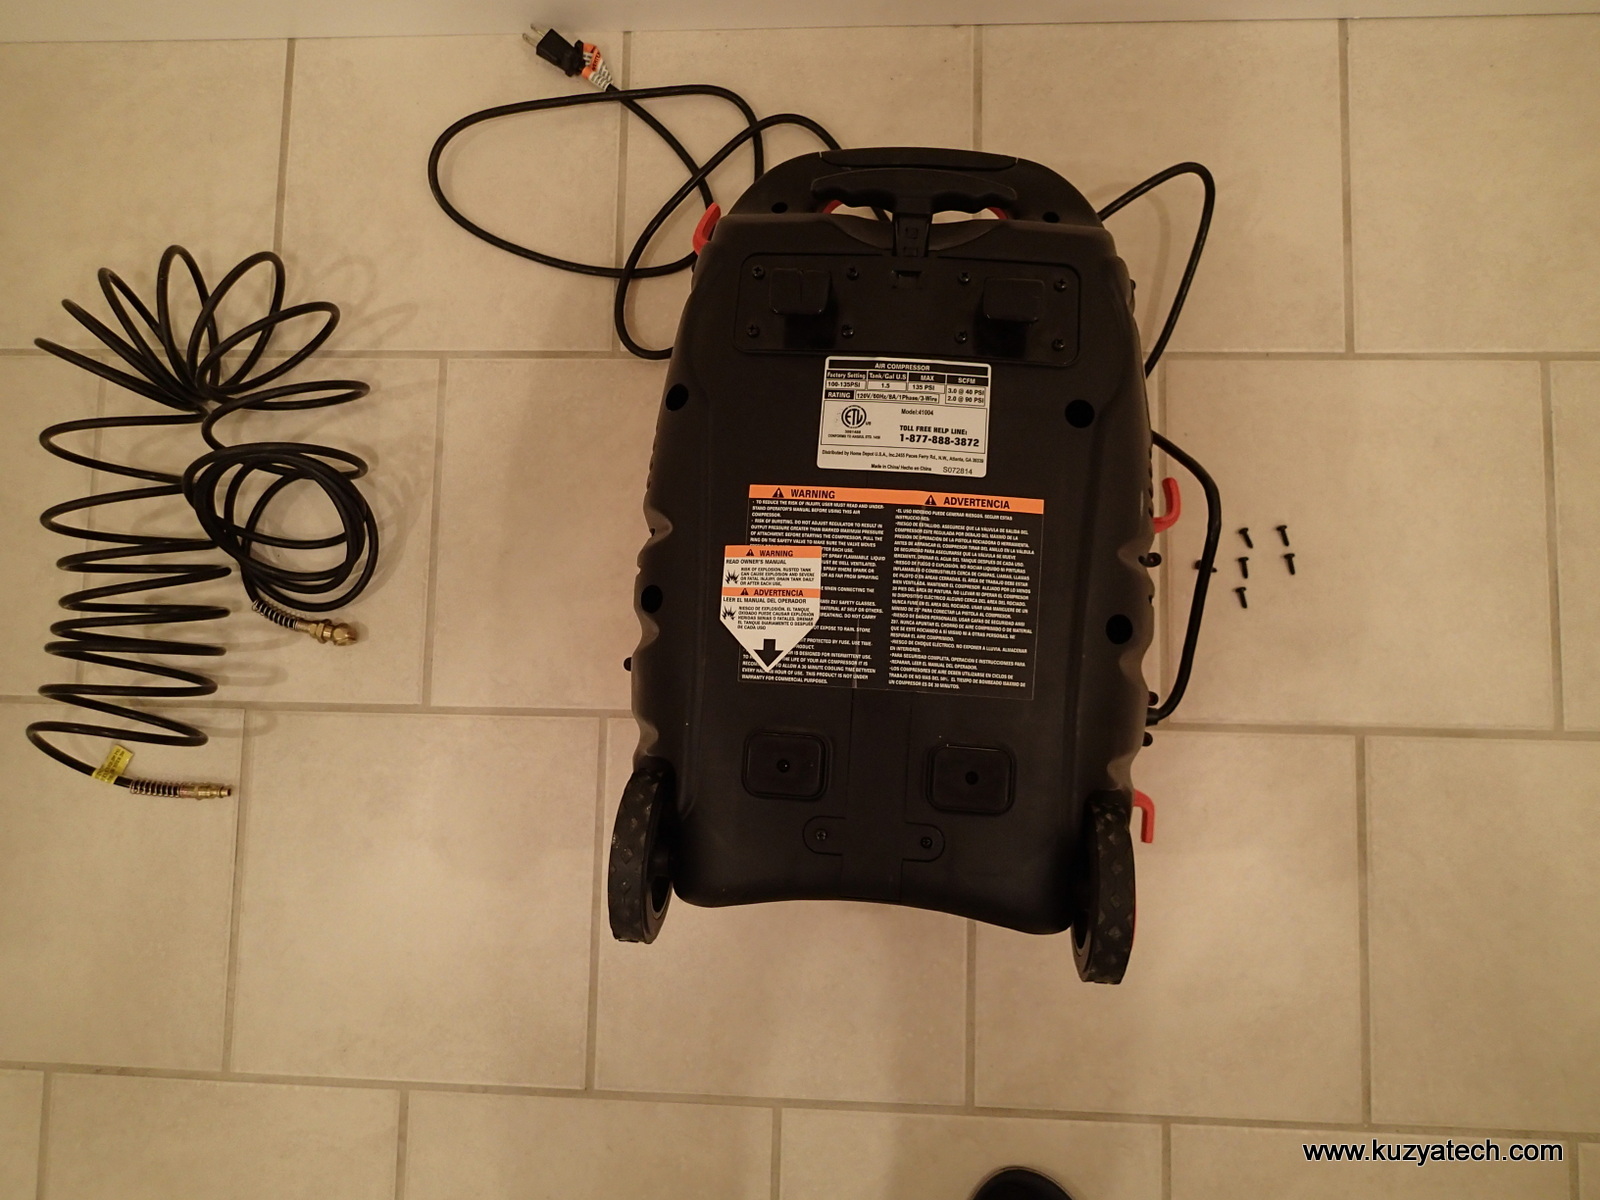
Starting dis-assembly
- Next the screws near the handle come out
Handle cover screws- four small ones hold the cover, then two more under it. Also remove two large screws on the cover next to it
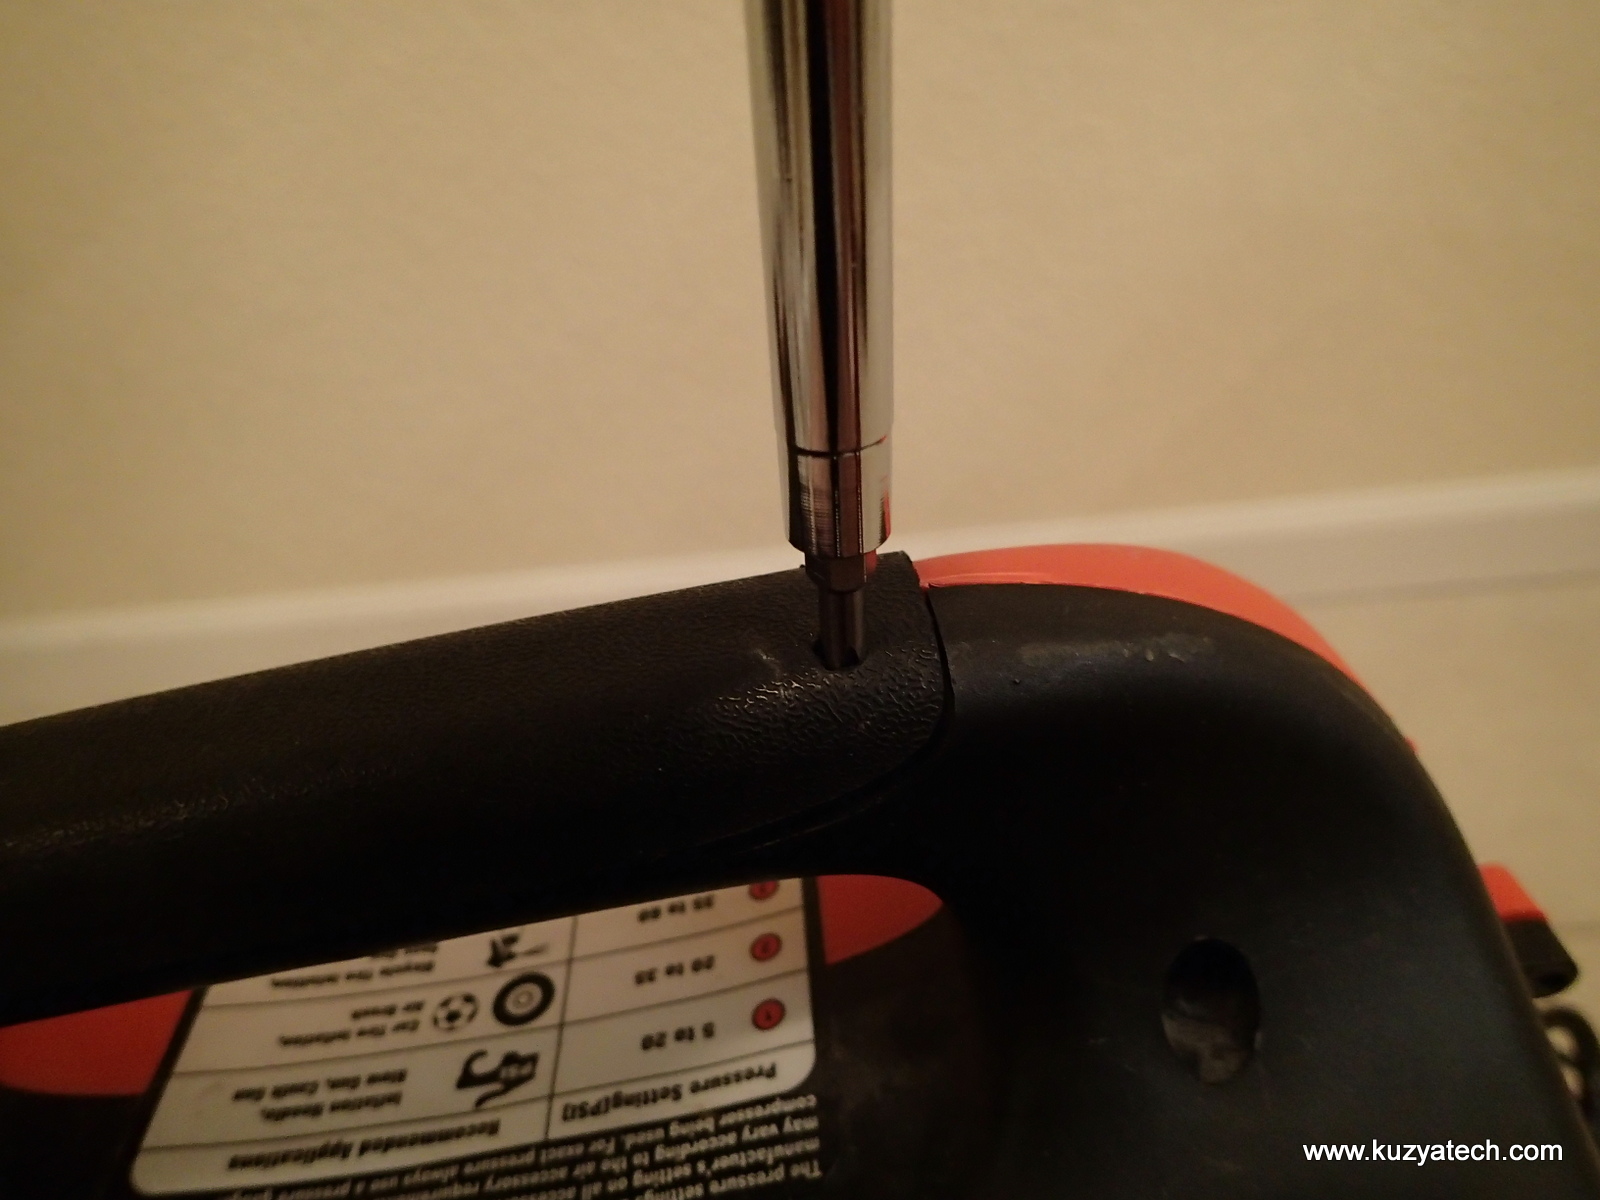
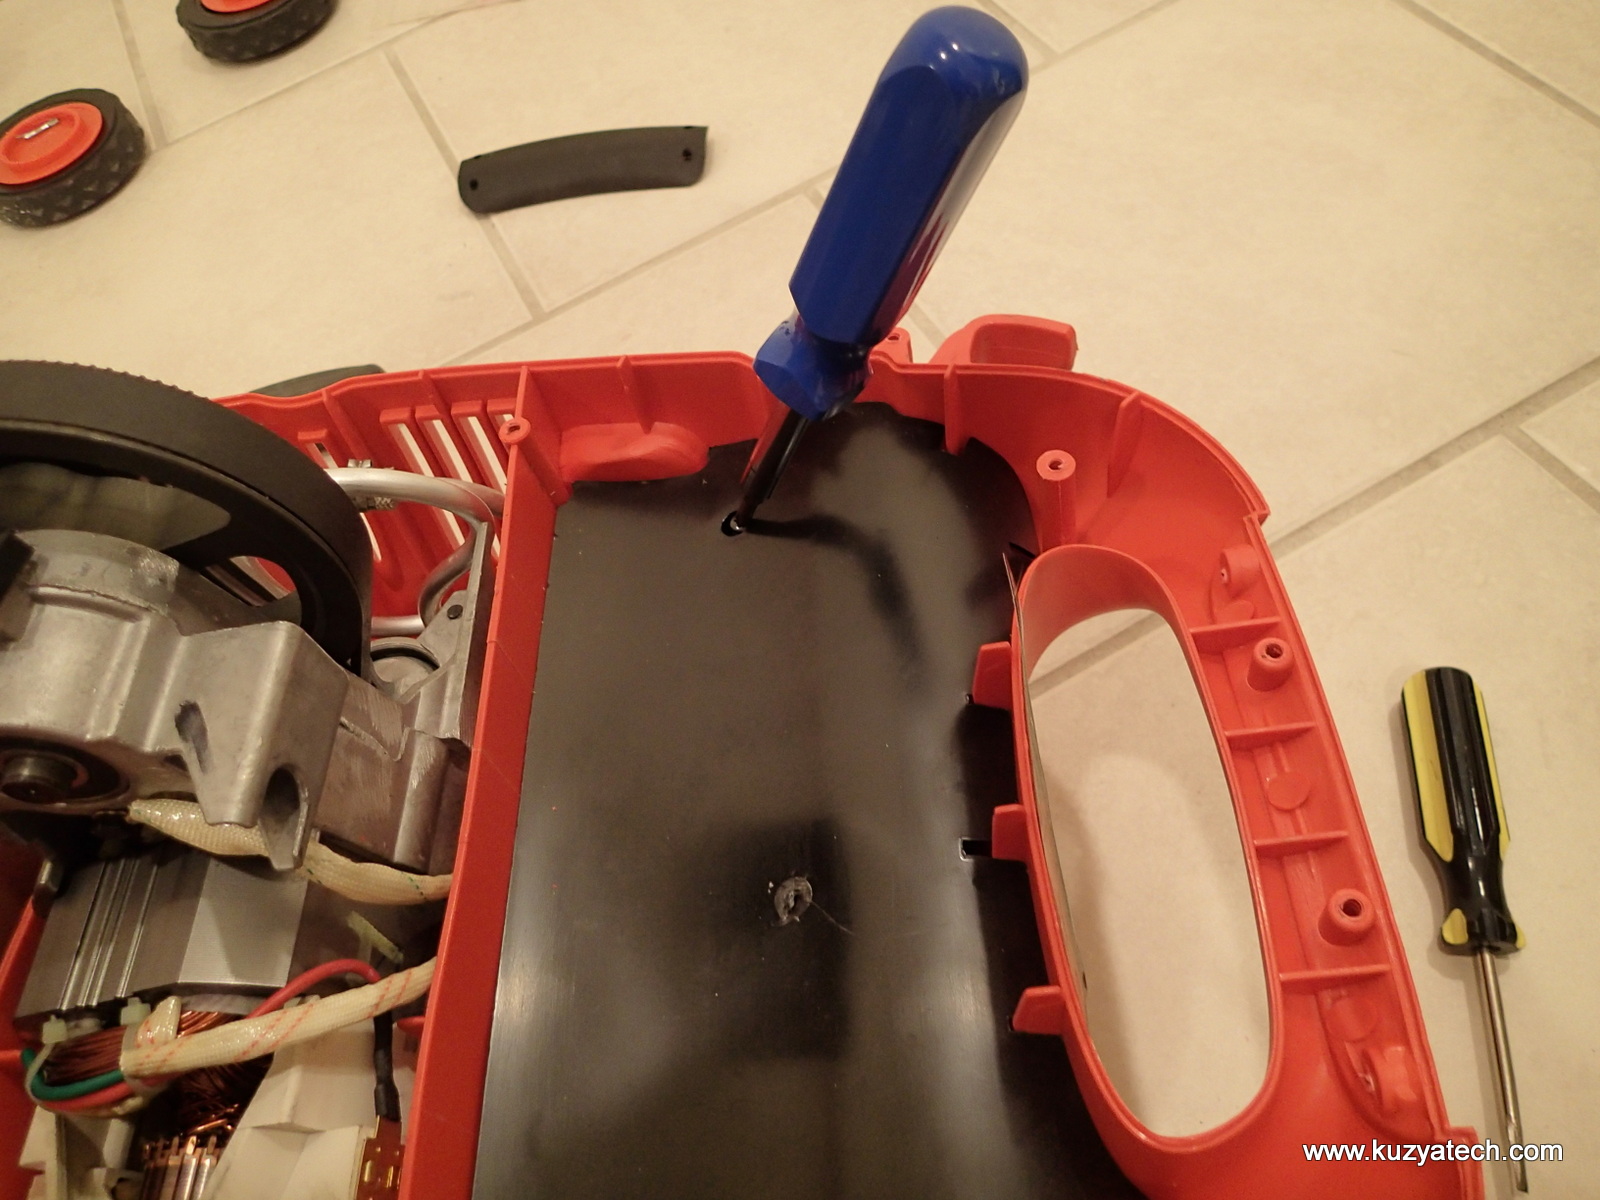
- Four long screws and washers hold the back of the case- the long screwdriver is required here
Recessed screws
6. At this point you’d expect the case to come apart but there are two more hidden screws holding things together. To get to them, wheels need to come of:
-

Remove wheel covers
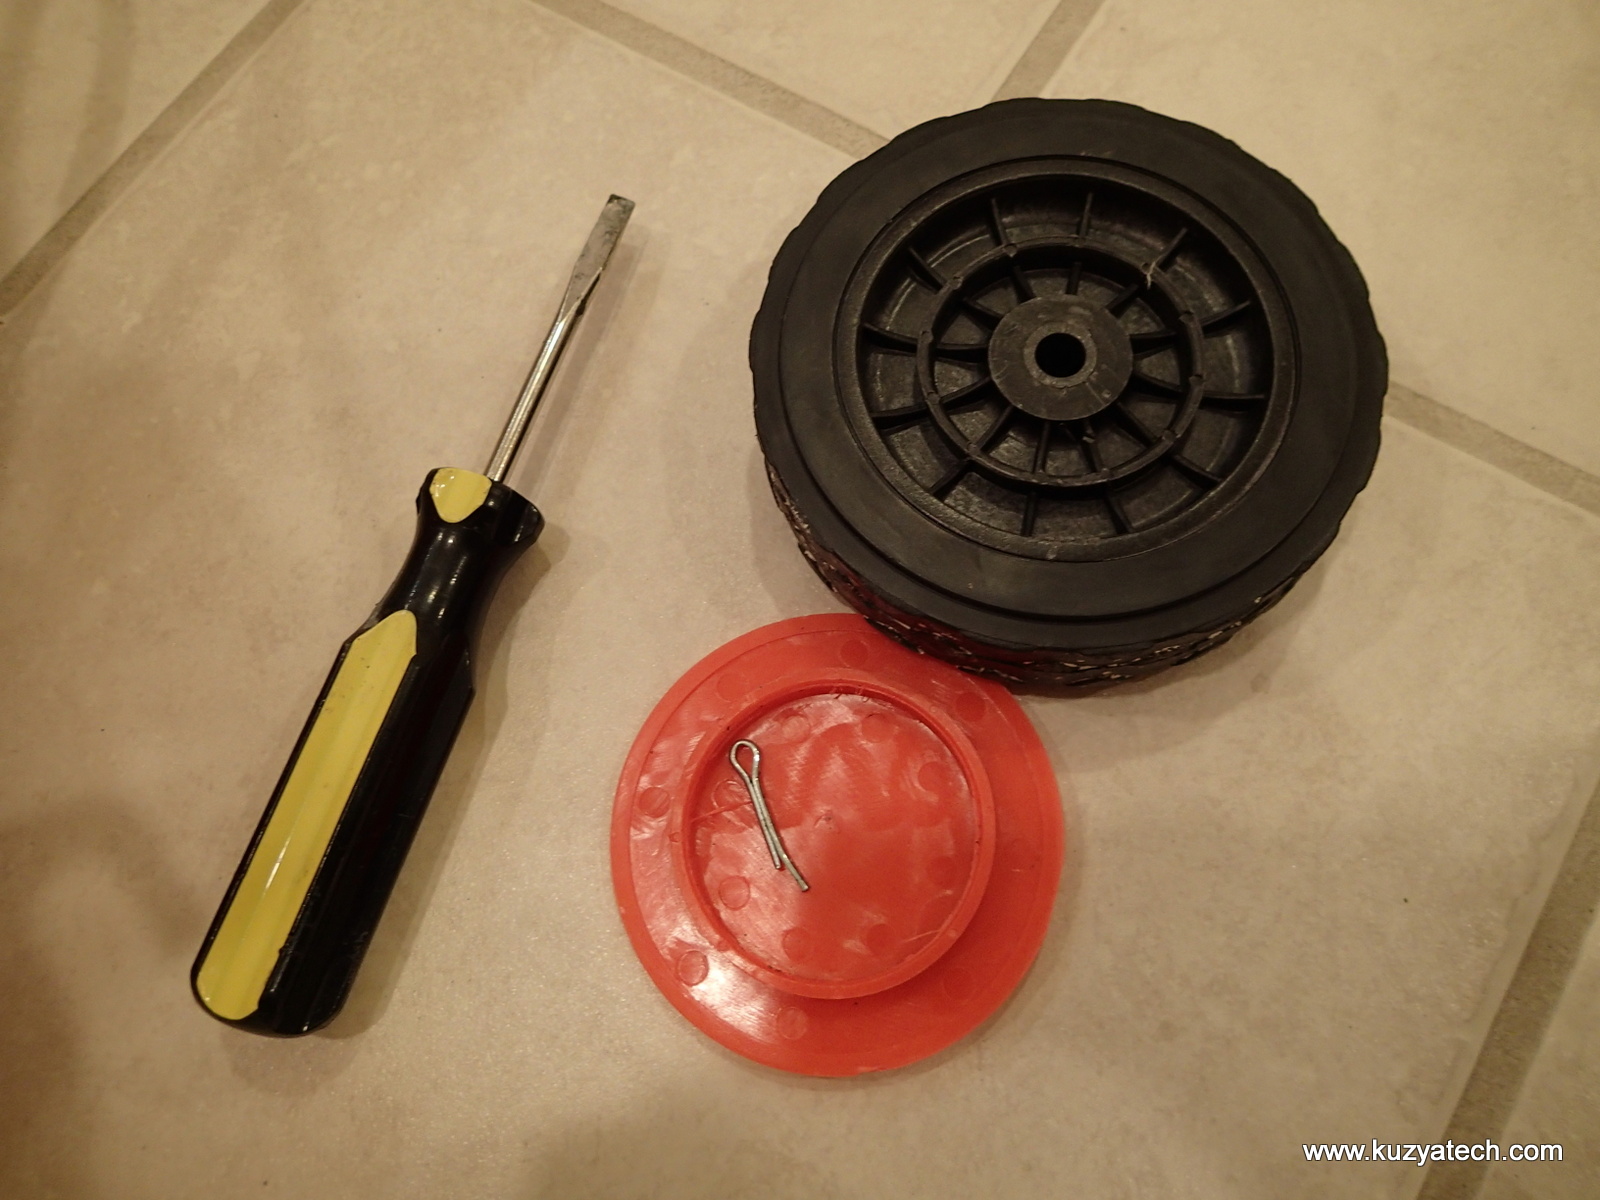
Remove pin and slide wheels off the axis

Now the screws are accessible
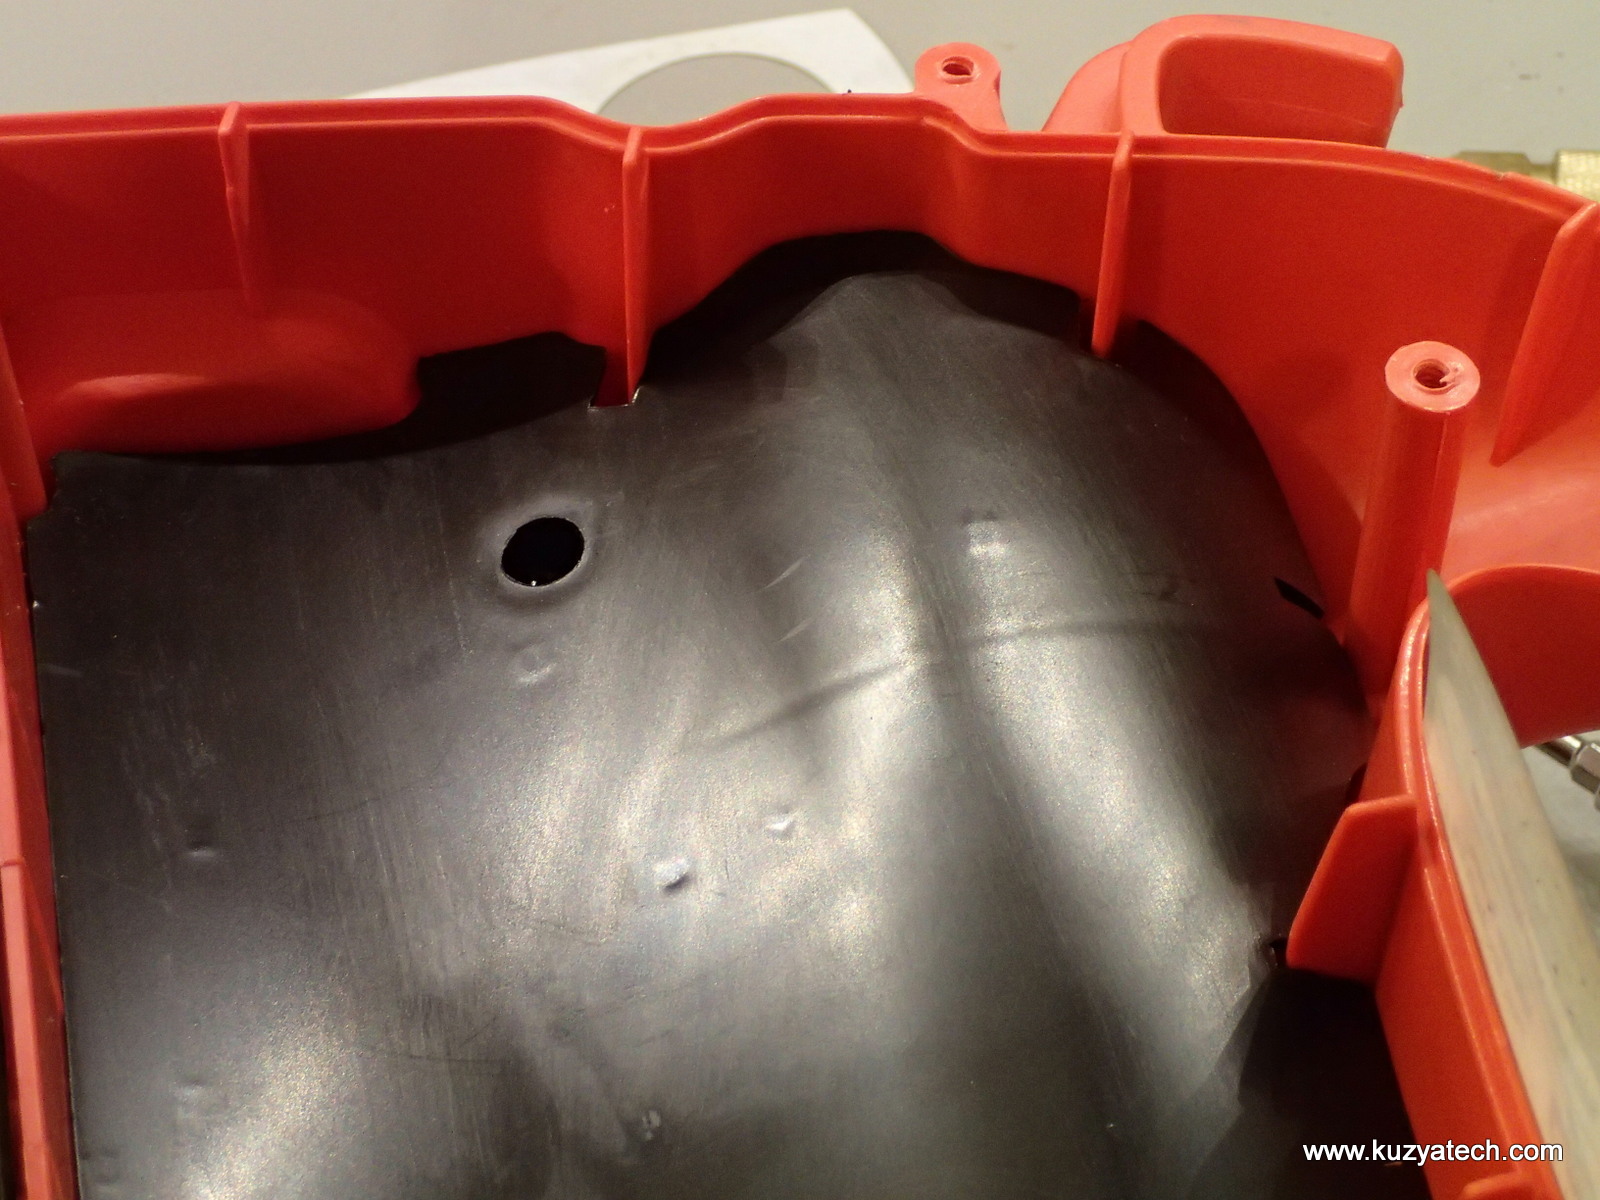
7. The back cover can now be removed:

A look inside- air tank on the left, compressor assembly in the middle, controls on the right
8. Removing cover over the control panel:
Remove plastic cover
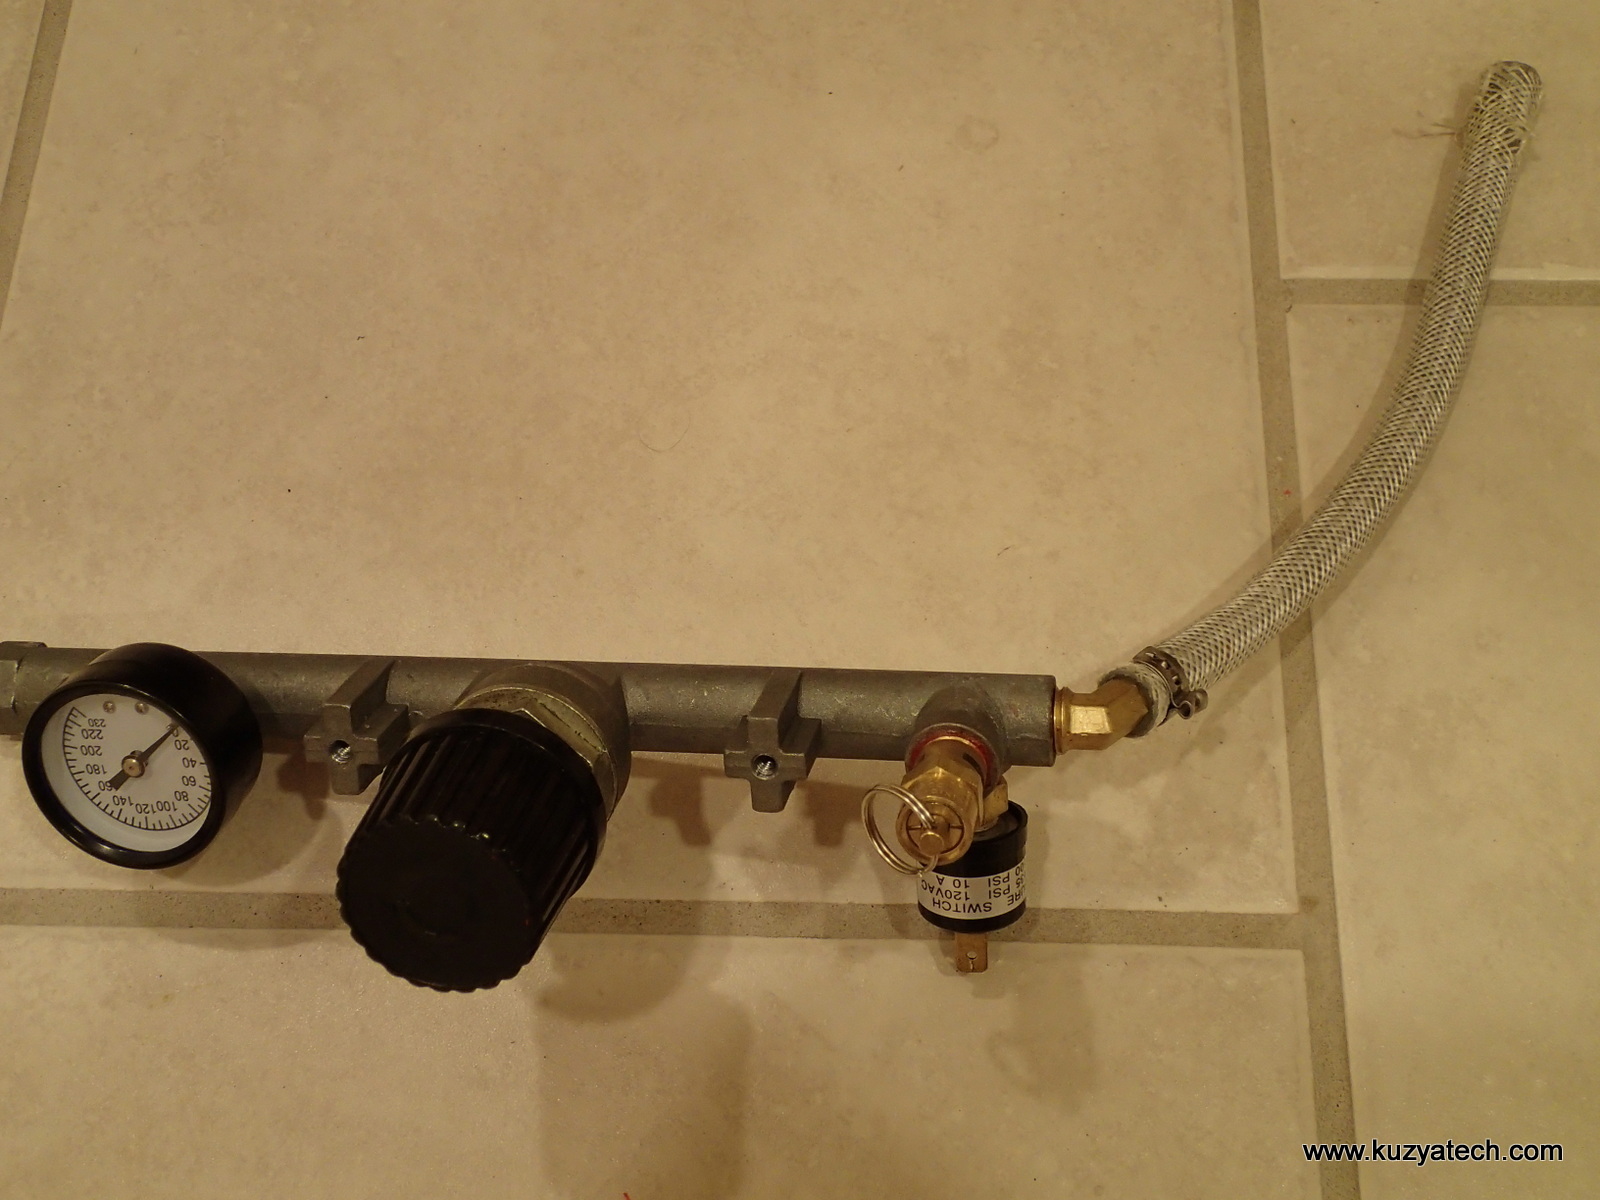
9: Now we can get to the pressure regulator assembly. The regulator is not offered individually, so the whole meal rail will have to be replaced:

Pressure regulator rail – air comes from the tank on the left, goes through pressure switch, pressure regulator, gauge and then out to the hose
10. The assembly is held by two screws from the front, so the label has to be peeled off:

Carefully lifting the sticker
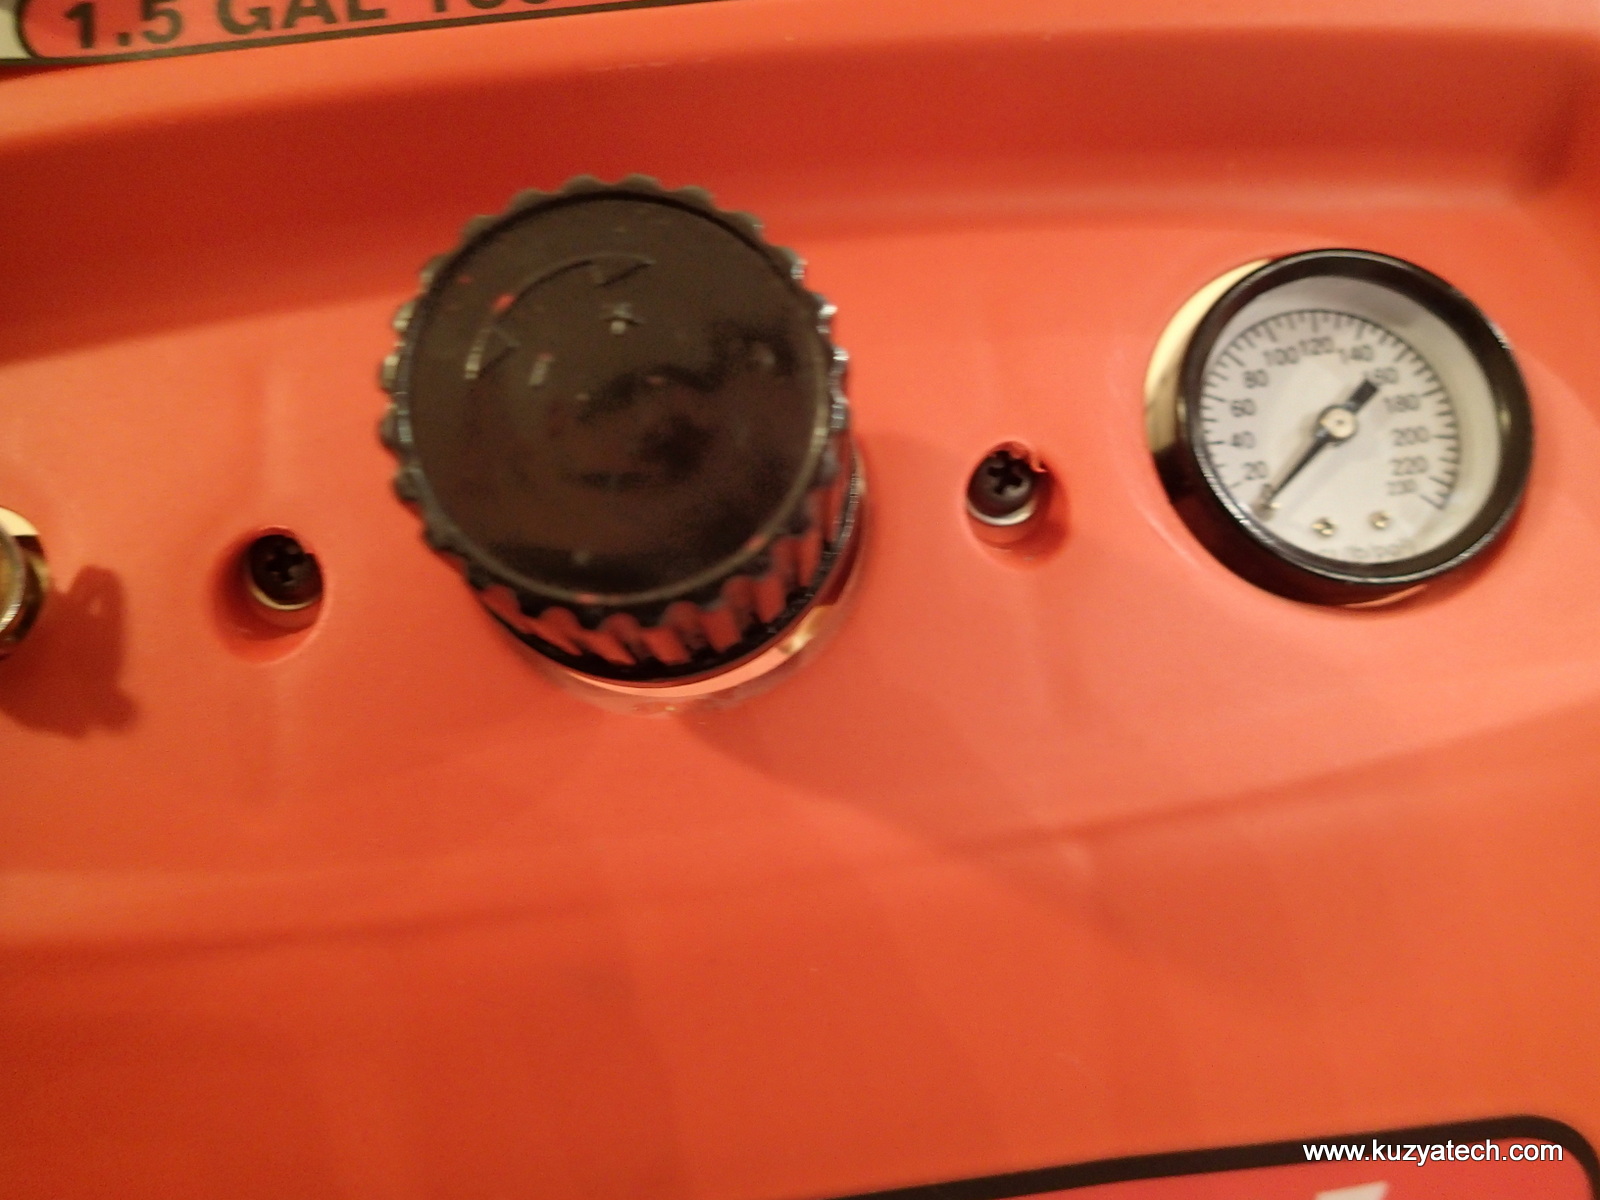
Now the screws are accessible
11. With the screws removed, it’s time to disconnect the hose side:
Loosen the screw and disconnect the hose
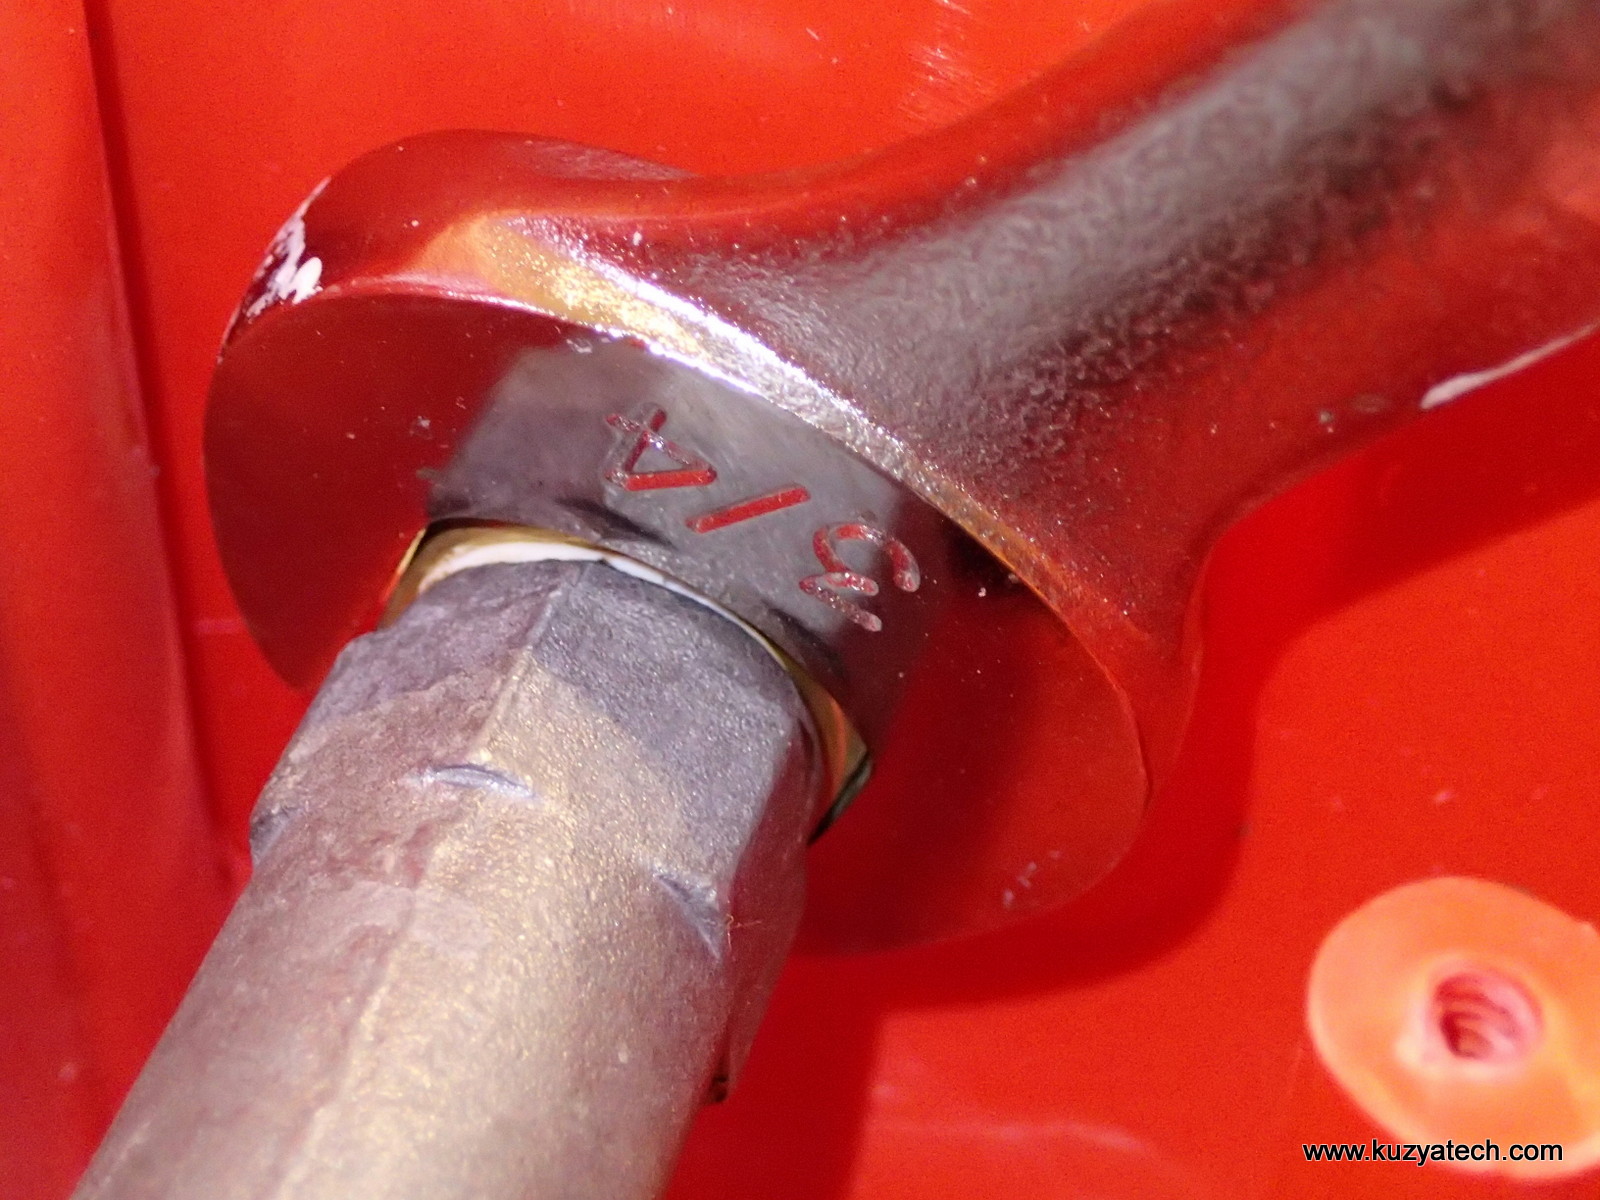
12. Disconnect grounding straps, using socket wrench:
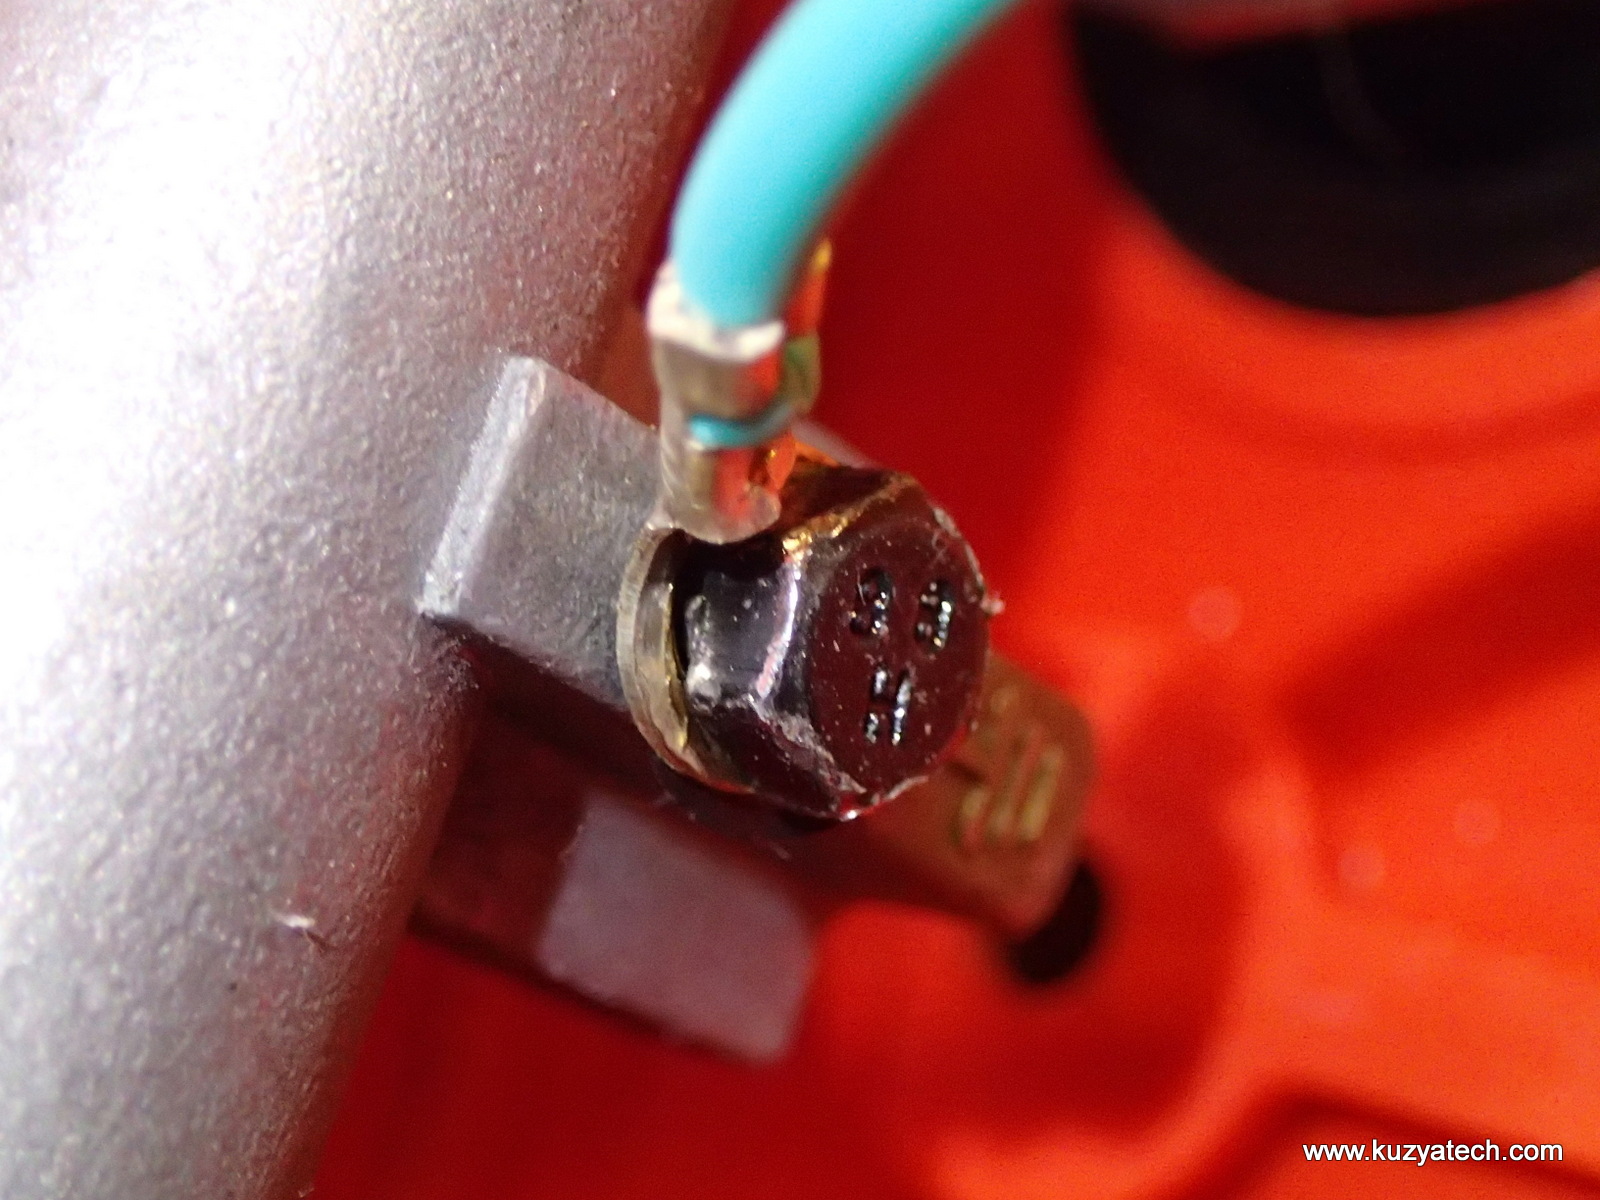
First ground cable
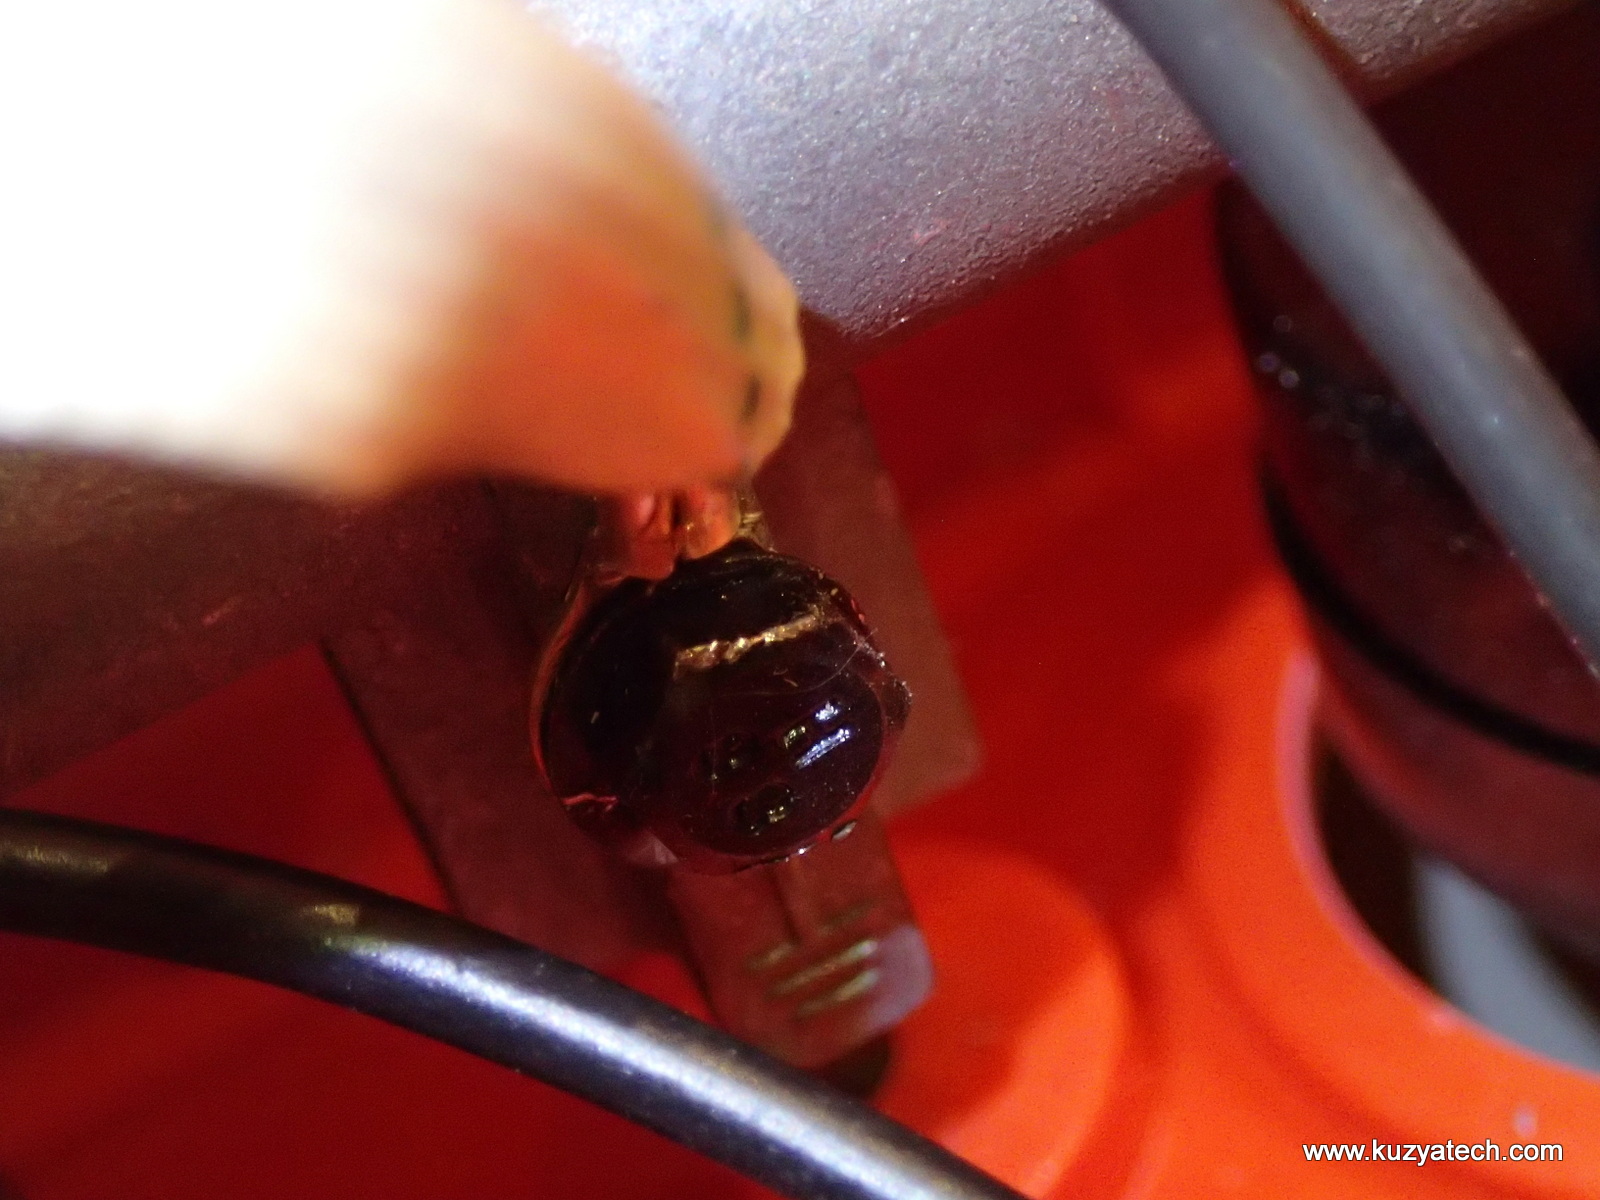
Second grounding strap
13. Disconnect pressure switch:
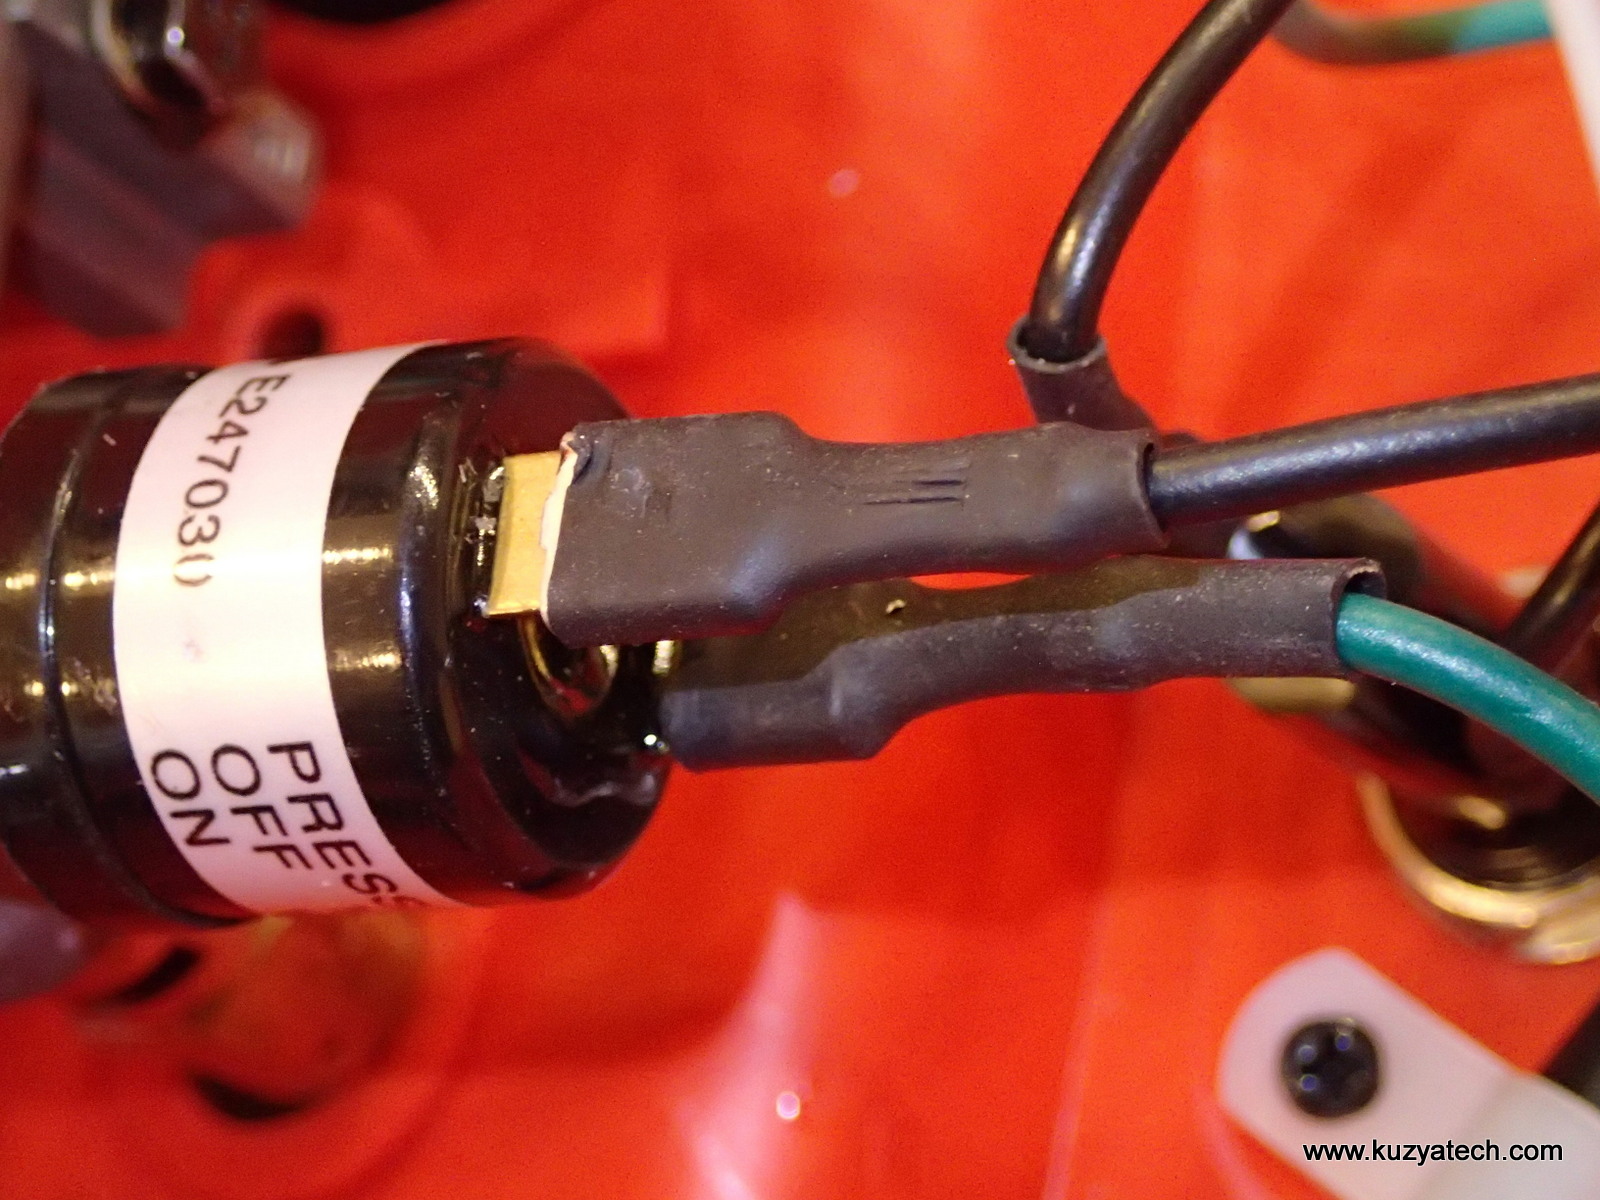
Pressure switch
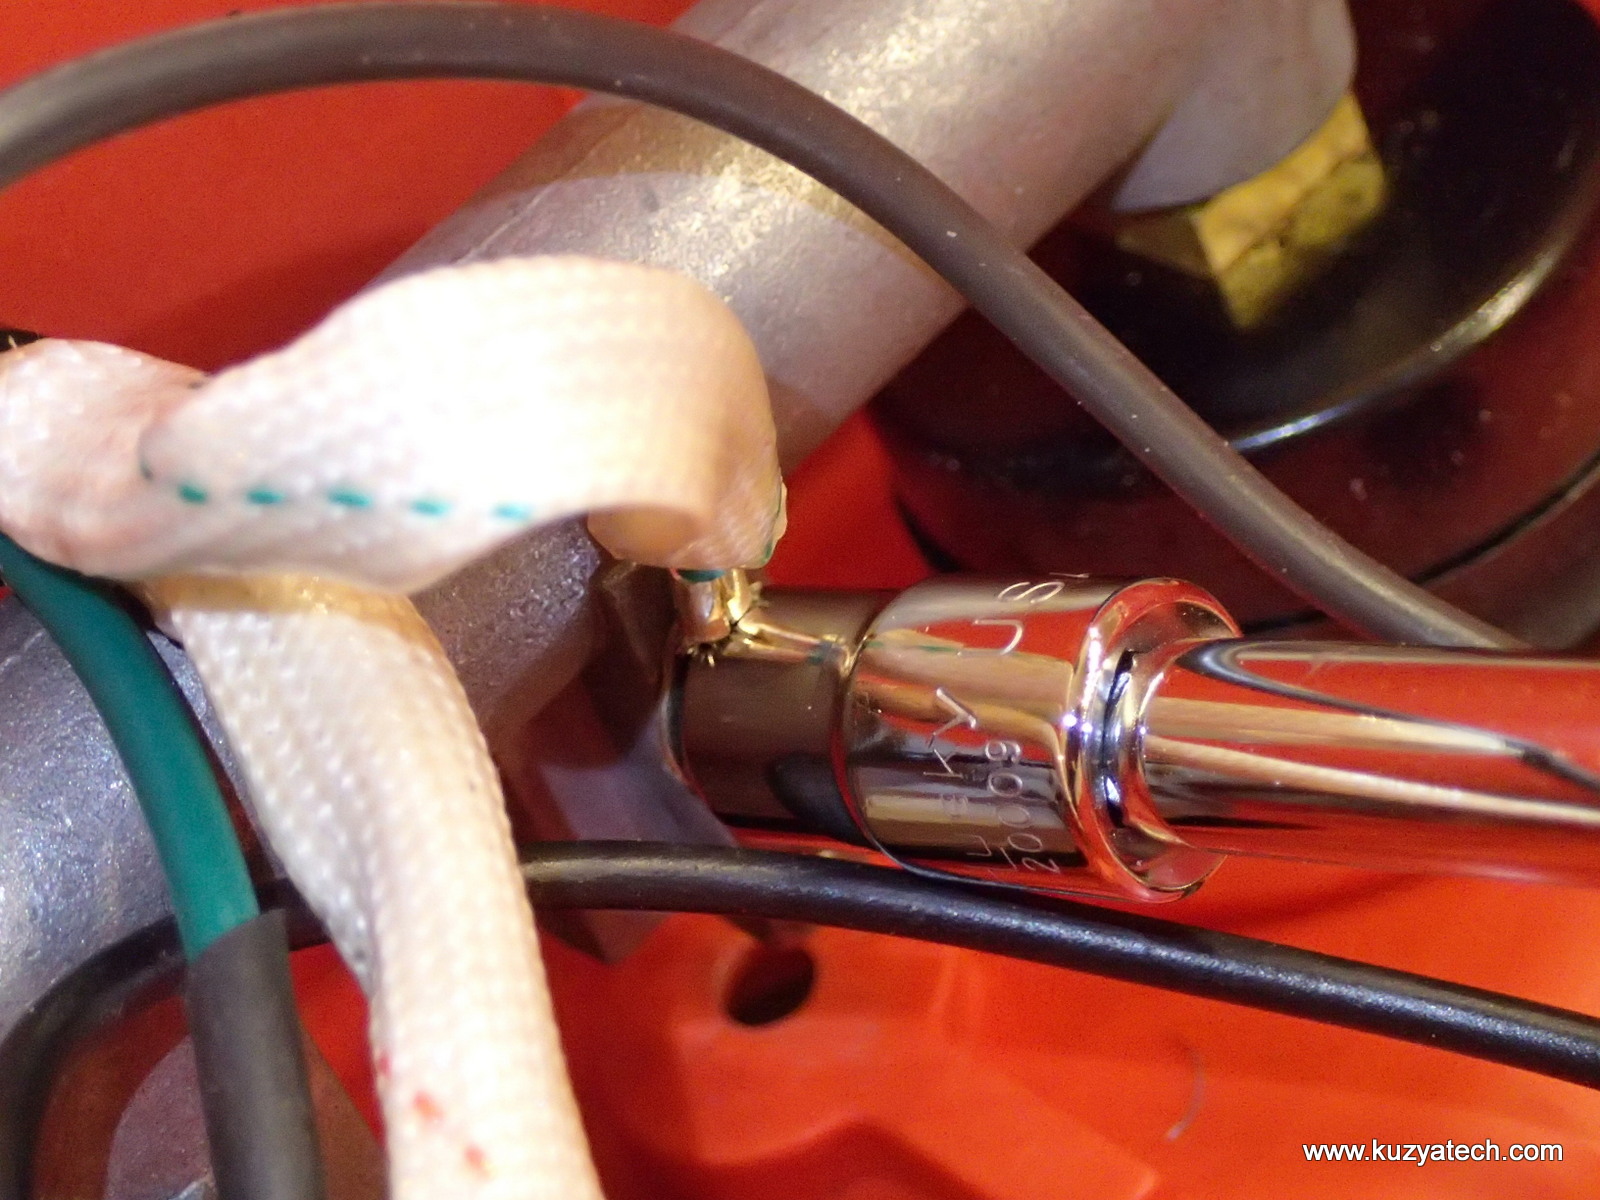
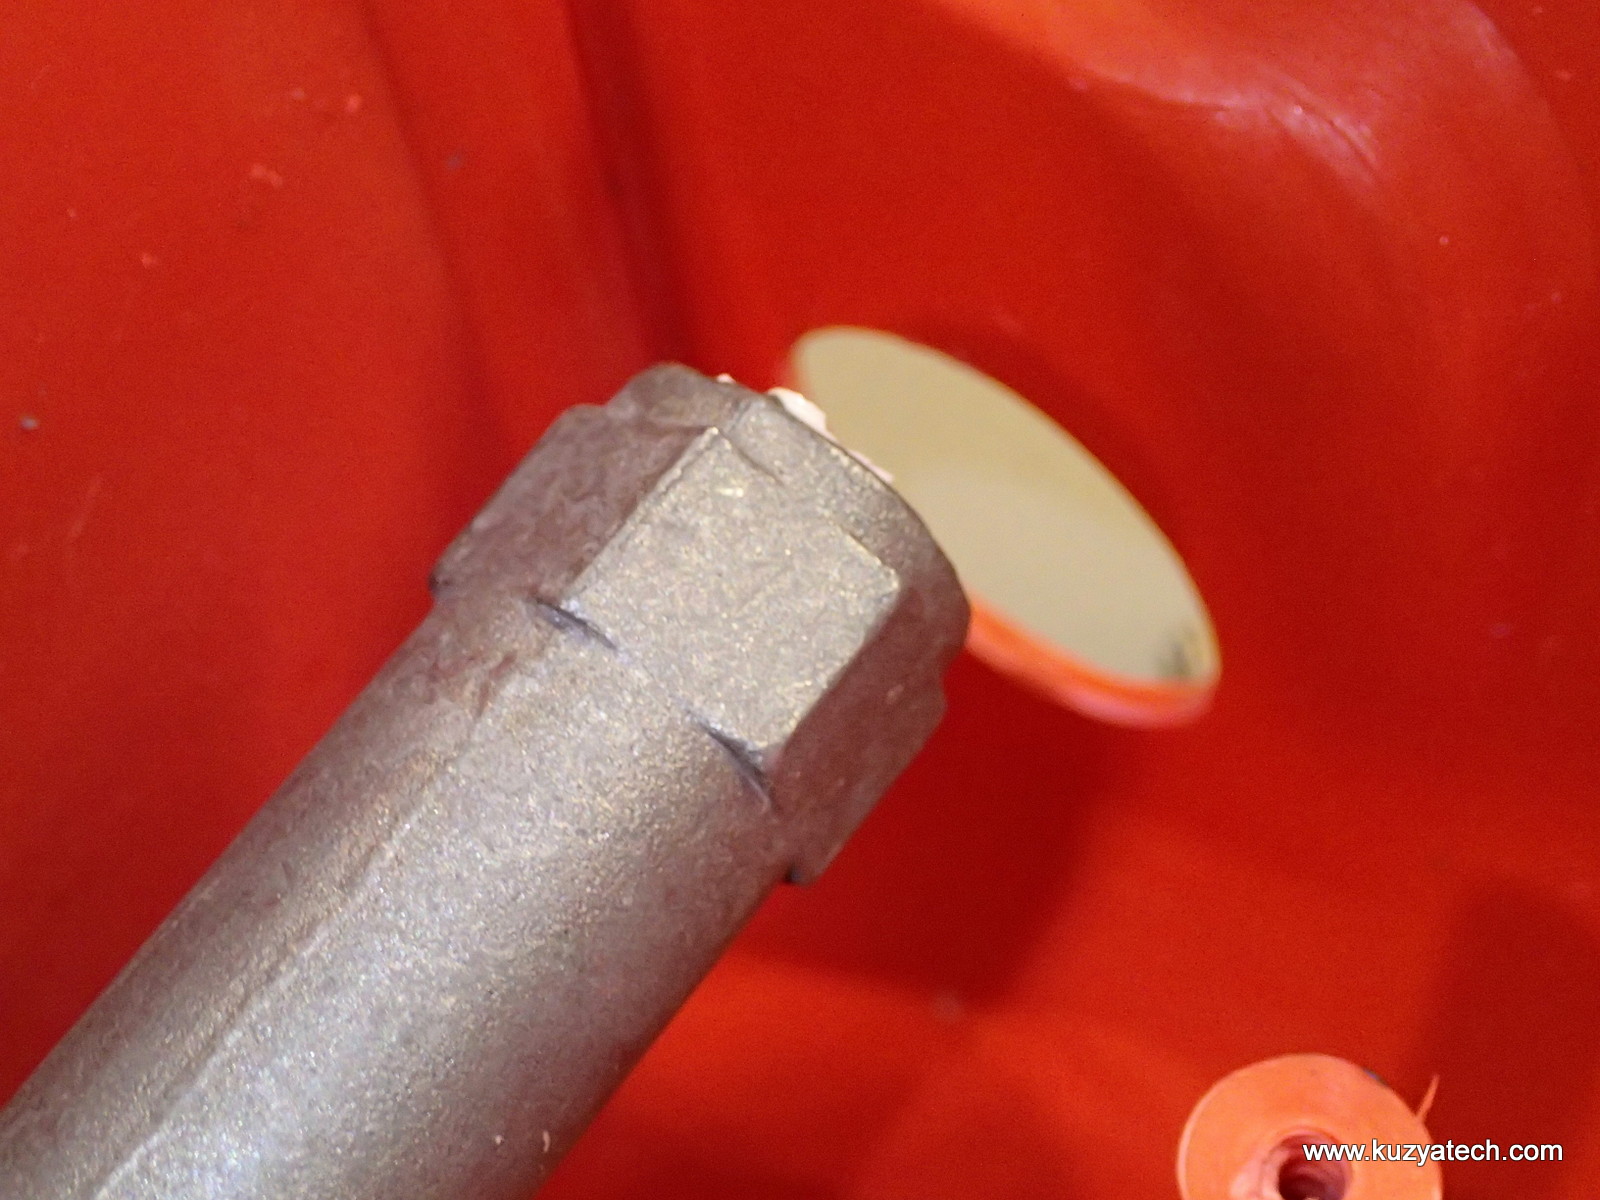
14. Lift out the old assembly. It may be easier if the hose connector is removed first:
Unscrew hose connector
Removing the assembly
15. Install the new assembly with two screws. Reconnect grounding straps: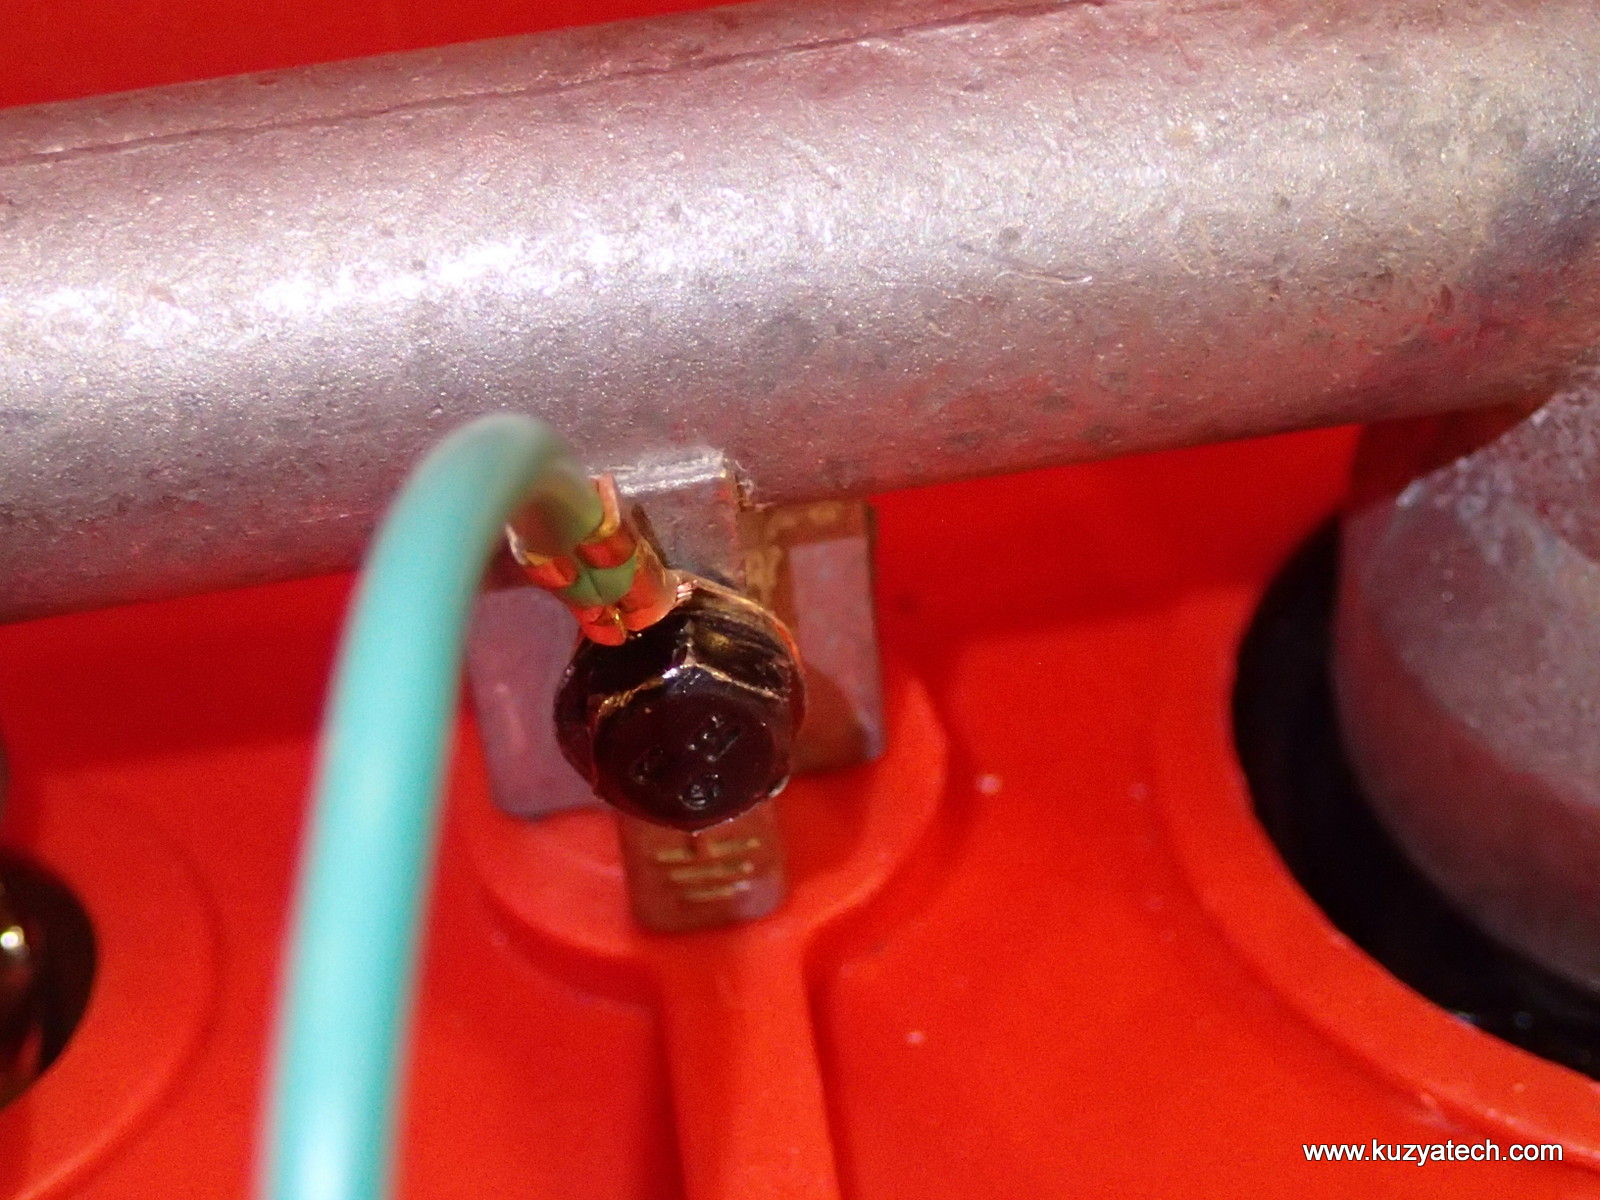
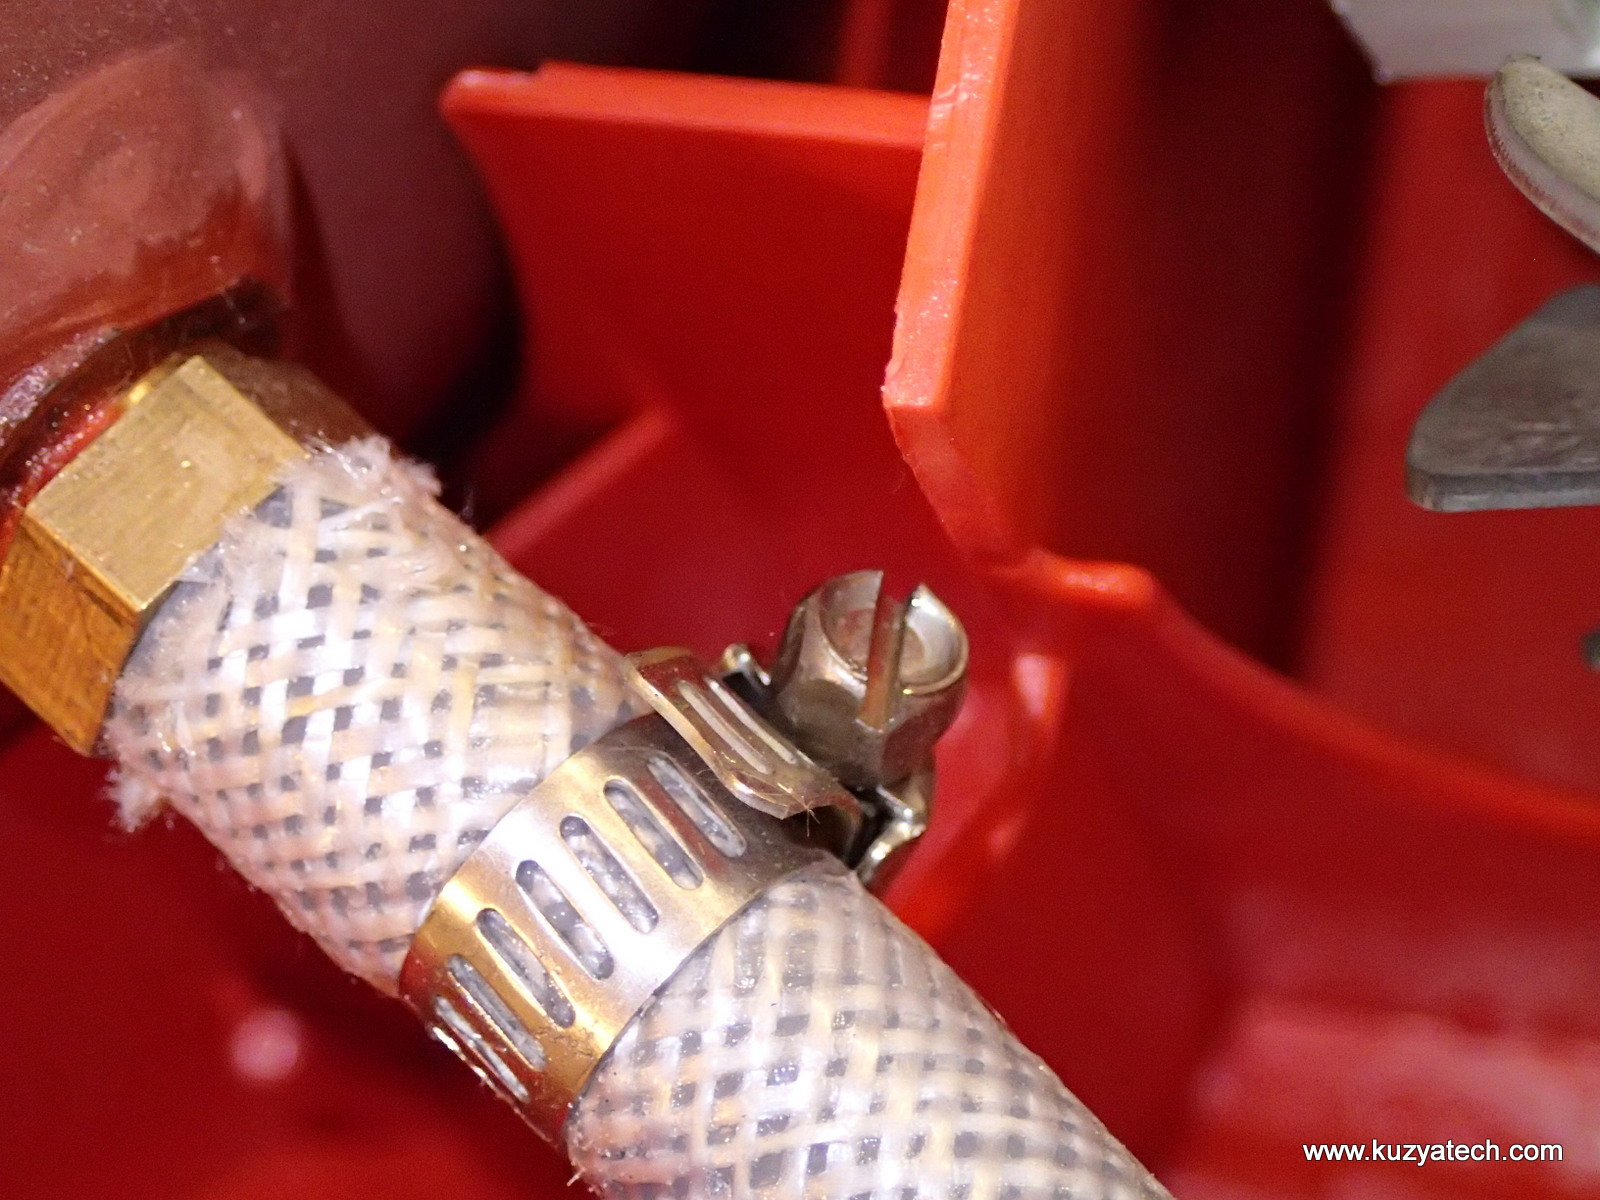
16. Reconnect pressure switch. Install air hose:

Slide the new hose on

Replace and tighten the clamp
17. Replace rubber hose holder:
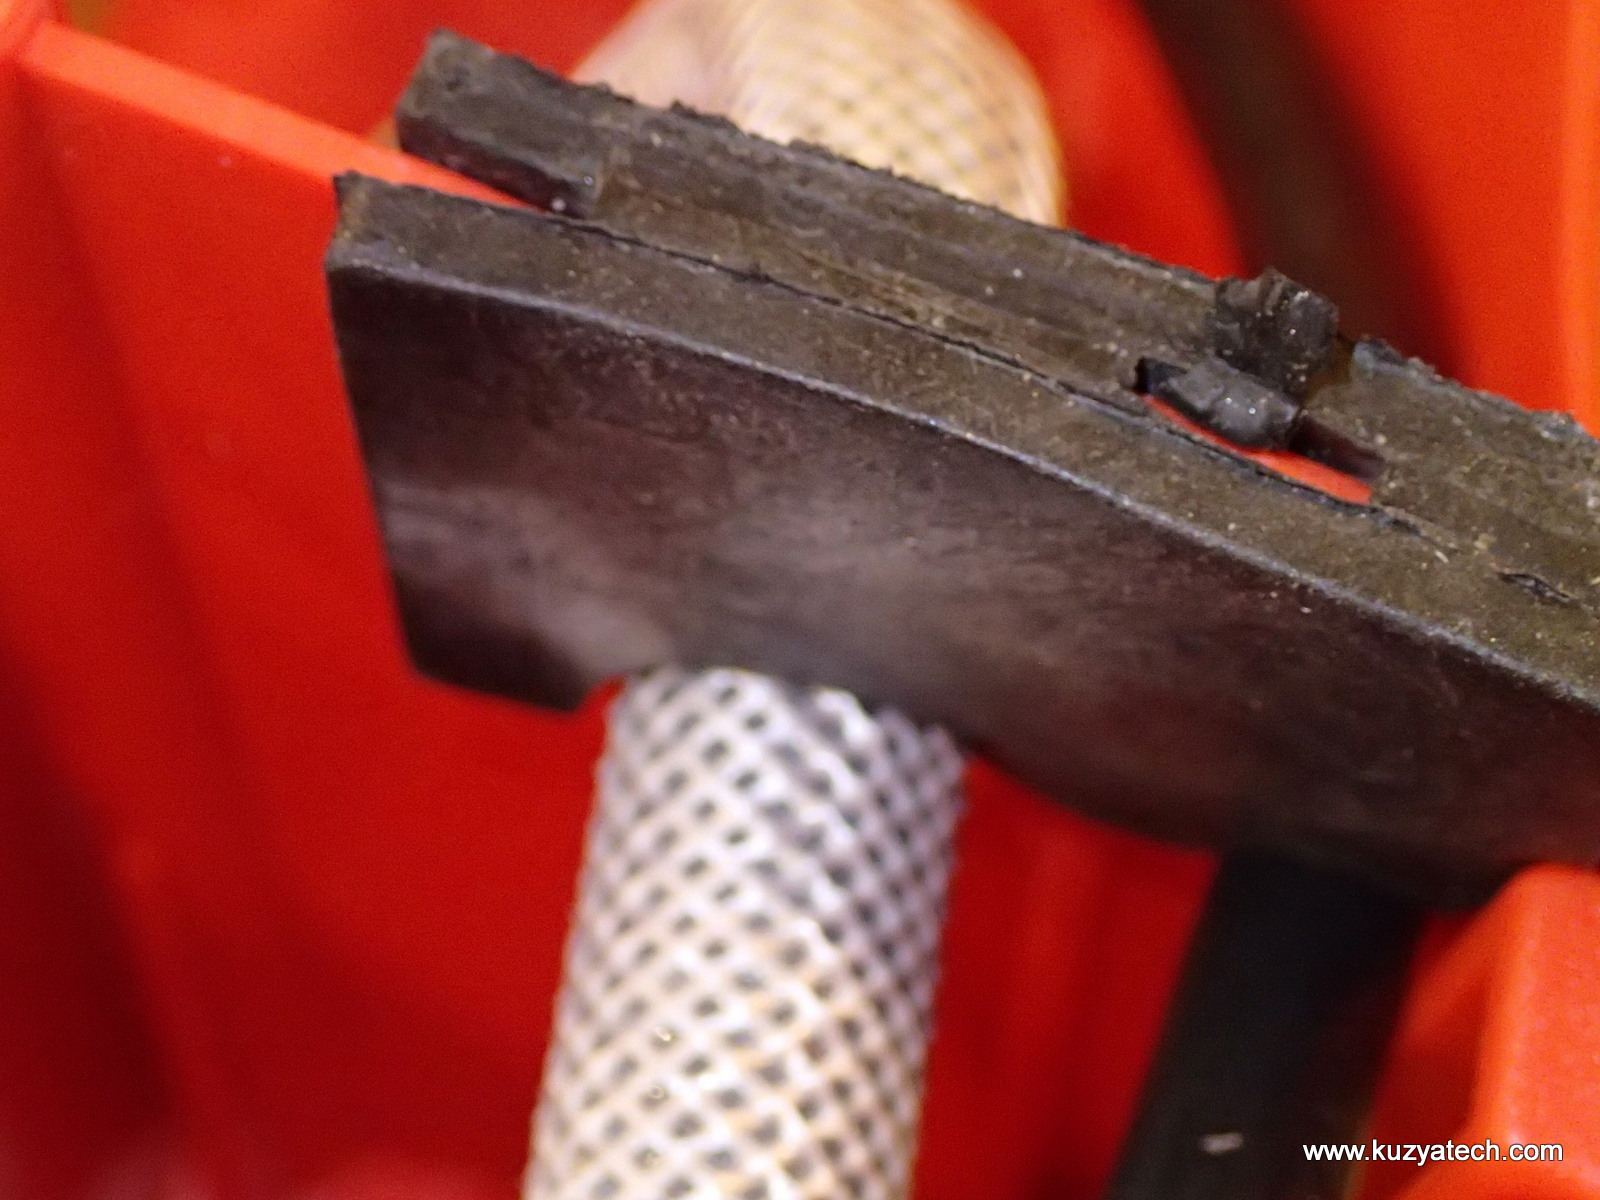
Replace rubber holder
18: Reinstall plastic cover
Replace cover
19.Replace the back cover, install all the screws, install wheels. Confirm compressor is now holding and regulating pressure. Repair done (until the regulator fails again..)
20. Here is what the pressure regulator assembly looks like:
The failed assembly
Can I replace just the Pressure Regulator knob rather than the entire assembly?
I doubt it. Plus by the time you get in , you might as well swap the whole thing out
My knob is what went bad. It doesn’t tighten and looses air.
I got one of these for Christmas about 4 years ago and the EXACT same thing has happened to me!!!!
Your website was extremely helpful — Thanks a lot! I google “Air Compressor Model 41004” and your article came right up!
If you are trying to buy the regulator, ordertree link seems to be: http://www.ordertree.com/sun-3110375/
Thank You Reagle,
Without your reply I could not find the part on ordertree. I was about to give up and toss the damn thing, I am getting the feeling there is some design flaw in the thing and I can’t rely on it. For a $15.00 part and $9.00 shipping and handling I will repair it and give it a chance.
Thank you for your help, Tom Chandler
Last time I ordered two- who knows when they’ll stop selling them..
My 91 year old mother uses this to put air in the tires of her garden cart and lawn tractor, if or when this fails again I will replace it with something newer and more reliable I have.
Her remaining good days are too precious to waste. I only agreed to fix it because her long time next door neighbor gave it to her as a gift the summer before she passed on.
Same unit , I’m need to replace the connector on the unit where the air hose attaches ( it doesn’t click /lock in any longer ) what is this part called and where can i get a replacement ?
Thank you for any help you can give me
I am assuming all of you have had the same problem I found. The pressure regulator shaft stripped out? I purchased mine at the Goodwill for $15 with this problem. I figured I could fix it, and I did. To make a long story short, without all the BS. This is a Mickey Mouse compressor which calls for a Mickey Mouse fix, sort of, fix.
This is what I did:
1. Broke the pressure knob off.
2. Separated the pressure valve with an 1 3/16″ deep socket.
3. Removed the plastic piston, w/ 2 o rings, spring and dimpled round pressure disk.
4 Removed the screw at the end of the adjustment shaft. It is a hex bolt. Mine just broke off. This allows the shaft to be removed from the housing.
5. I could see the threads had been stripped out of the pot metal housing. Take a 3/8- 16 or finer tap and re-thread the housing. DO NOT DRILL OUT THE HOLE! You will need ALL the material you can get.
6. Clean up the housing and check you work with the appropriate length bolt. I used one with 1-1/4″ threads. Use a good anti seize lubricant on the threads. I use the Loctite silver.
7. Reassemble the unit. Reverse the pressure disk so the dimple is point outward as most bolts are concave on the end. Then install the spring and plastic piston. I removed the 2 O-rings and used silicone grease on them. The extended point, in center, with hole goes towards the valve assembly, in case you didn’t pay attention when you took it apart.
8. Re insert the assembly into the pressure housing. (The $15 ABF) With the 1 3/16”deep socket.
9. Insert the bolt into the housing to adjust the pressure. You can make your own custom bolt by using a wing nut. Mine worked perfect.
This took me all of 30 minutes. Most of which was reading the above info. If you take the time replace the entire unit as described above, you will have the same problem over and over again. Reason being, there is no water separator before the pressure regulator and it will always be wet and corrode. The key here using the Loctite silver anti seize. If you have taken the time to do the above, I HIGHLY recommend you get the Loctite and put it on the threads of the new regulator, run it in and out until you have it on all the threads inside and out.
Or, you can go to Harbor Freight and buy a new compressor for $40 with the workings on the outside where they should be…
I took pictures and would be happy to send them if you need a pictures.
More film at eleven…
Yes I would love to the pictures of the fix
Bob, I have the same problem with my air compressor would you send me the pictures to fix it I will appreciate.
Thank you.
I have the same piece of junk,i bought a new regulator ,put it in and that 1 leaked also,please send me pics,be fore I throw it away,thanks
Please send me pic have same problem
please send pictures – I am having the same problem. Use it for upholstery projects.
thank you
Could I also have the pictures please.
Thanks!
Spot on! I splurged and bought a knob and a wingnut for my 3/16″ bolt and spent a whole 7 bucks on the repair. If I had just used the bolt, I would not have spent anything. 30 minutes or less.
do you have those picture of the air scout still
packer4life99@gmail.com
Bob, Would love pictures and I just replaced the whole assemble when I finally found online, but after a year the knob stripped again. No I can not find part.
Thanks for info
Hello Bob,
Do you still have the pictures of your repair? May I please get them? Thank you for your time.
Rockin’ fix! After the knob stripped, I thought this compressor might be toast. I had borrowed it from a friend who swore by it and had used it for years; it took me about 5 minutes to bust it! Anyway, this fix was right on and saved me from needing to buy her a new one. Thanks for posting it and the regulator part link worked great. You folks are awesome!
Followed the instructions, was surprised that for $15 I got all the components mounted on the regulator manifold, did not have to re-use anything from the old assembly.
I stripped the screw on my pressure regulator knob and could not maintain air pressure. I Google how to replace a pressure regulator on a Husky Air Scout and got you guys. I ordered the part from ordertree.com for fifteen dollars and went to work. Your step by step directions, photos and tools needed was perfection. It made everything easy and I did not miss a step. I could not done it without you guys. Thanks a million!!
Thank you for documenting this so clearly. Finding all the screws to open up a unit like this is half the battle. All went smoothly. I wish that the supplier furnished a hose clamp with the manifold. I reused the single use clamp that was on the original assembly and now I’m crossing my fingers. I’m fixing this at work. I backed up the clamp with a wire tie since there are no hose clamps here. Hopefully it will not blow out.
Thanks again!
John
Does anyone know where to get the Air Hose from the Tank to the Regulator. All else is fine on my unit.
Just a cracked hose. Put in another hose but when you bend it to fit it kink at the turn and will limit the air flow and I suspect where out the unit much faster. Anyway just trying to find an original replacment part.
The problem with tapping the existing threads to the regulator is that the steel bolt as already stripped the threads in the softer pot metal and has resulted in an over-sized hole that is needed for proper tapping. Cutting new threads in the larger hole is at best a temporary solution.
The ordertree.com link still works and for $15, it allows one to get some more life out of the compressor, until the regulator threads strip again. For another $1, the manufacturer could have put a threaded steel insert in the pot metal and that would have permanently solved the problem. Oh well. It is what it is and no more than I use it, it serves my purposes.
Hi, everyone!
I have the same unit (which I picked up for FREE from a neighbor) and he says he doesn’t know if it’s the power switch or not and it would only start some times. Well, few months later, plugged it in and it’s not starting. Bought the switch and it’s not starting either…. So, what could be the problem? HELP?
Thanks for the guidance. It is easy enough to figure out but easier to follow your directions.
“replace rubber hose holder” (order new one?) or reinstall rubber hose holder?
Thank You
Jay
Thank you very much, have had this compressor for close to 10 years, use it for light duties but it does the jobs I need when I need so hated to waste the whole thing for one little part. Cannot believe I found this article and was so well put together, even with the link and part number. Thank you so much ! Have removed the old part, waiting for my new part to arrive. Will try and post an update once up and running!
Thanks so much – I’ve ordered my part and hope to replace it soon. Thank you!!!
Thanks for link and instructions. I ordered the part and an hour later my husky was good again (for now anyway) Turned out the new hose connector is REAL finicky – need to really push hard to get hose to seat properly – does not have as much travel to the filling as the one I replaced. Minor annoyance in the scheme of things. Guess I could unscrew the connector from assembly and put the old fitting on- do you recommend replacing just that part or more trouble then it is worth ? If this thread is still active….Thanks again for order info and pics. great job !
I just tapped the pot metal with a 3/8 -16 tap and used a 3/8 eyebolt that i cut down to 1 1/2 inch long thread length. This way you won’t have to weld anything to the bolt head. The eye makes it easy to turn the bolt and thus regulate air pressure. Works great
I ordered the pressure gauge assembly from ordertree.com and 2 months have passed and I still haven’t received my part. I have contacted customer service three times and all that they are telling me is it is on back order. This is absurd. Does anybody know where else to get the part?
Thank you! Just the information I needed!
I’m repairing mine now using the method described by Bob in the comments above – but I have a concern. We are removing a retained, threaded adjustment stem and replacing it with a bolt (or an eye bolt). This means that if those threads should ever strip again (conceivable since they stripped the first time), the bolt/eye bolt could become a projectile under whatever pressure you have dialed in. The seeming purpose of that small hex screw that threads into the end of the adjustment stem is safety – it’s there so the adjustment stem can’t be ejected from the housing under pressure, even if the threads strip. I’m toying with the idea of drilling through the end of the eye bolt and putting a small pin in it so it could be captured even if the threads fail. I’ll just need to get a long enough eye bolt so I can place the pin after I’ve threaded it into the pot metal housing. I plan on double-nutting the upper part of the eye bolt threads to control how far in it can be adjusted. Alternatively, I figure I can put a small diameter wire-rope tether than can clip onto the eye bolt after its been adjusted. Since the manifold is no longer orderable (Apr 2019), I guess it’s really time to get a new compressor.
What size hose fits in the compressor cant figure it out
I just took factory steam that knob goes on out of regulator. Then I got my sae 3/8 tap tapped new threads in regulator cap put a 3/8 bolt in threaded hole. Works great when that strips I’ll just go up a size bolt. Lol
Stupid phone I ment valve stem.
My air scout performed faithfully over the past 15 years or so, primarily keeping car tires filled. Developed an internal leak after usong it to fill a large inflatable pool slide and came across rhis repair. Unfortunately, the referenced regulator module is no longer available from ordertree, so that’s likely the end of the line unless someone has any other fixes.
Thanks!
Thanks for showing dis-assembly!!!! My Problem was : the motor quit running. I found that the right side brush holder slid away from the commutator. I moved it back with a screwdriver and now all is working. I have not determined a permanent fix and I do not want to pay for a replacement motor. I may try a drop of epoxy. (just enough to hold the brush holder without cementing the brush)
Hello,
I can’t find the referenced regulator assembly from Ordertree, or anywhere else. Has anyone purchased the regulator assembly recently? If so, please provide order info – I have the same problem as everyone else in this thread. Regulator knob is stripped and won’t hold pressure.
Otherwise, can someone send pictures of Bob’s solution to the problem – breaking off knob and rethreading to use larger screw/eyebolt to function as knob.
Thank you!
Did you get it replaced?
Hello,
I can’t find the referenced regulator assembly from Ordertree, or anywhere else. Has anyone purchased the regulator assembly recently? If so, please provide order info – I have the same problem as everyone else in this thread. Regulator knob is stripped and won’t hold pressure.
Otherwise, can someone send pictures of Bob’s solution to the problem – breaking off knob and rethreading to use larger screw/eyebolt to function as knob.
Thank you!