
Today’s topic is somewhat unique- a vintage optical mouse, made in the days when it was not very trivial. It’s not like you can just slap a camera in and have it take pictures to figure out where things move. In the old days you had to actually design it, maybe even using some 2N3906 and 555 timers as we’ll find out. Let’s start with unboxing (pardon the masking tape holding things together)

Vintage find
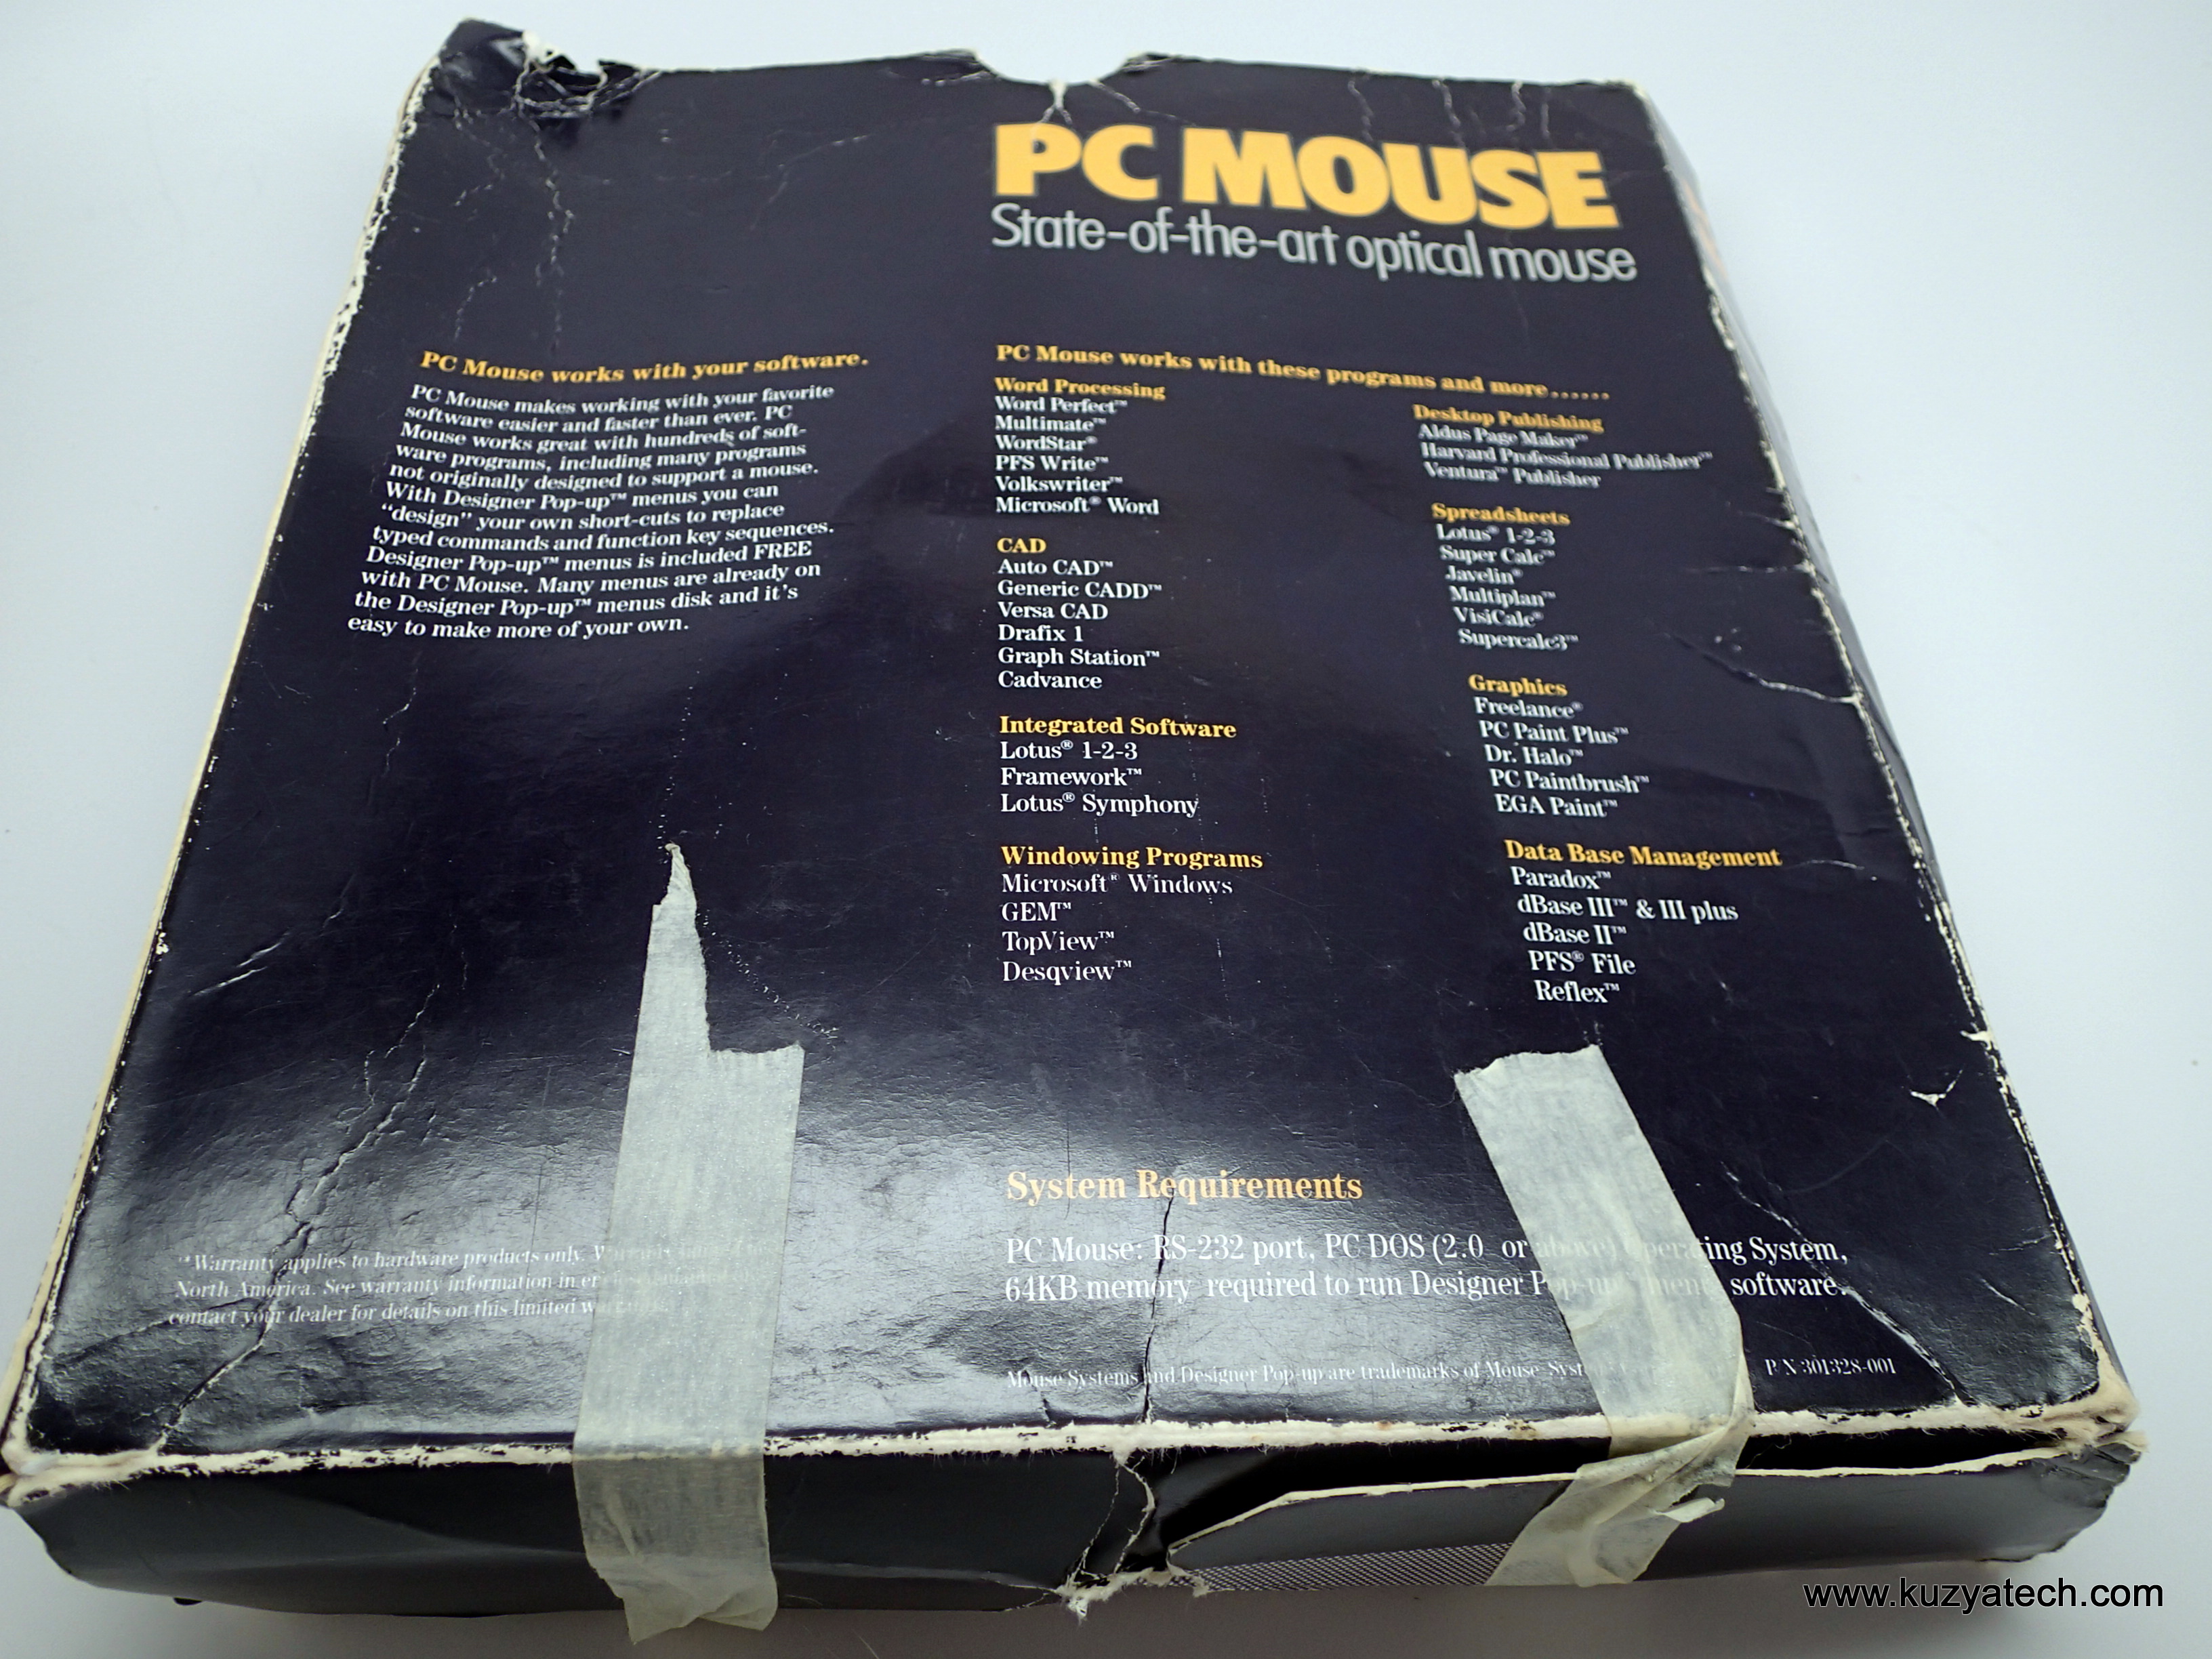
Some of these names still exist years later!
You get some fancy 5″ floppies with it, some fairly technical documentation, offers from all kinds of companies no longer around and a metal mousepad
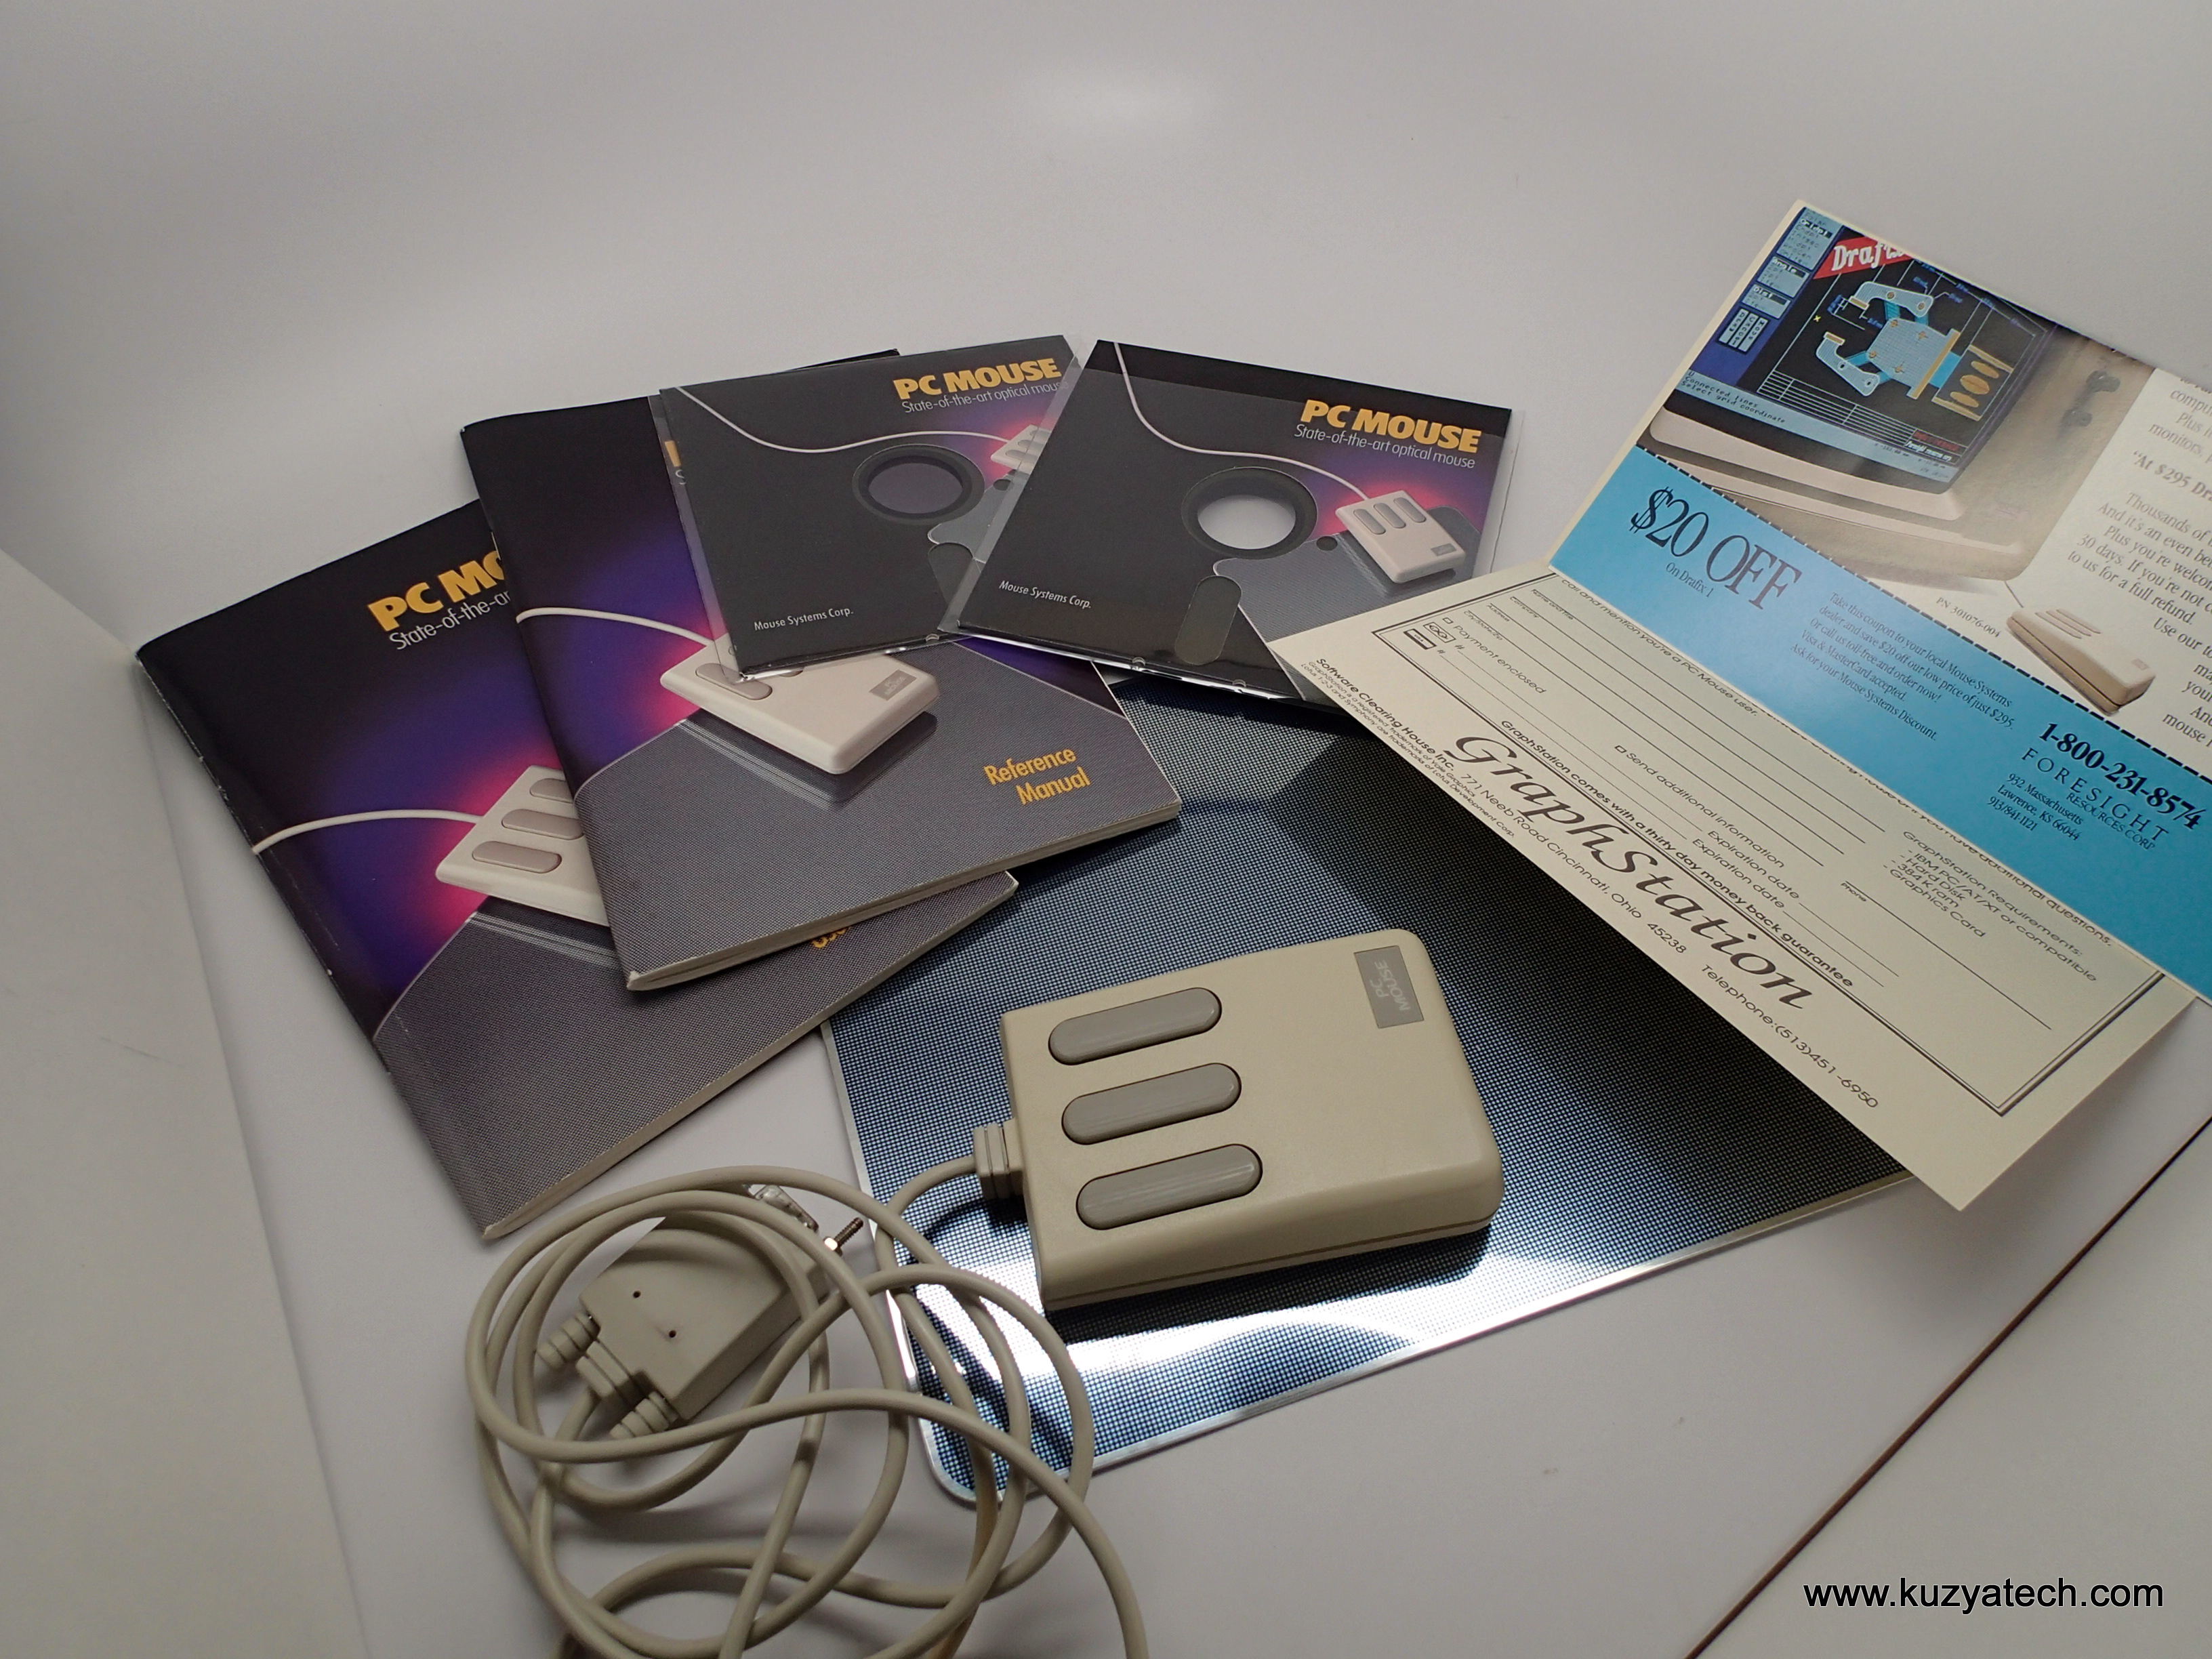
Vintage unboxing
Detail of the mousepad pattern
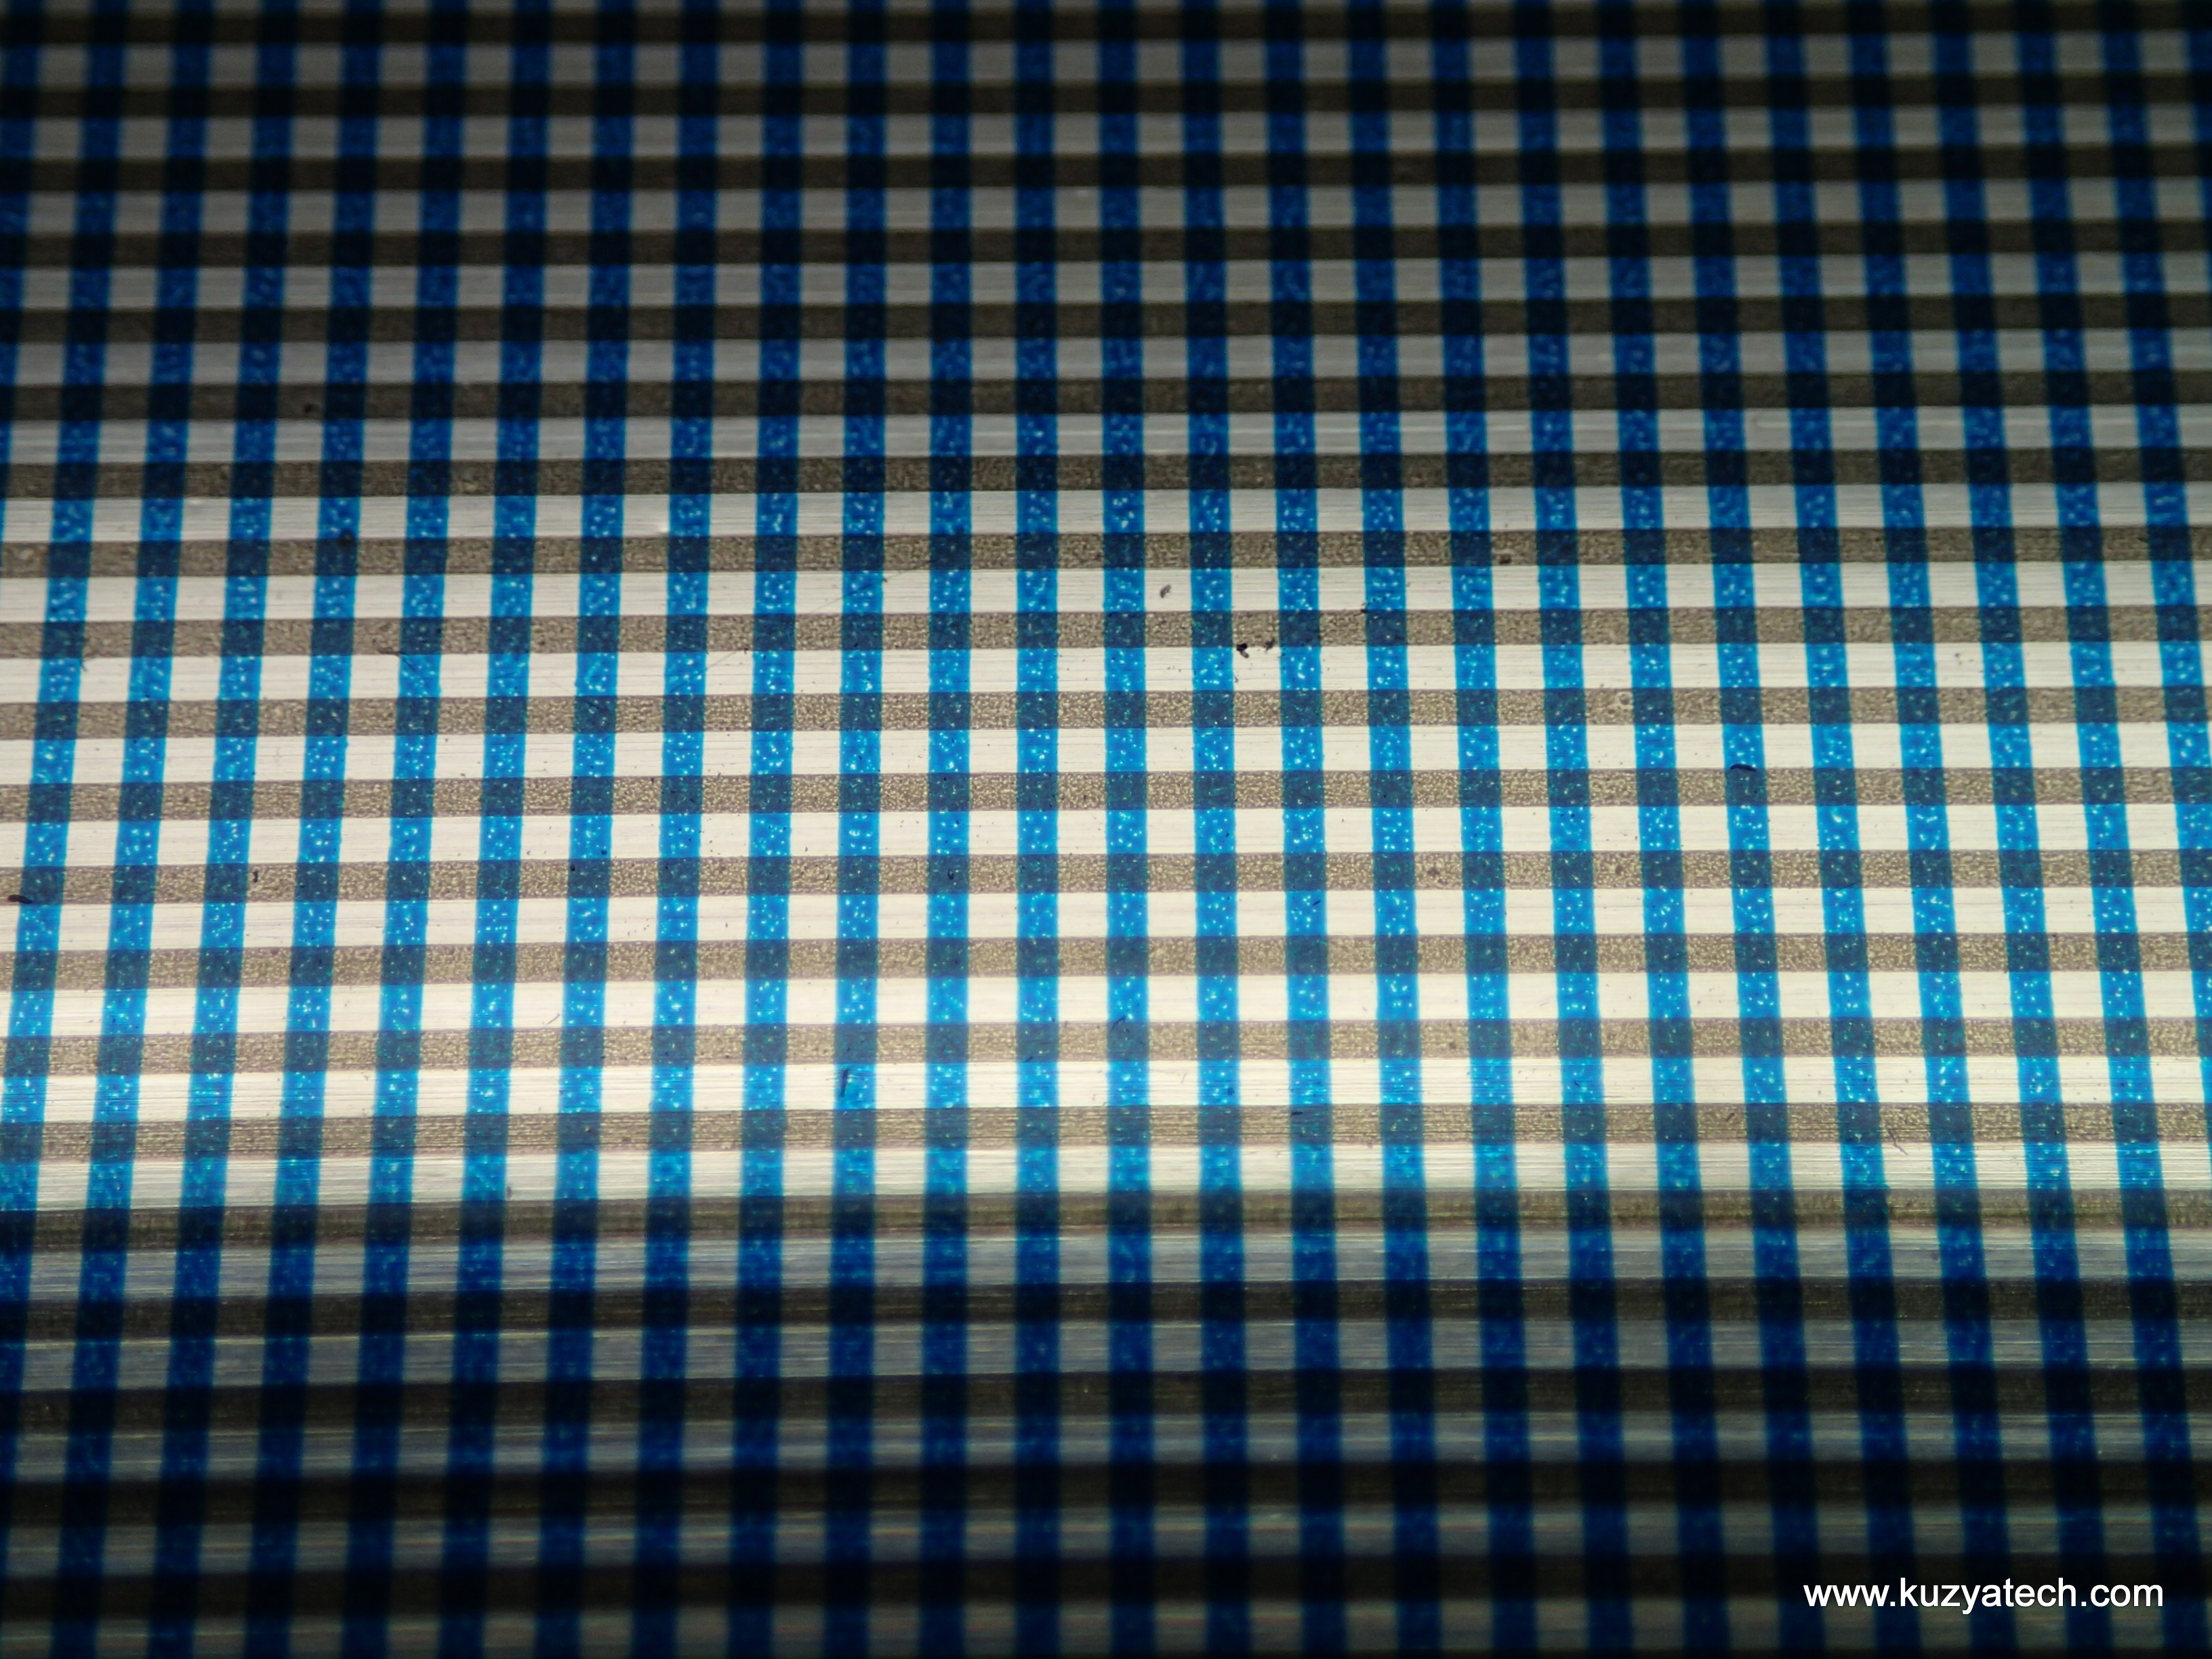
Red/Green
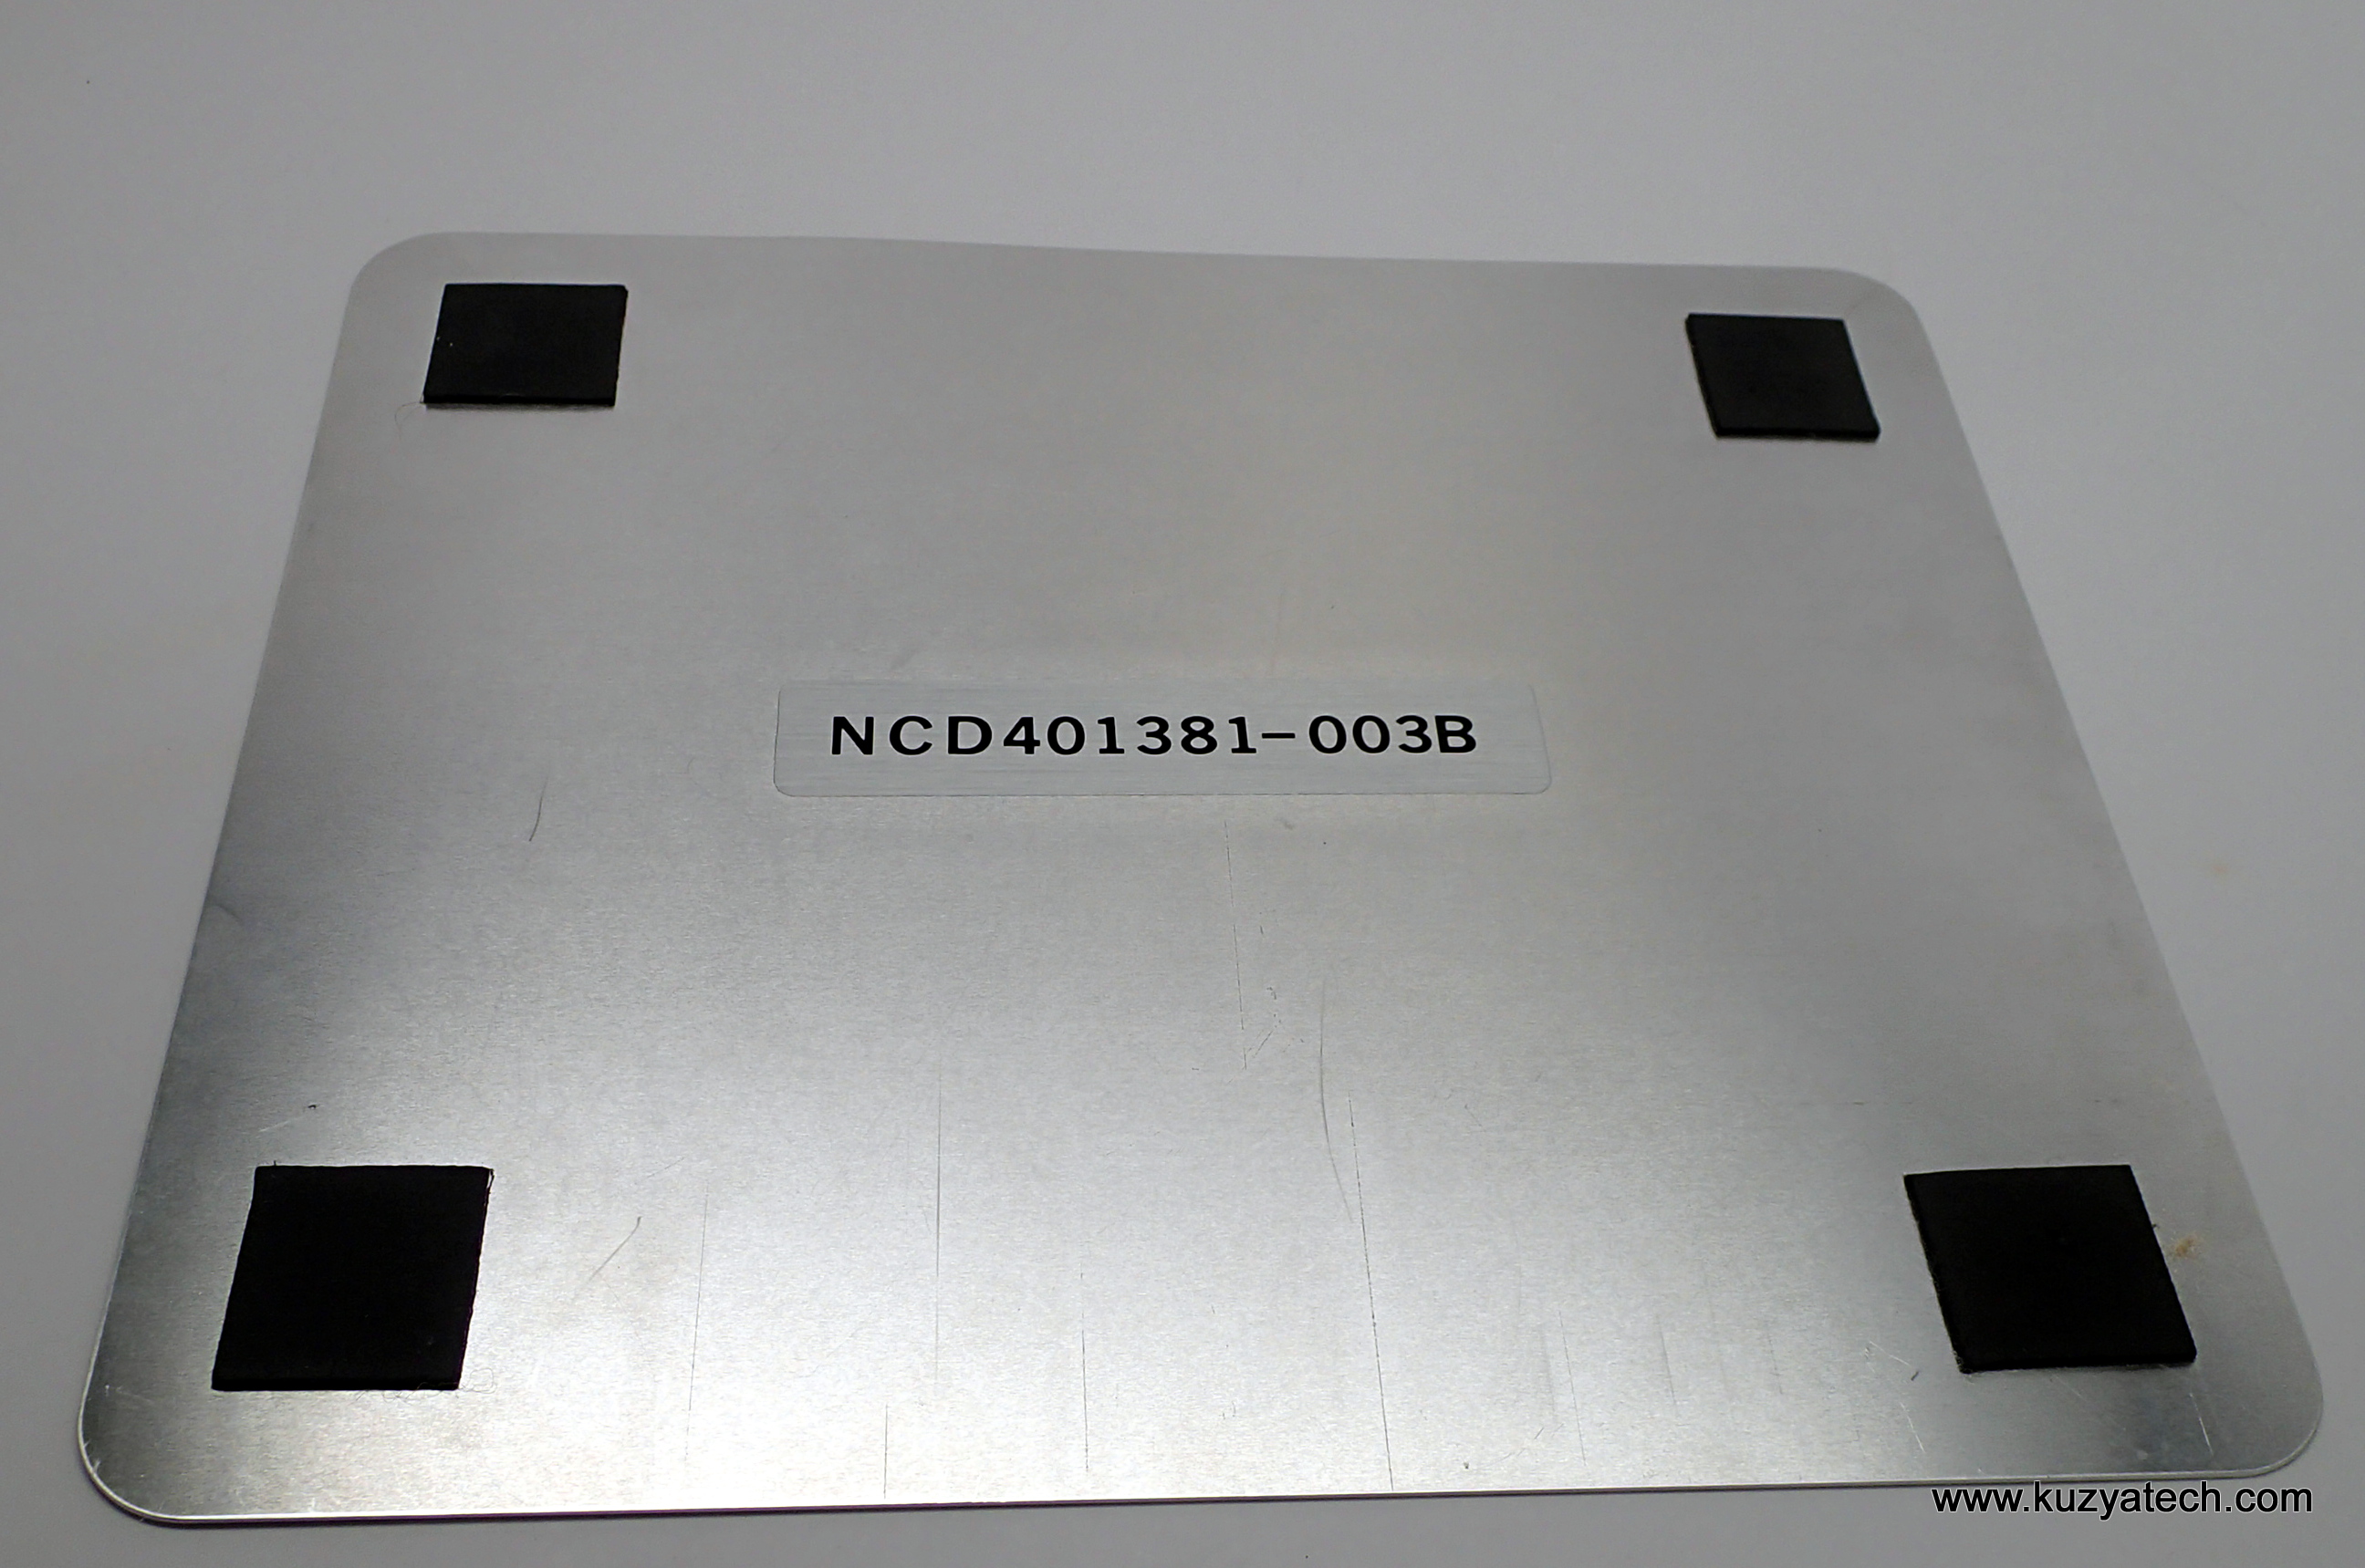
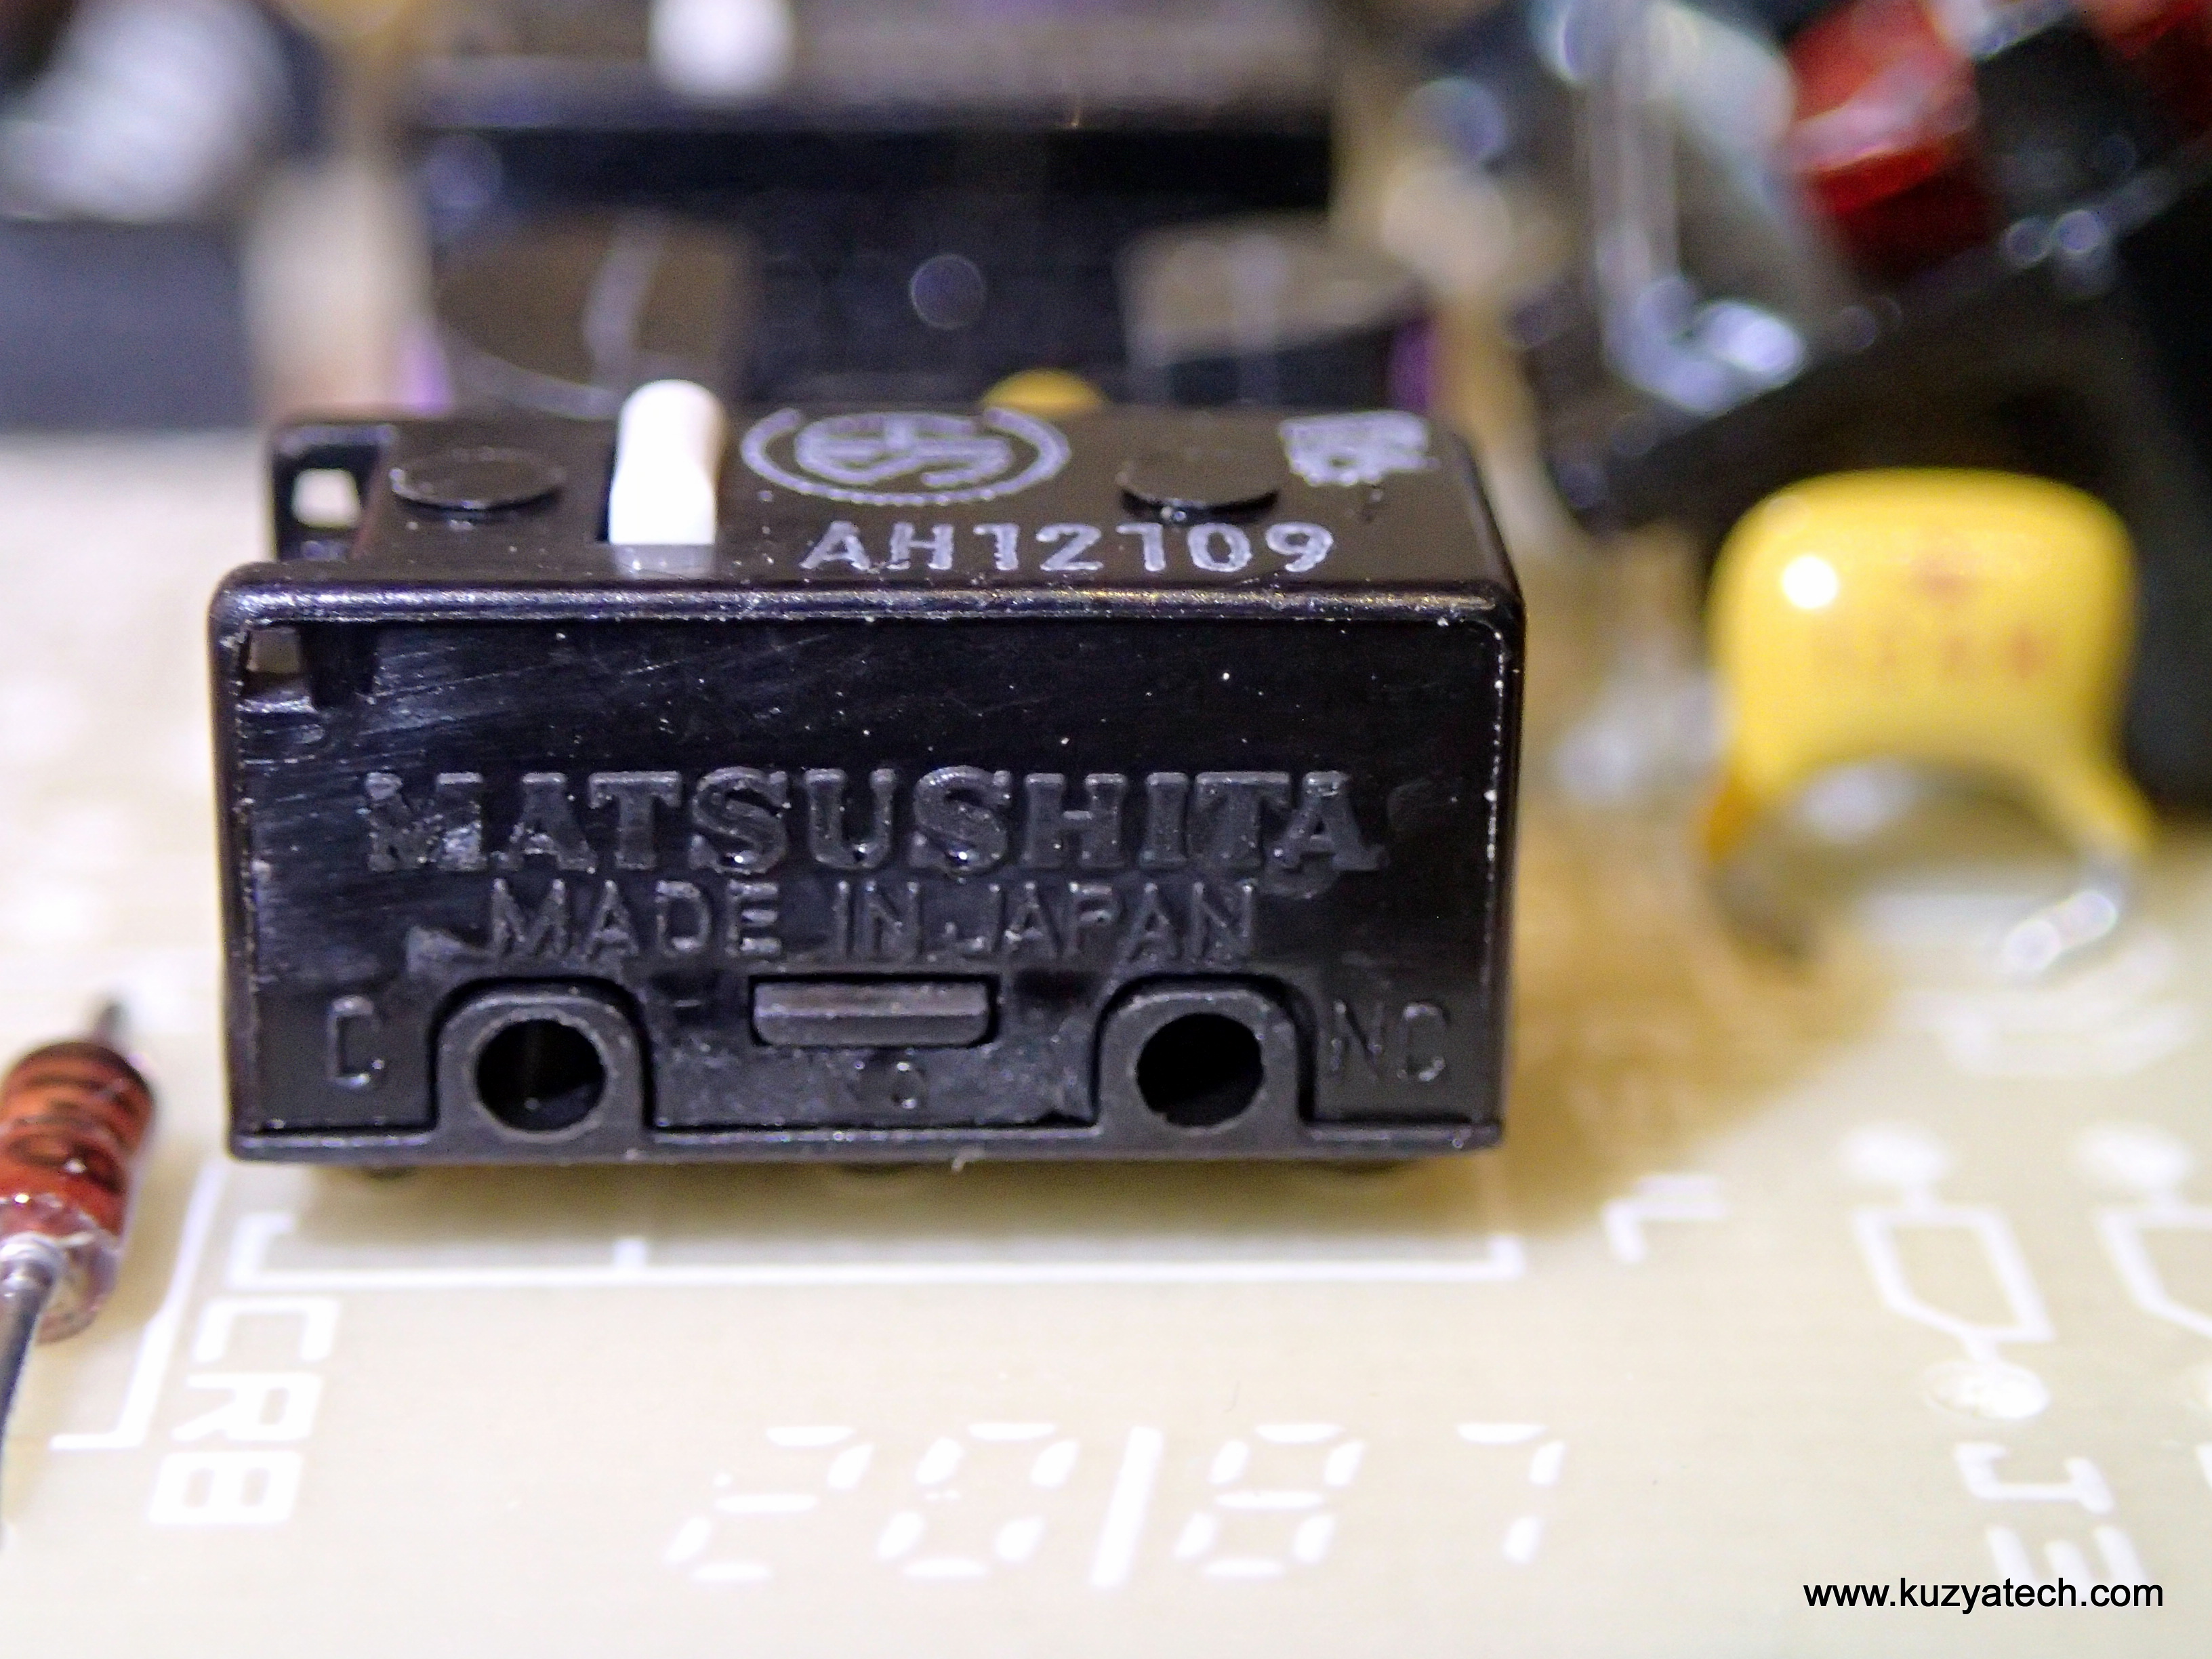
And the part number for those interested
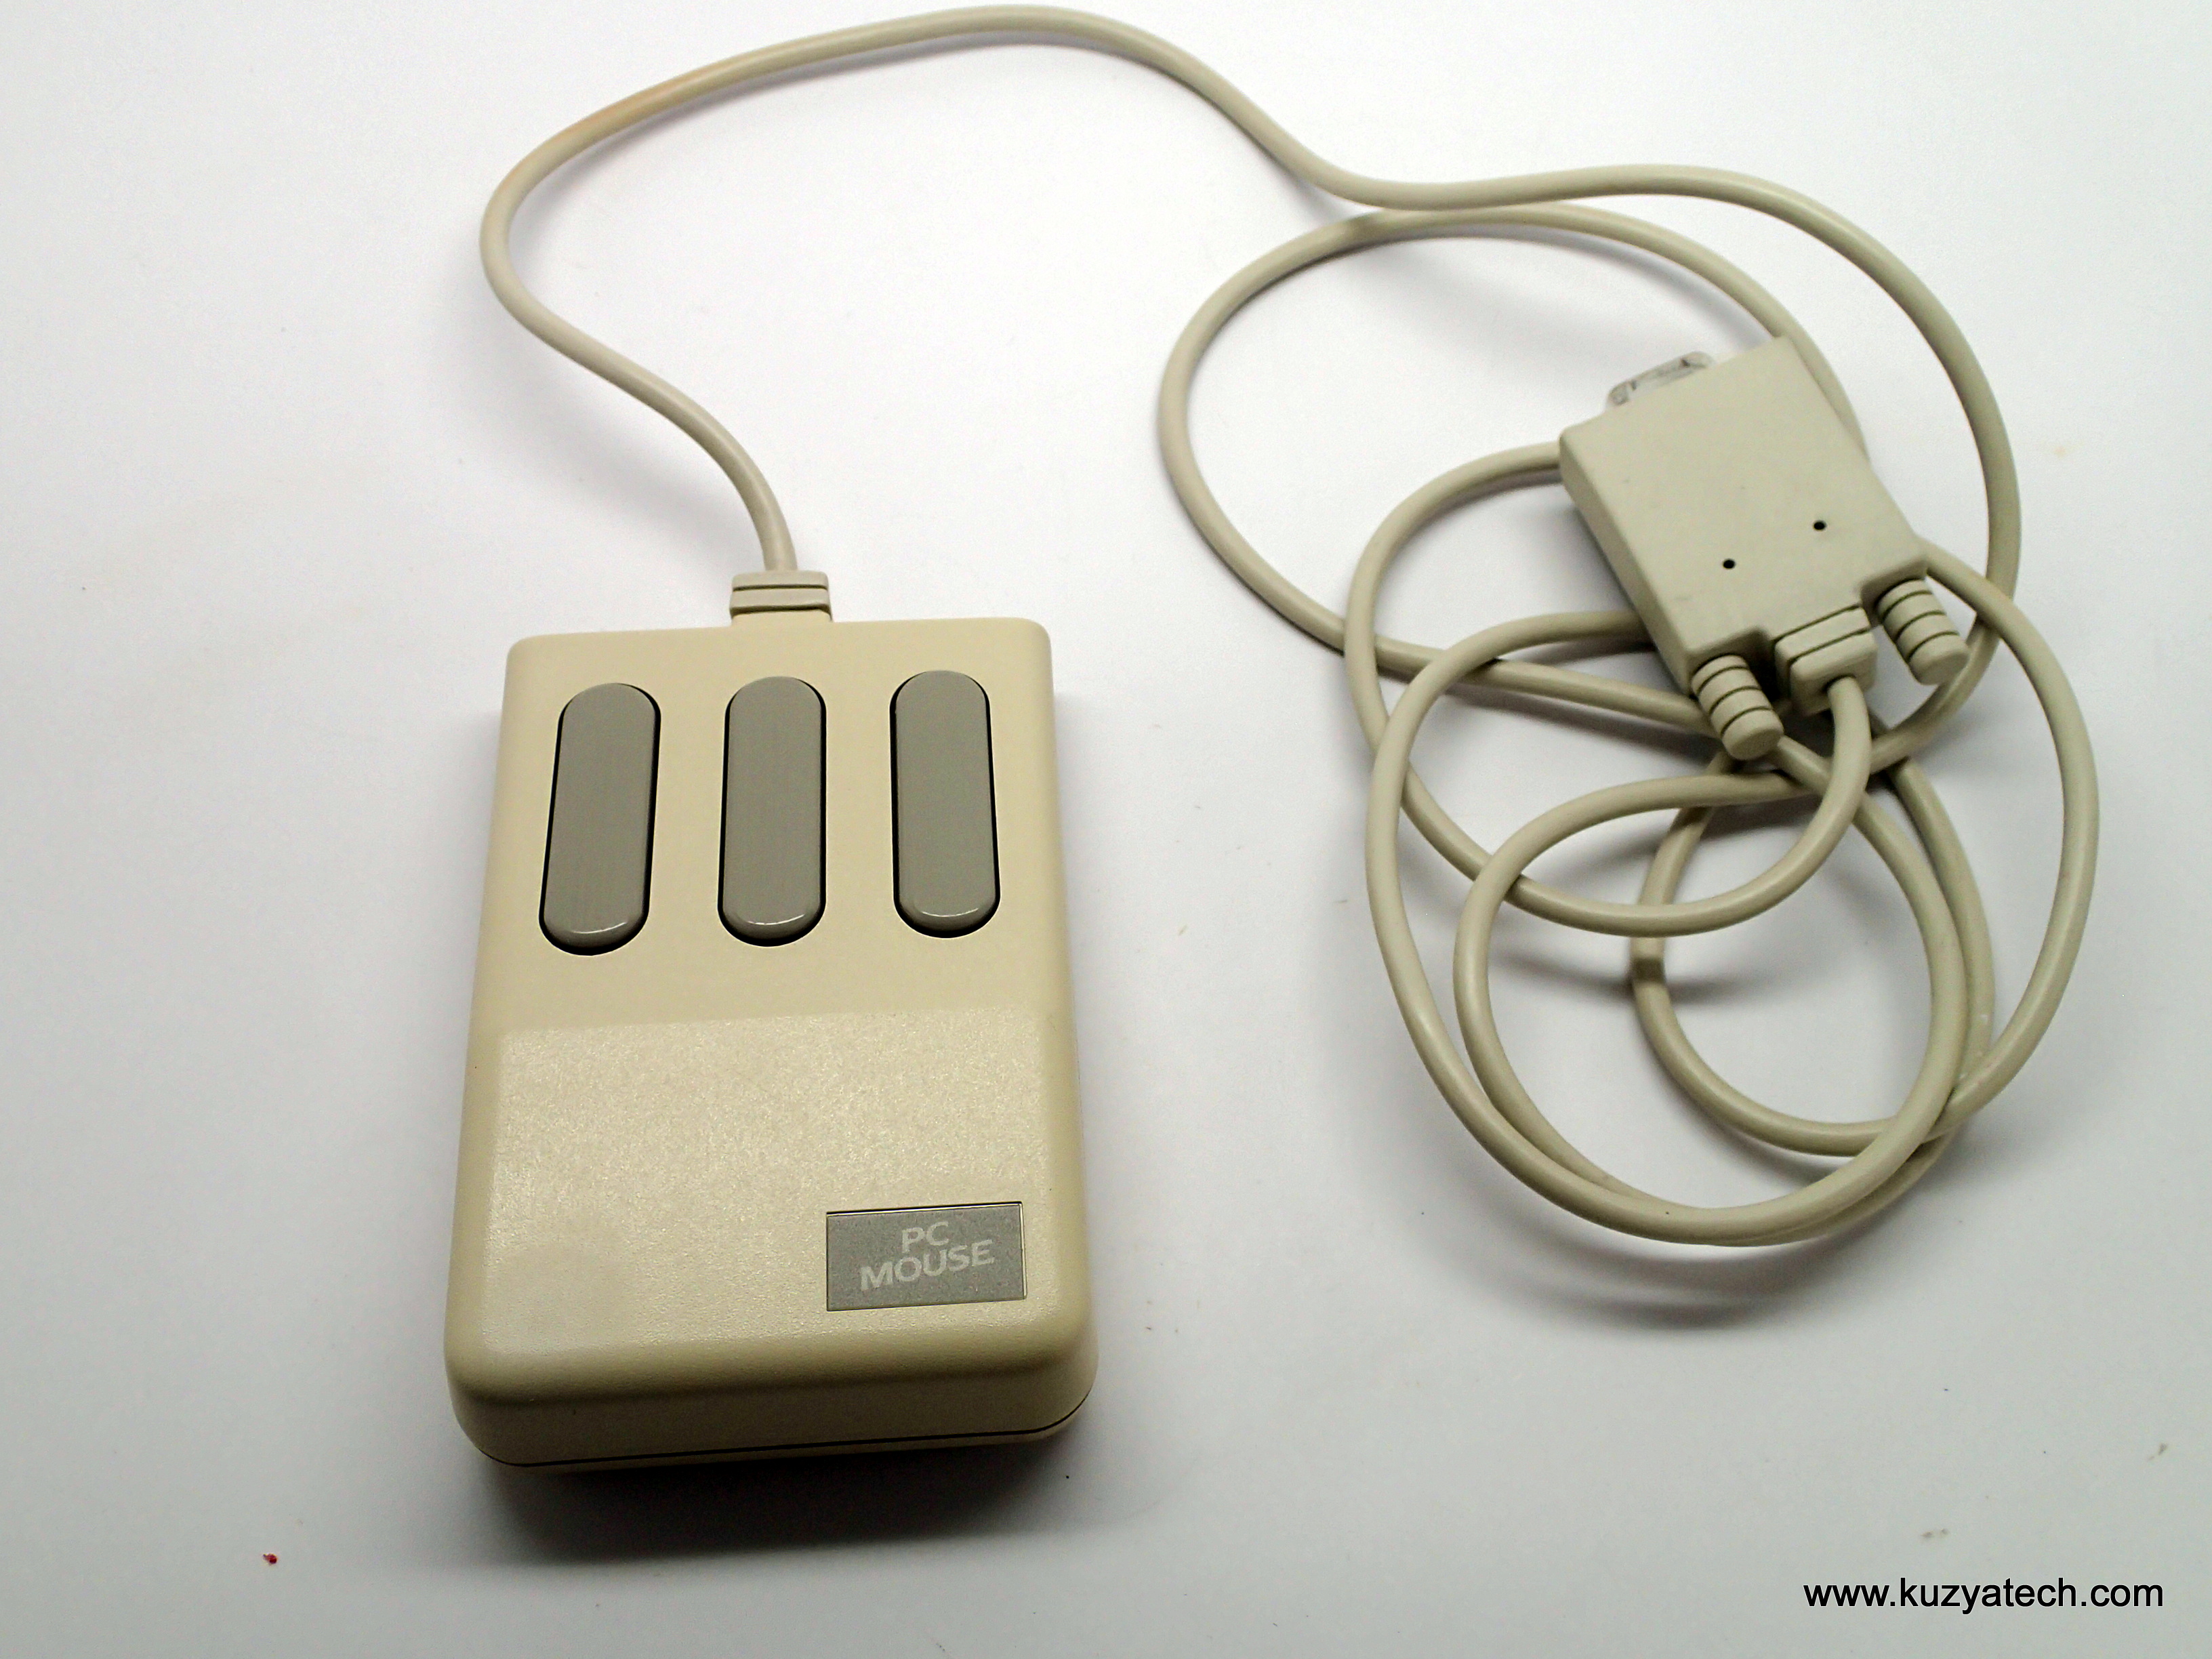
Tripple buttons, DB9 RS232 interface
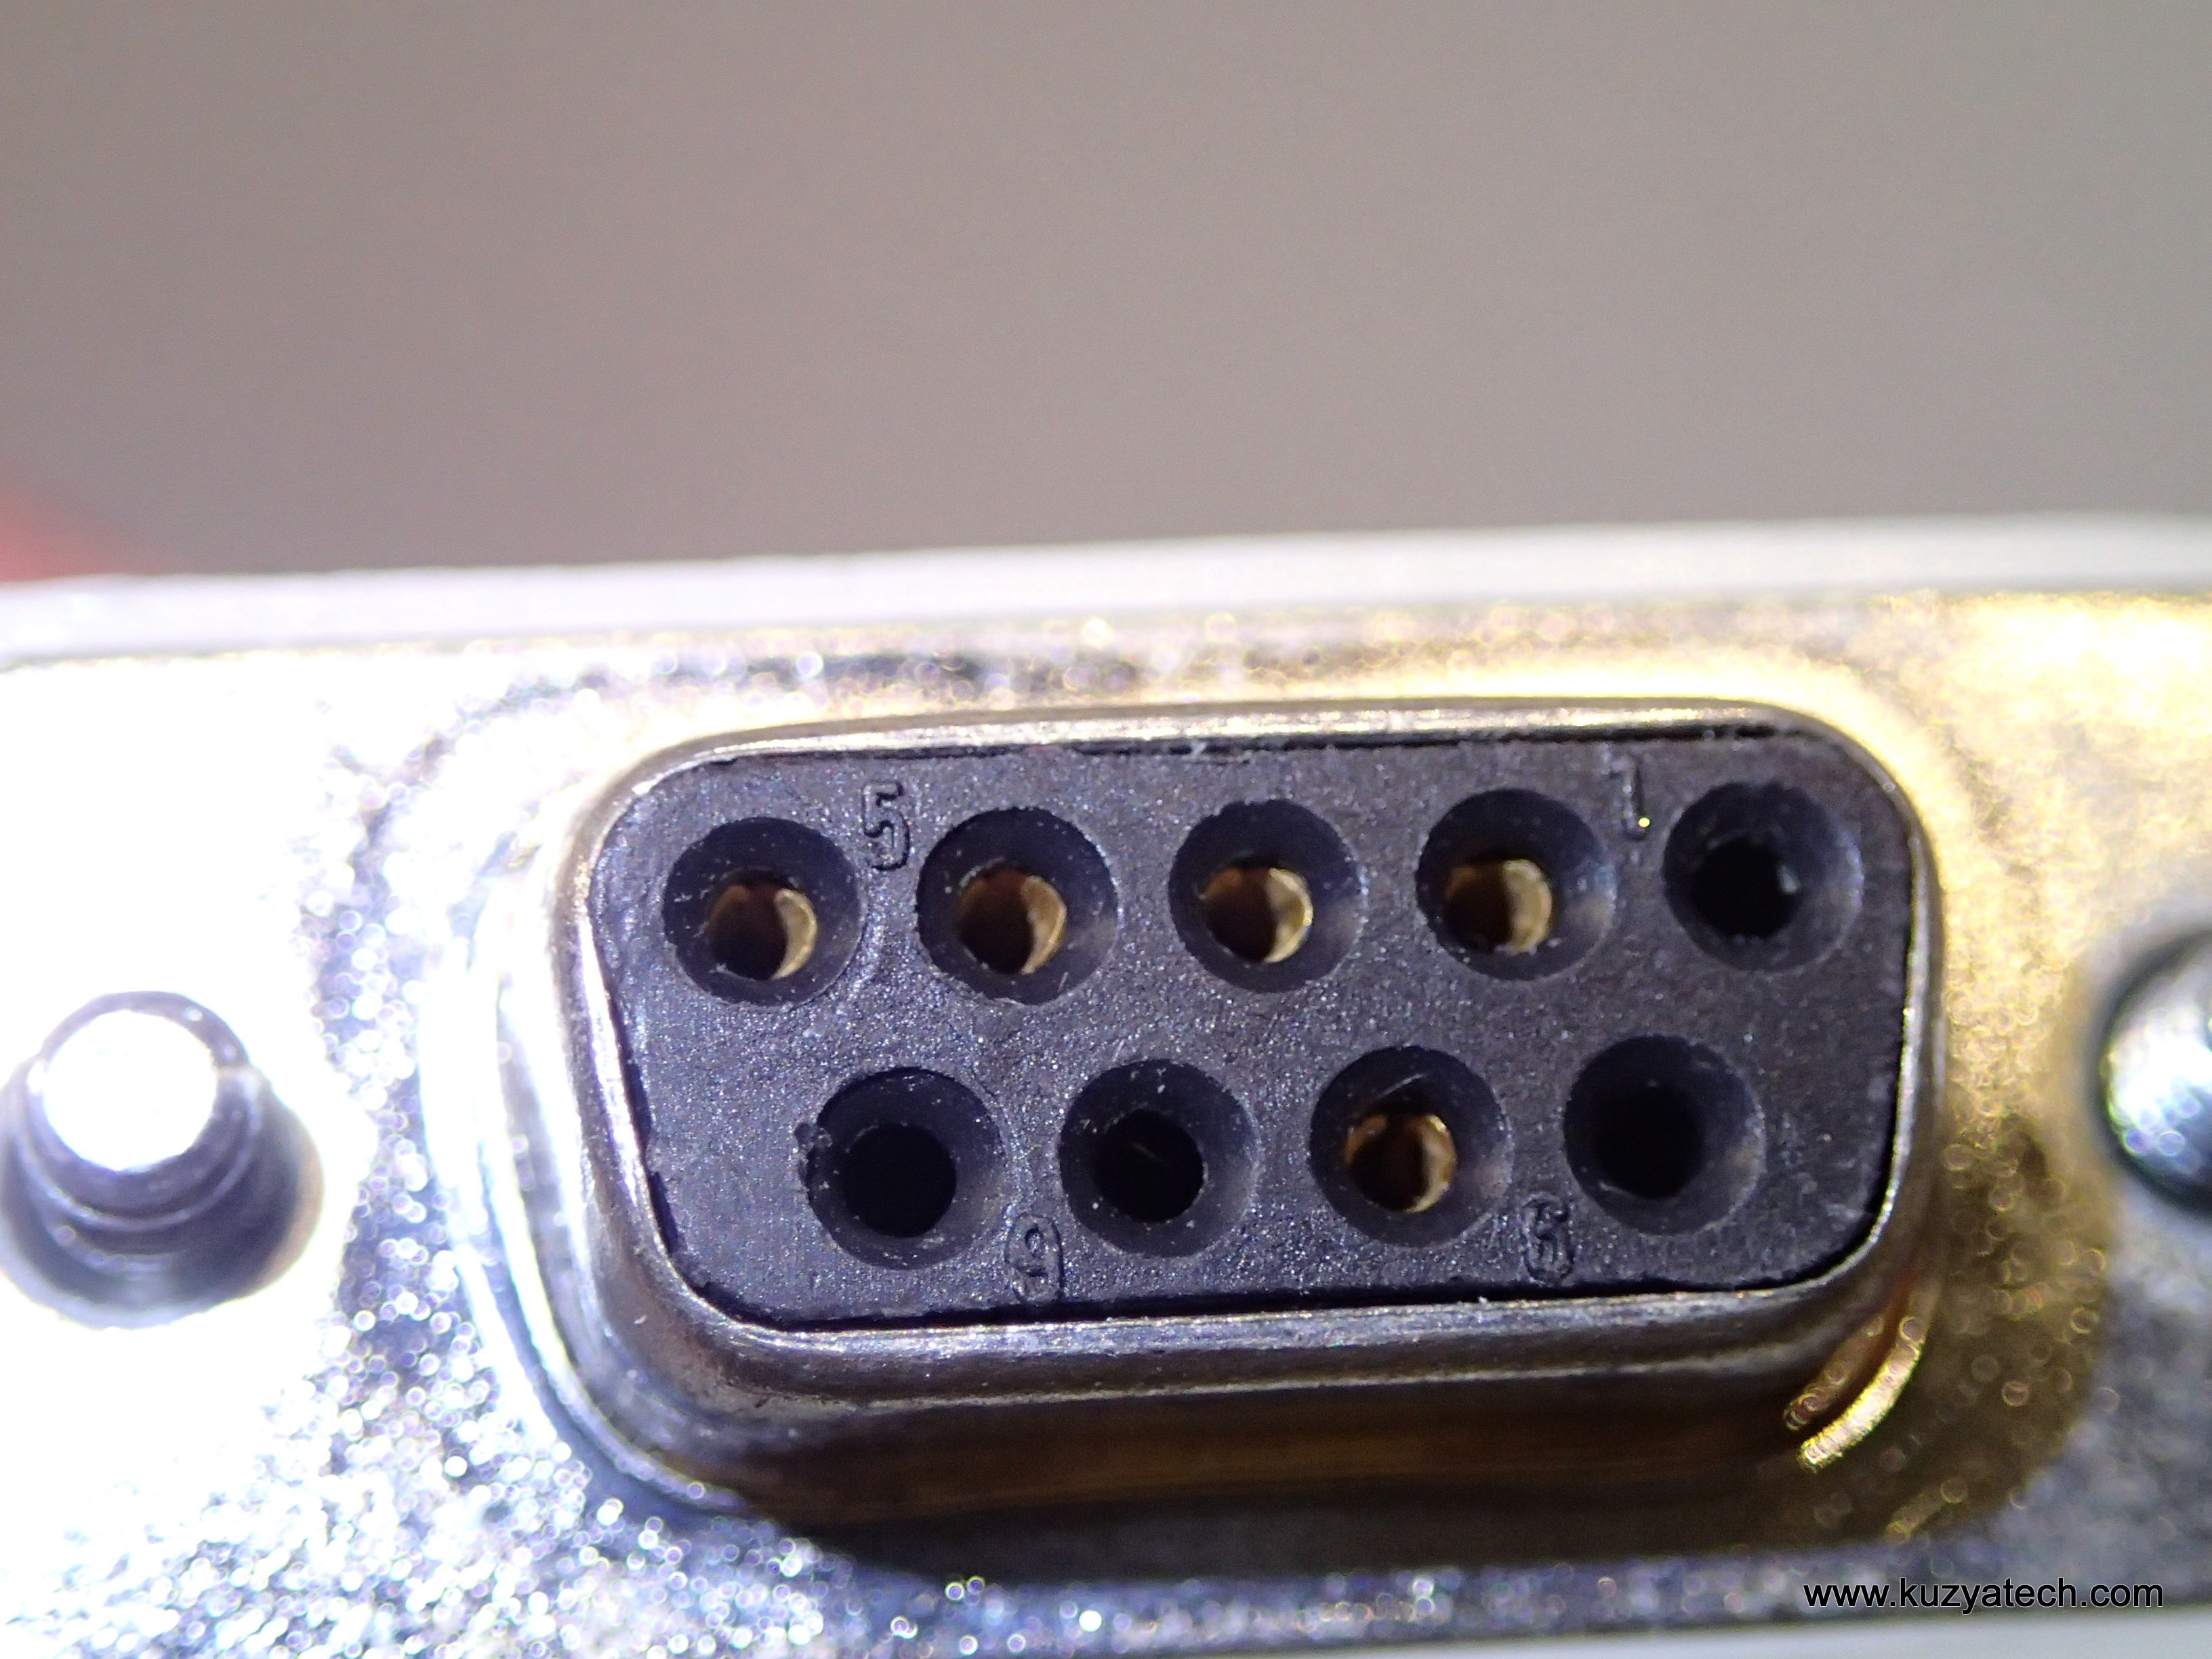
Looks like pins 2(RX) ,3 (TX) ,4(DTR) ,5 (GND) and 6(DSR) are used for data and power. That was somewhat special at the time, as most peripherals needed separate source. Even Mouse System’s earlier models had to use a power supply
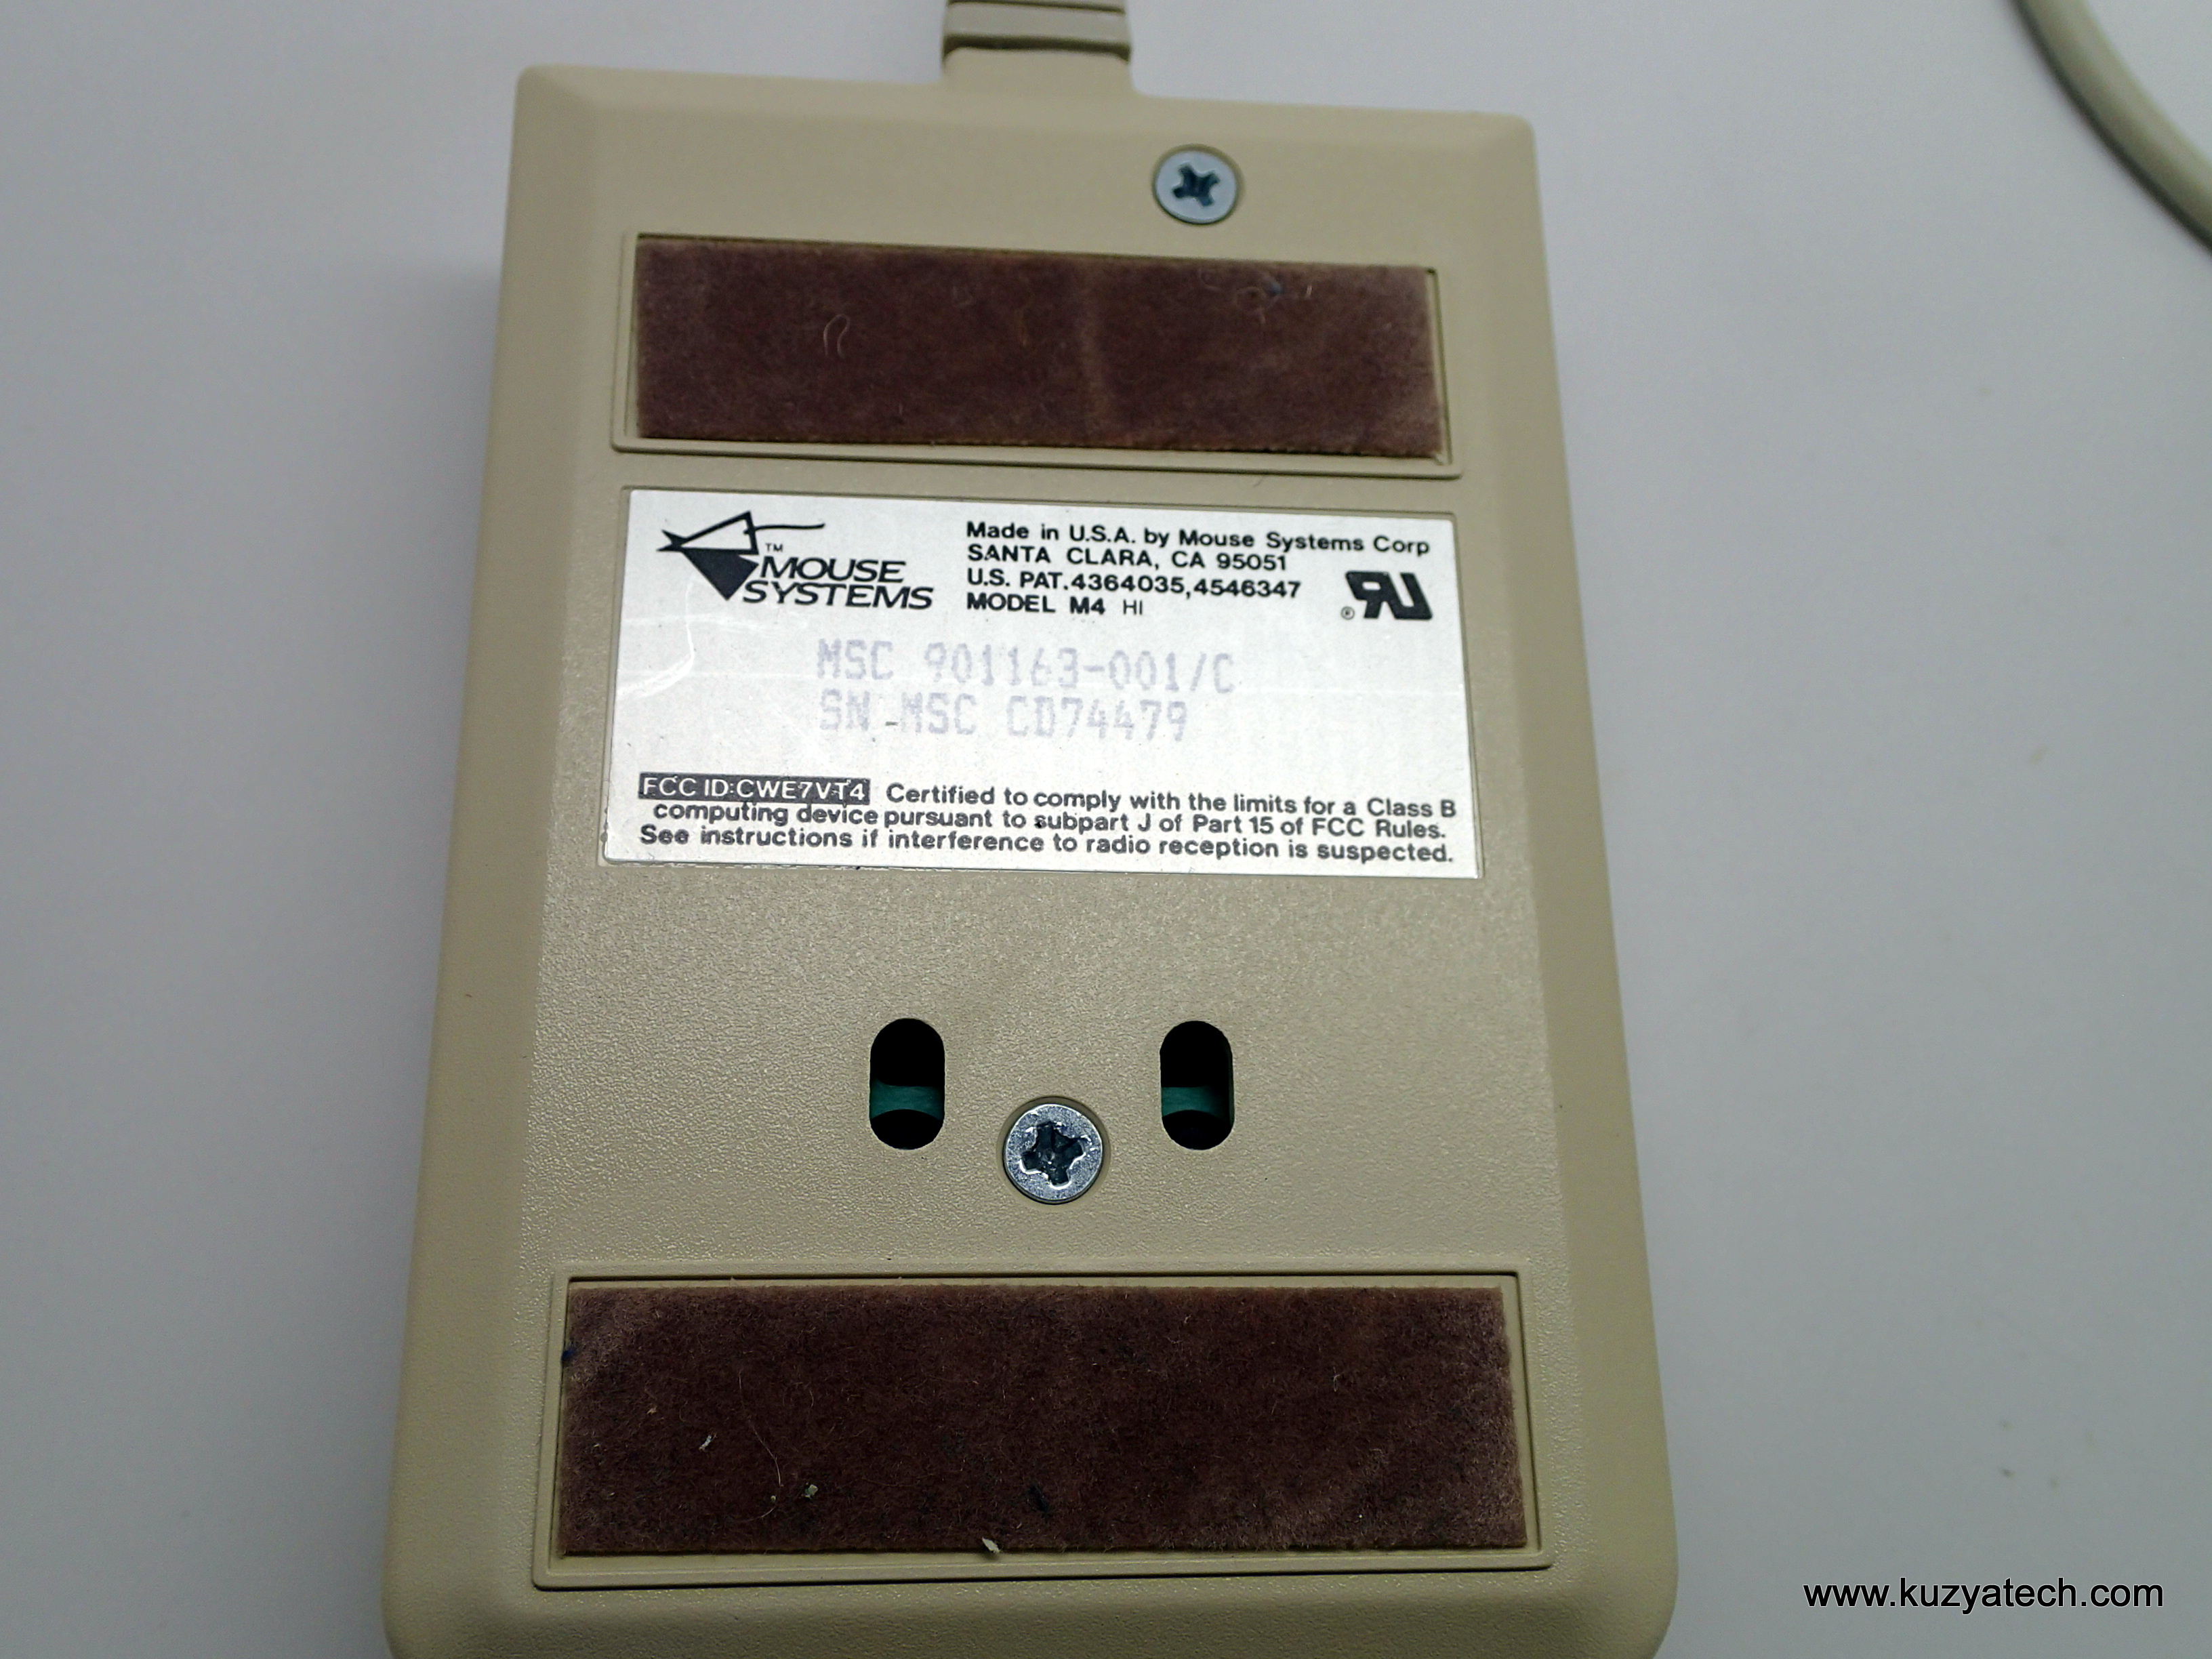
Mouse Systems Model M4 HI
Teardown
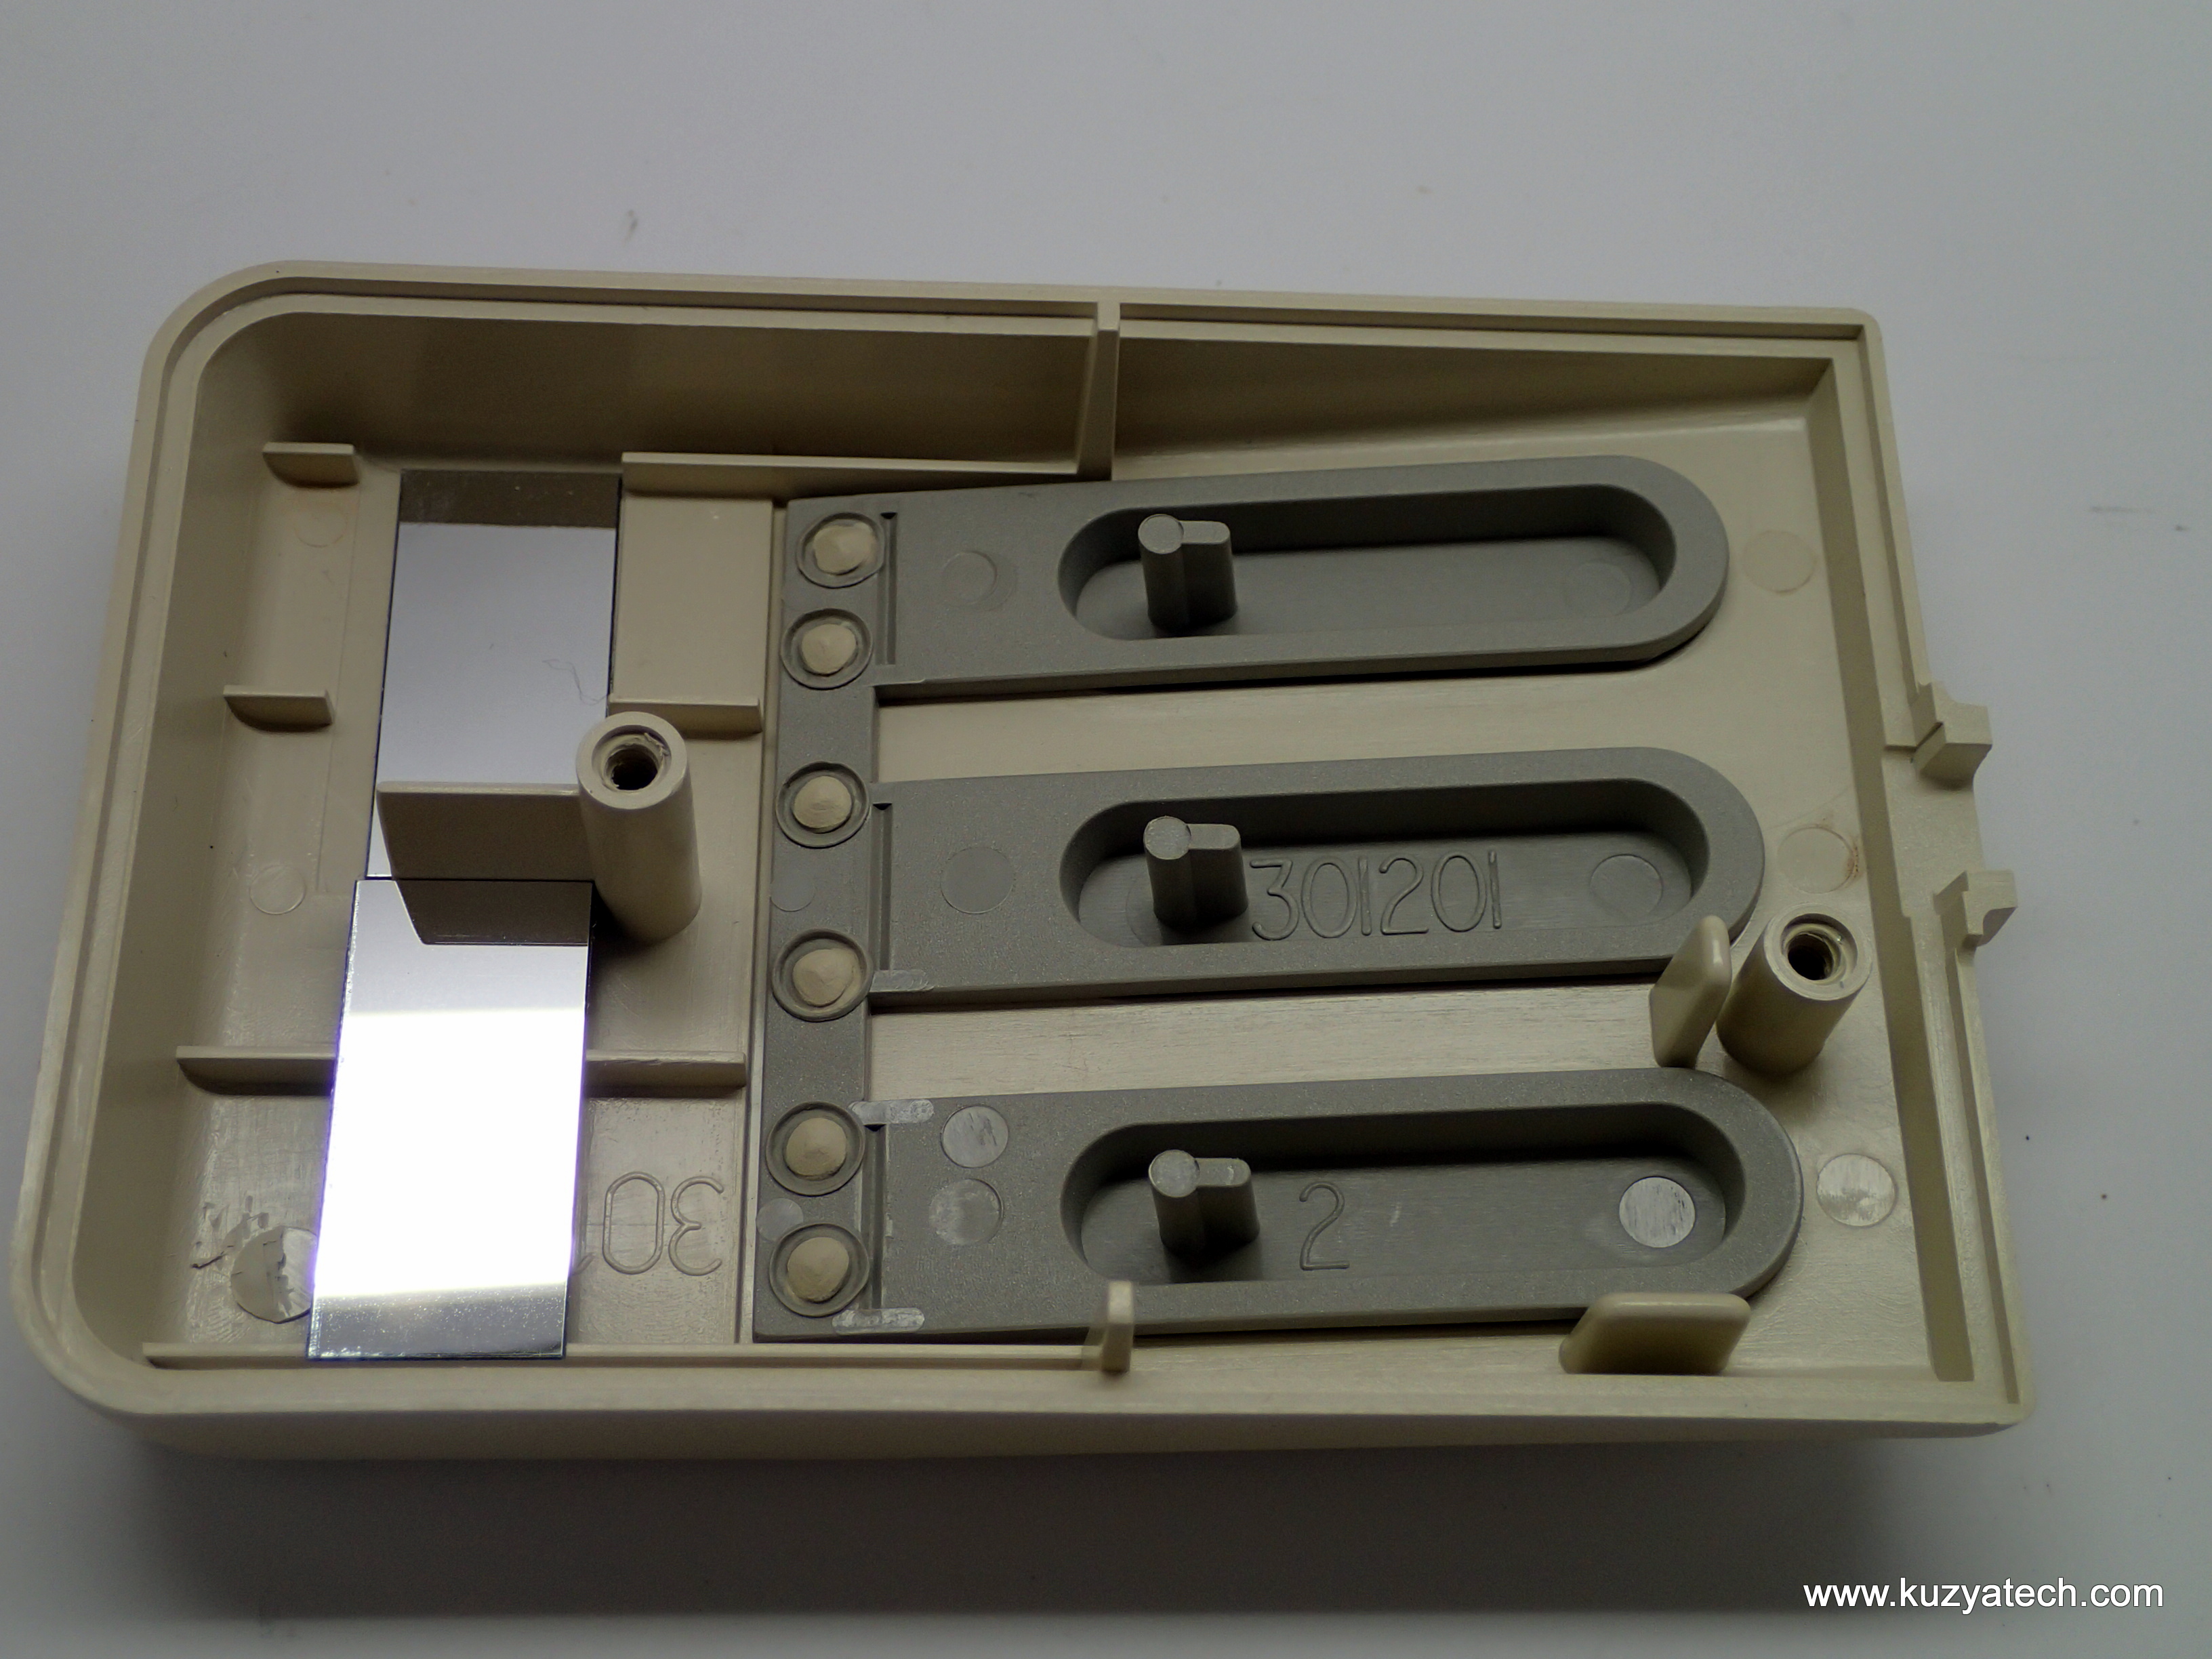
A couple of screws later and we are in. Interestingly enough, there are two mirrors on the top cover, redirecting light:

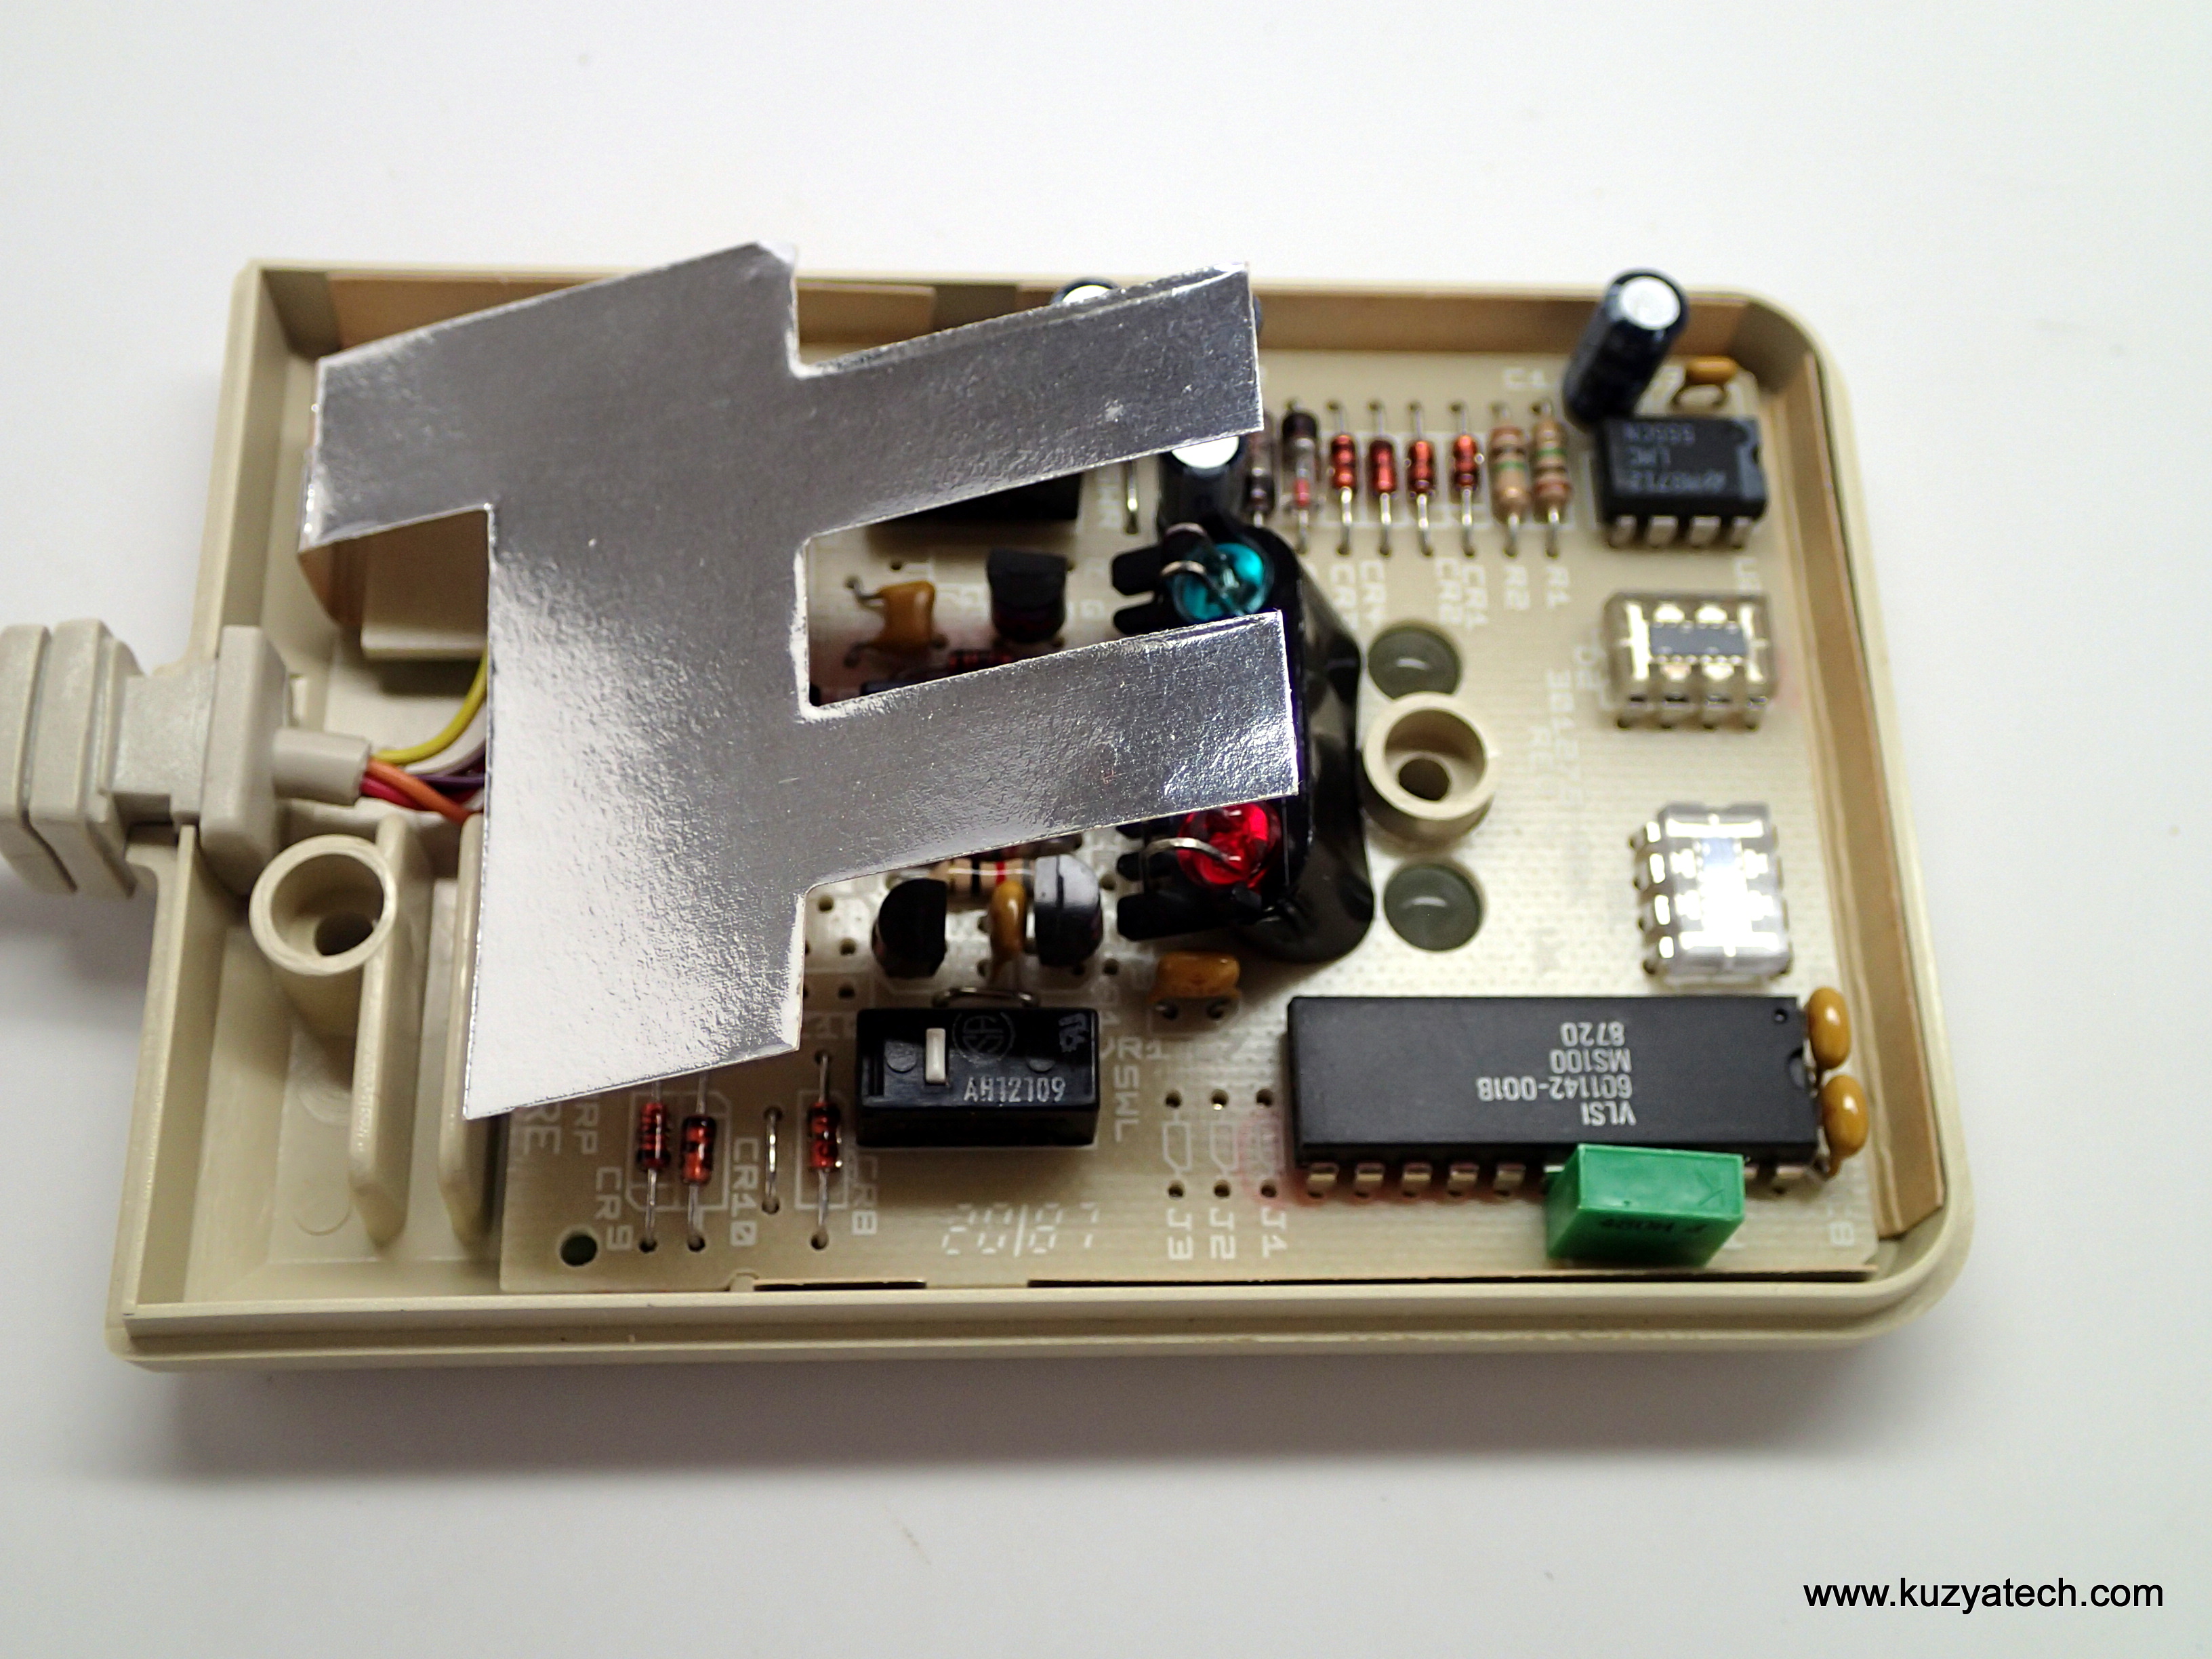
Paper foil shielding!
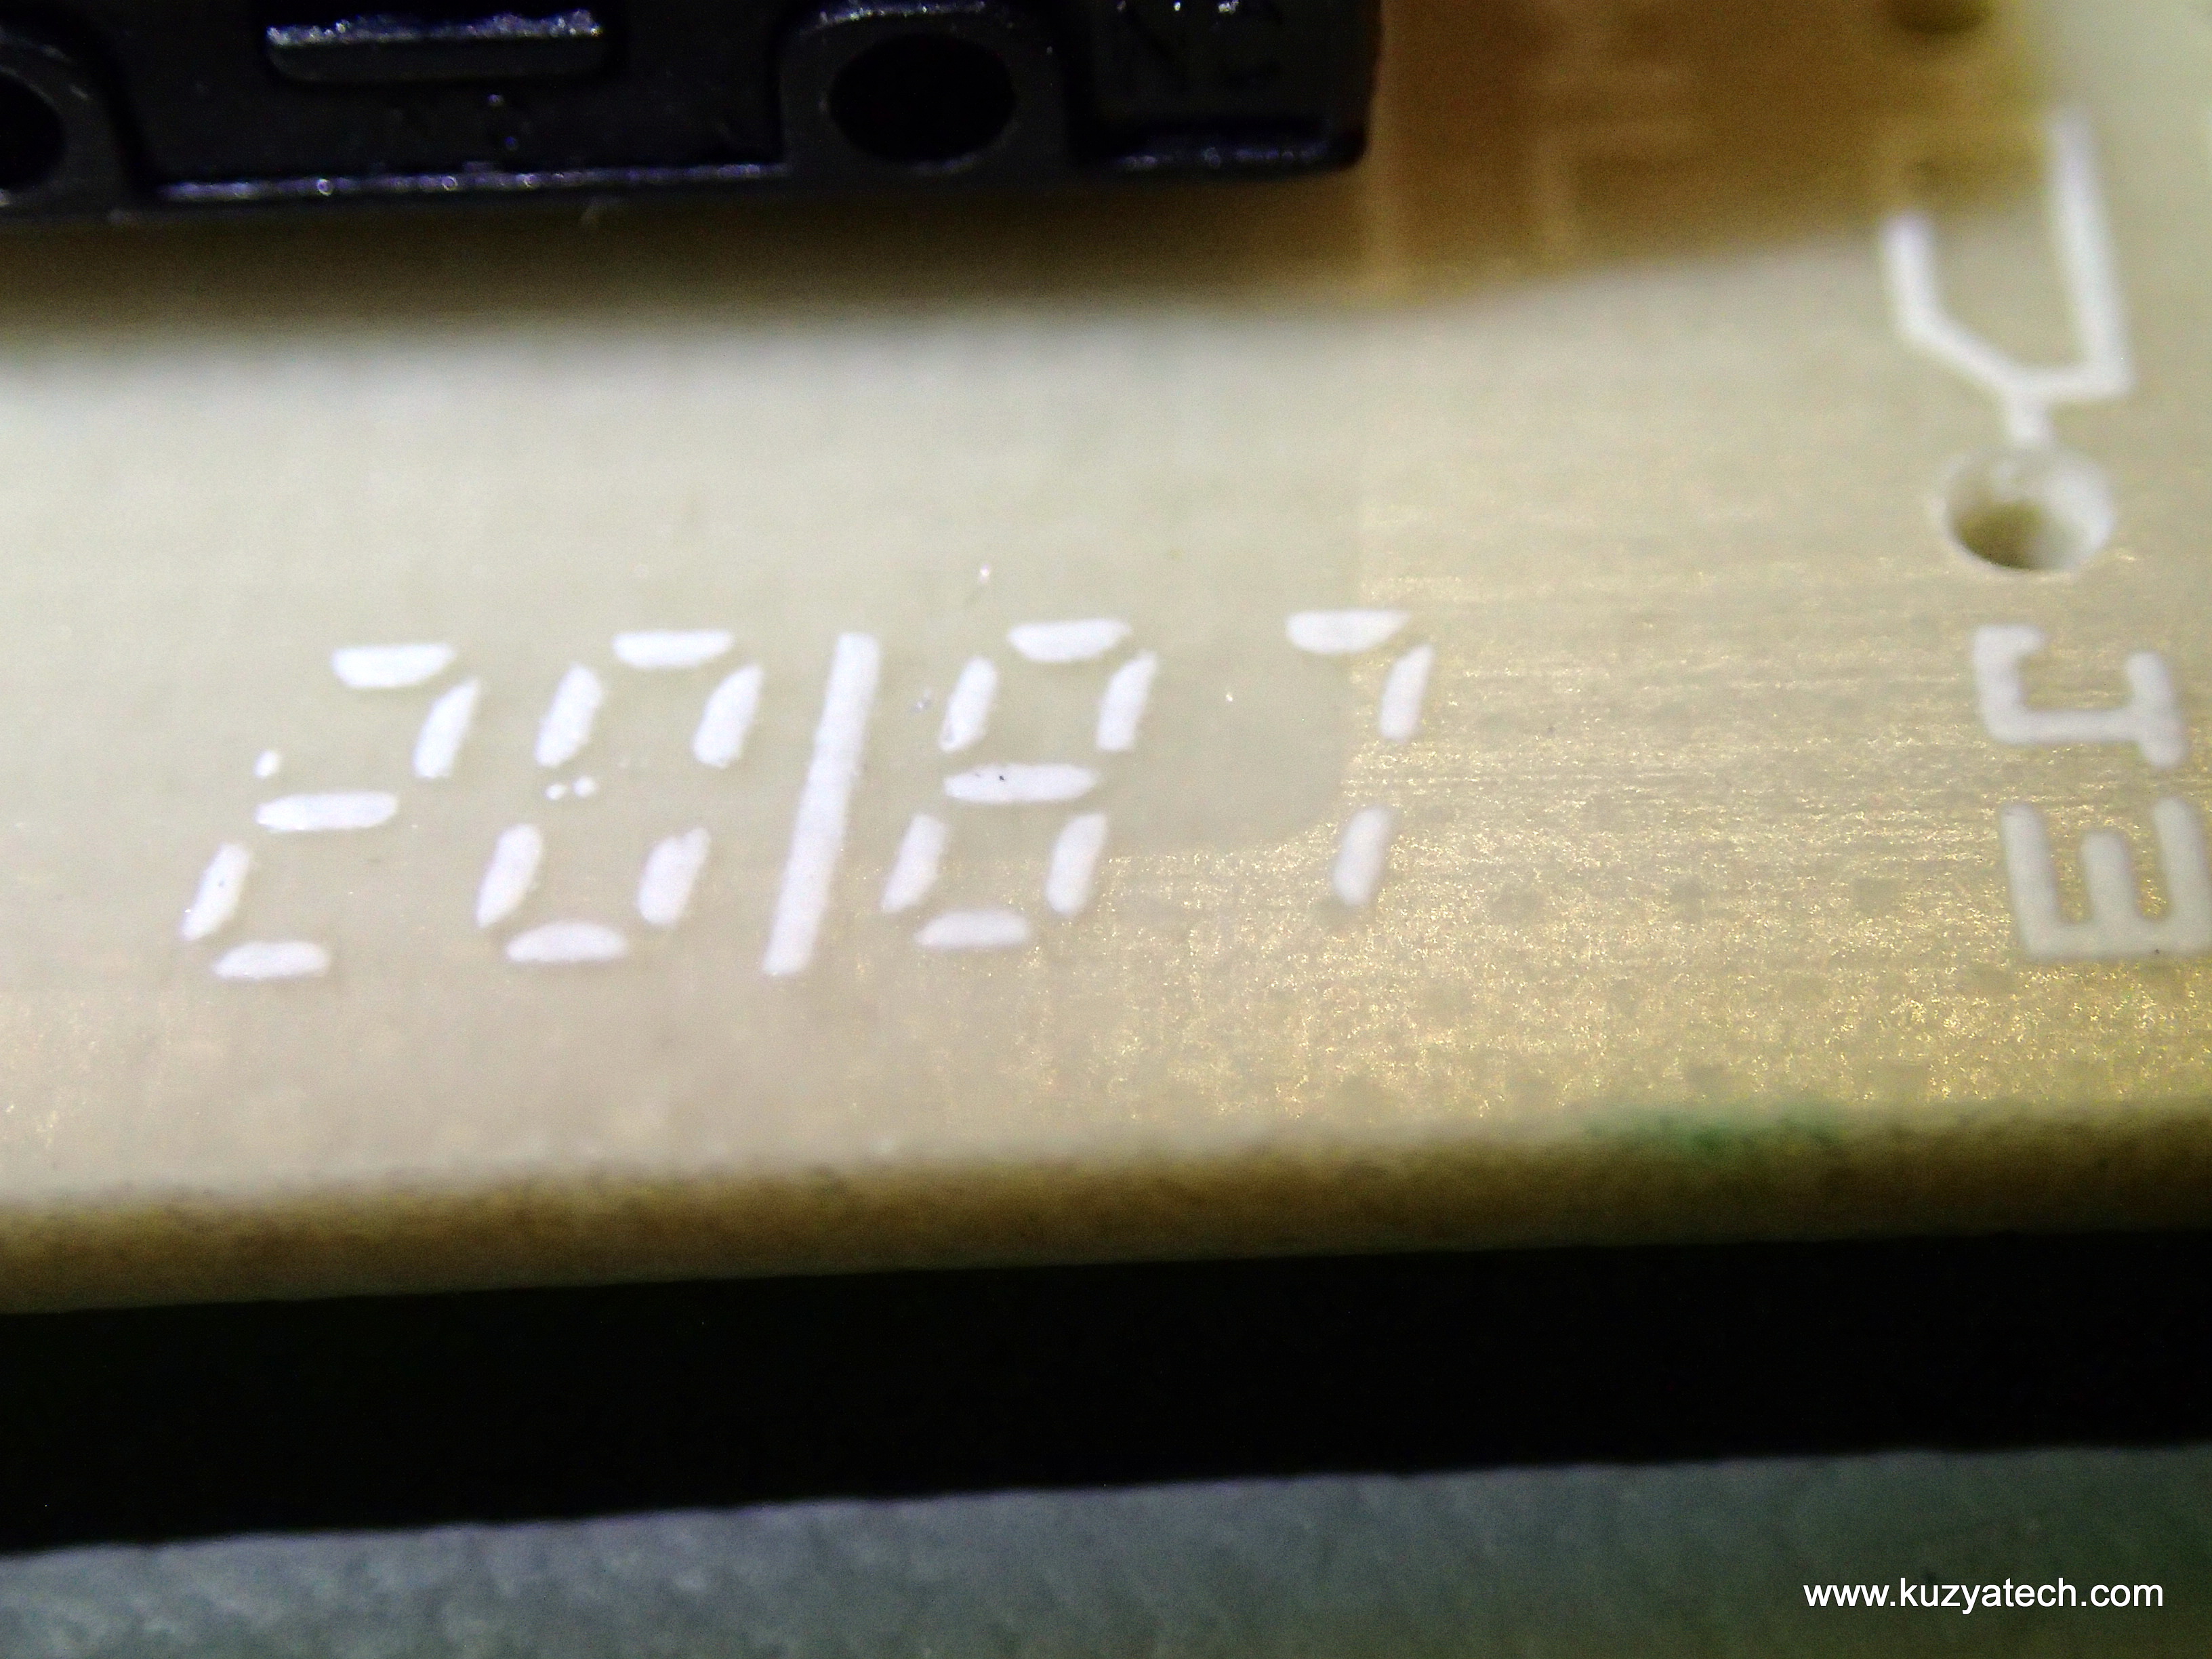
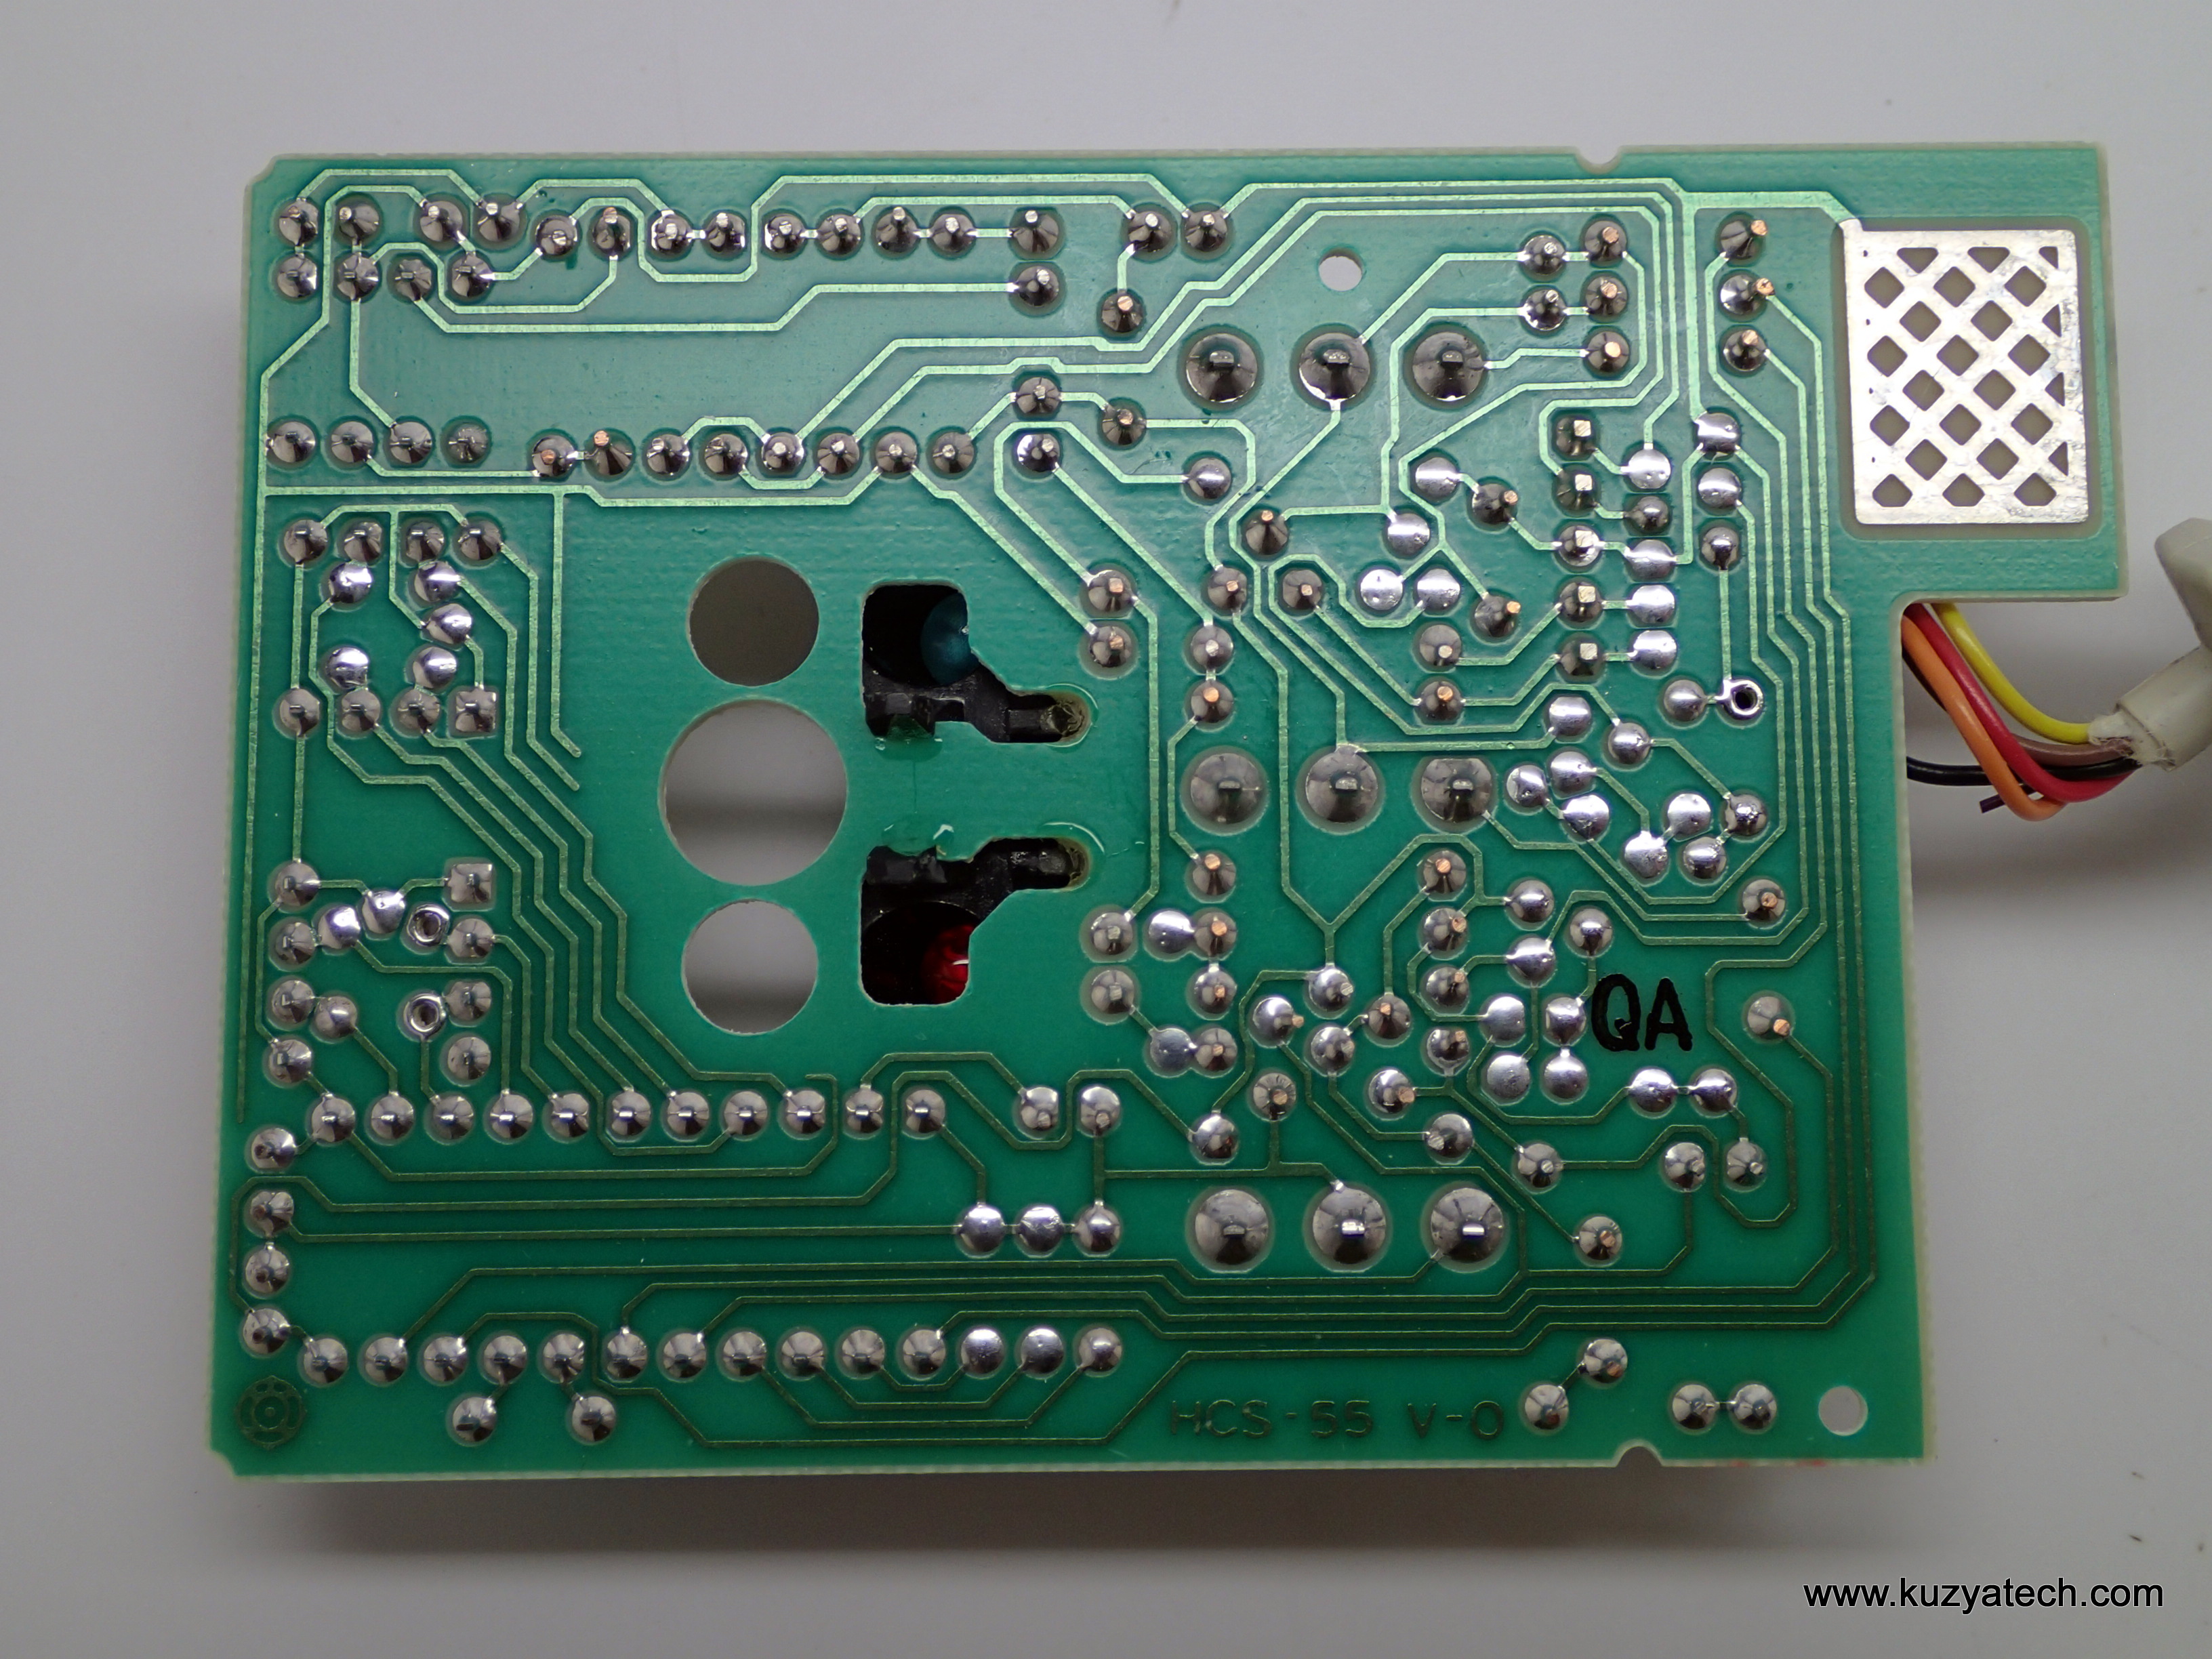
1987 datecode is all over the board:
Single sided, all thru-hole construction with some jumpers. Notice empty space next to connector- some models were made for SUN and other non-PC machines and used a different interface instead of RS232
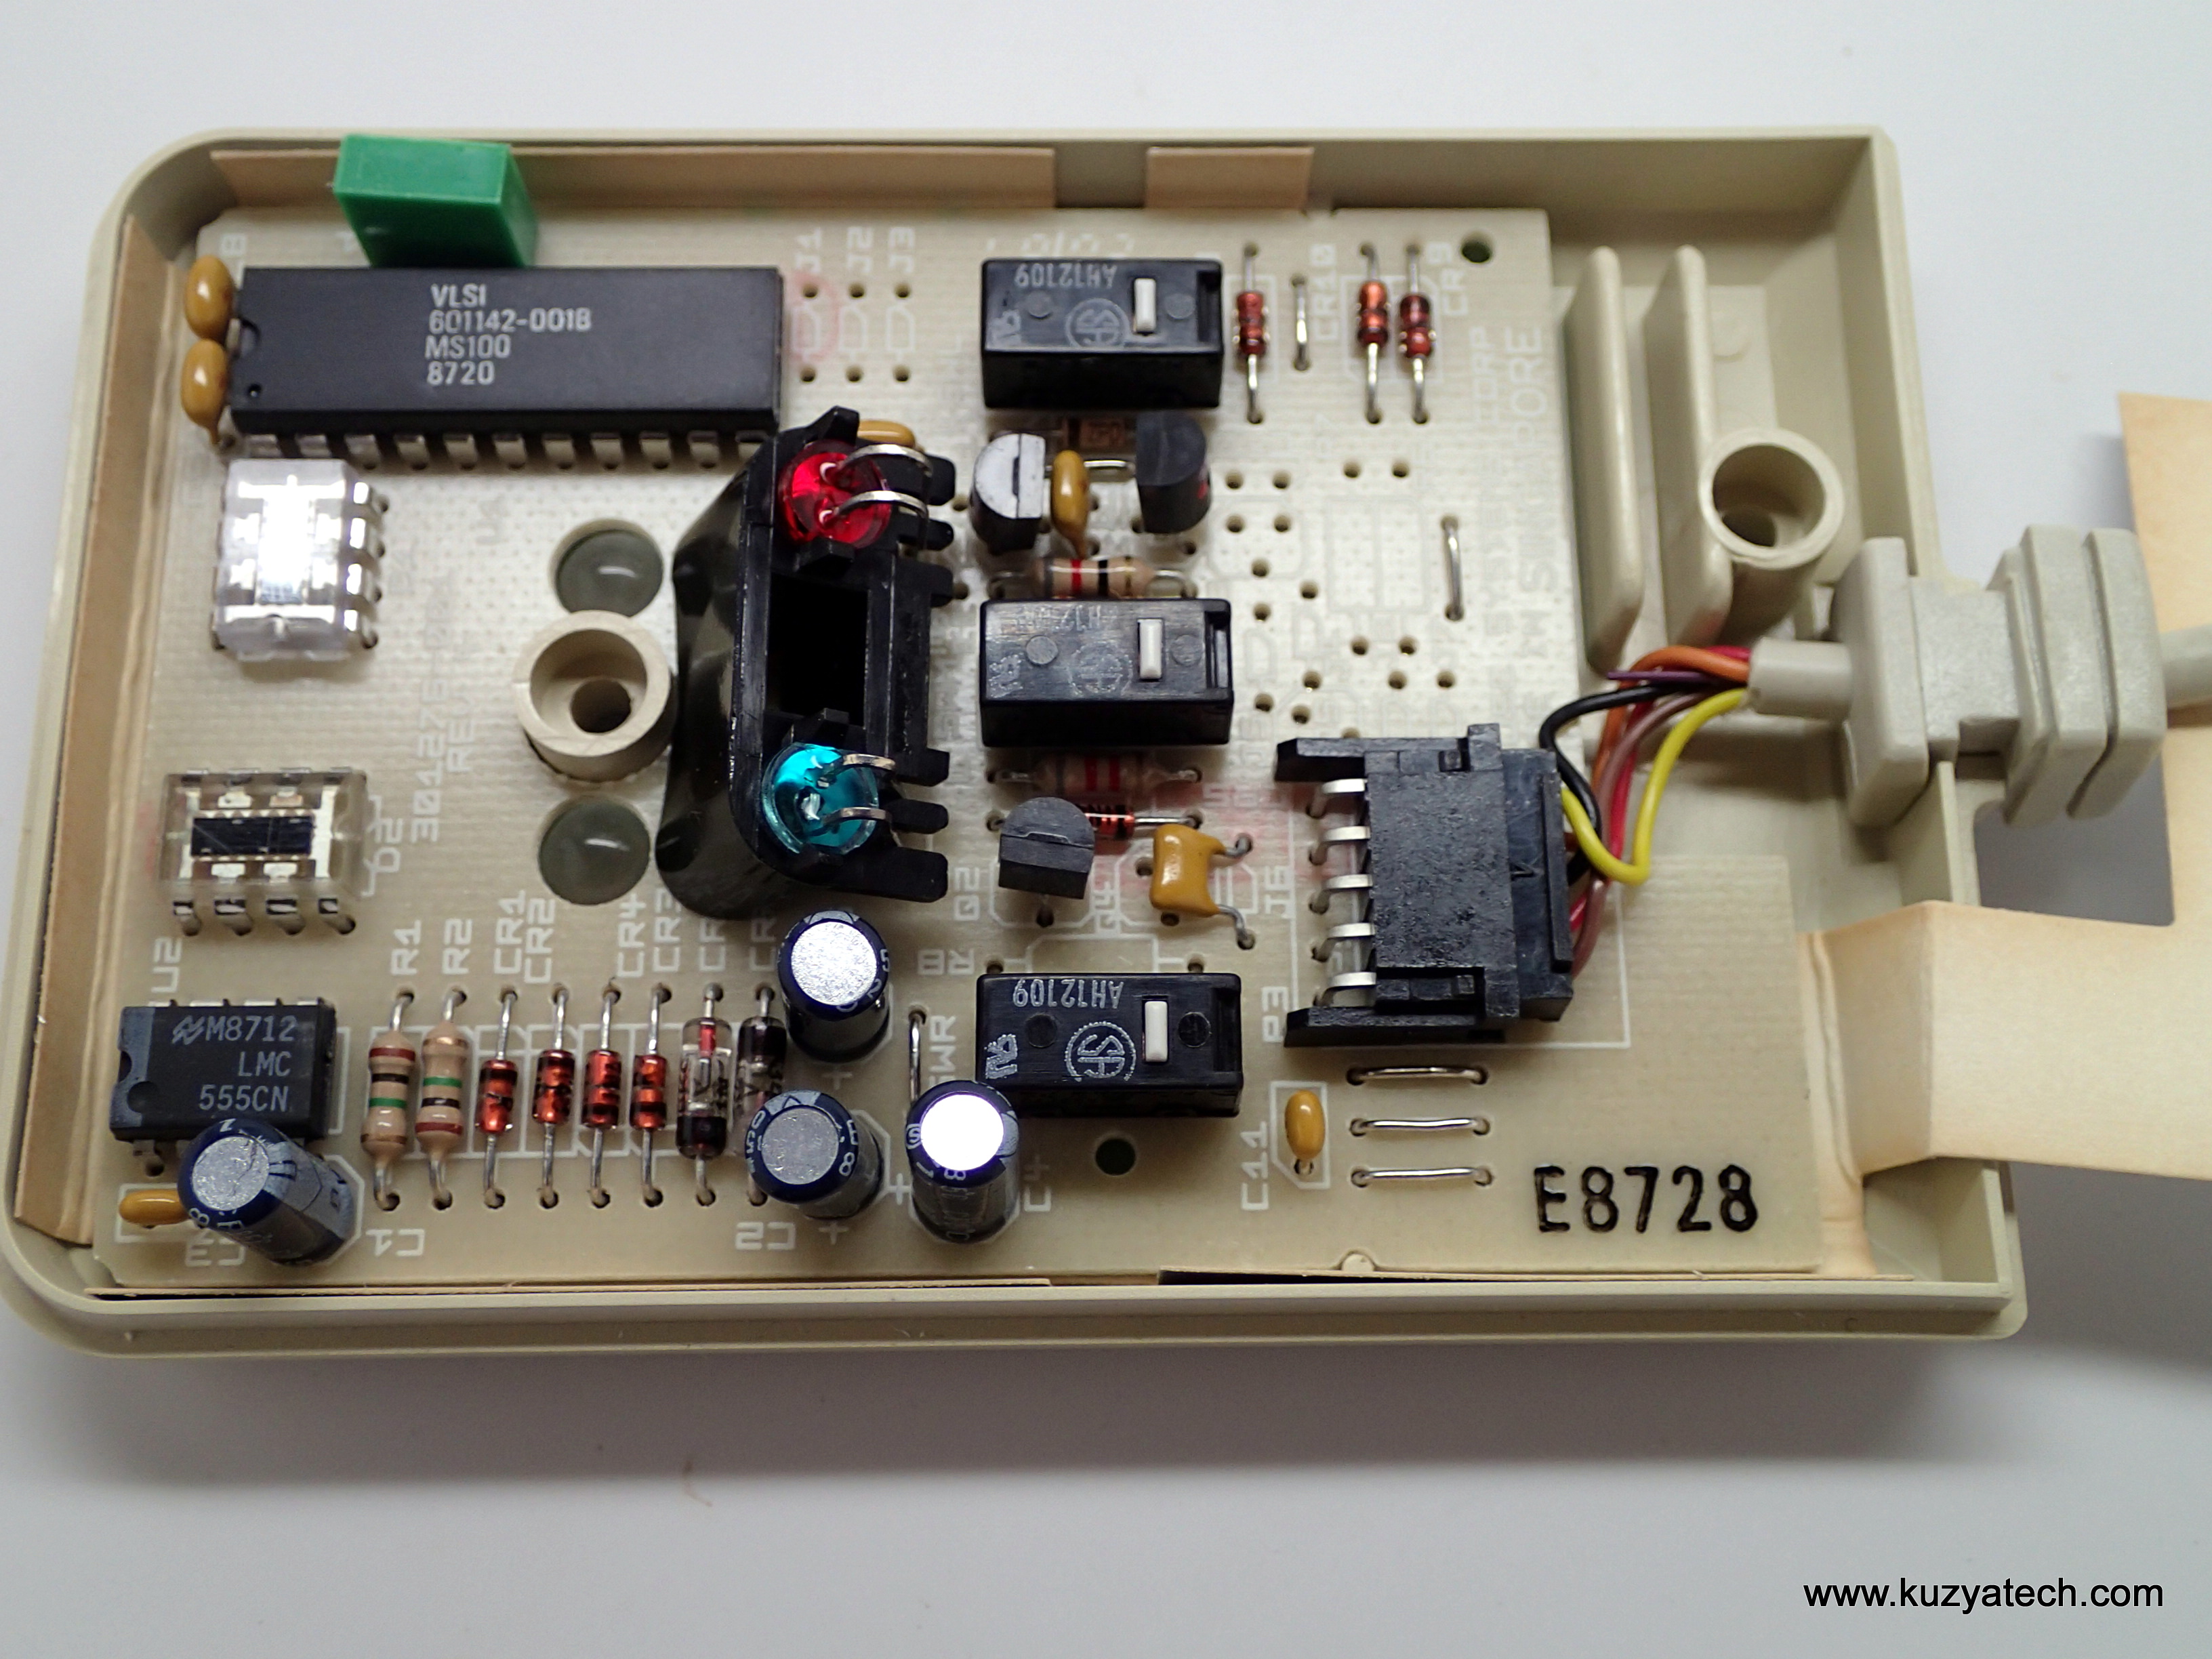


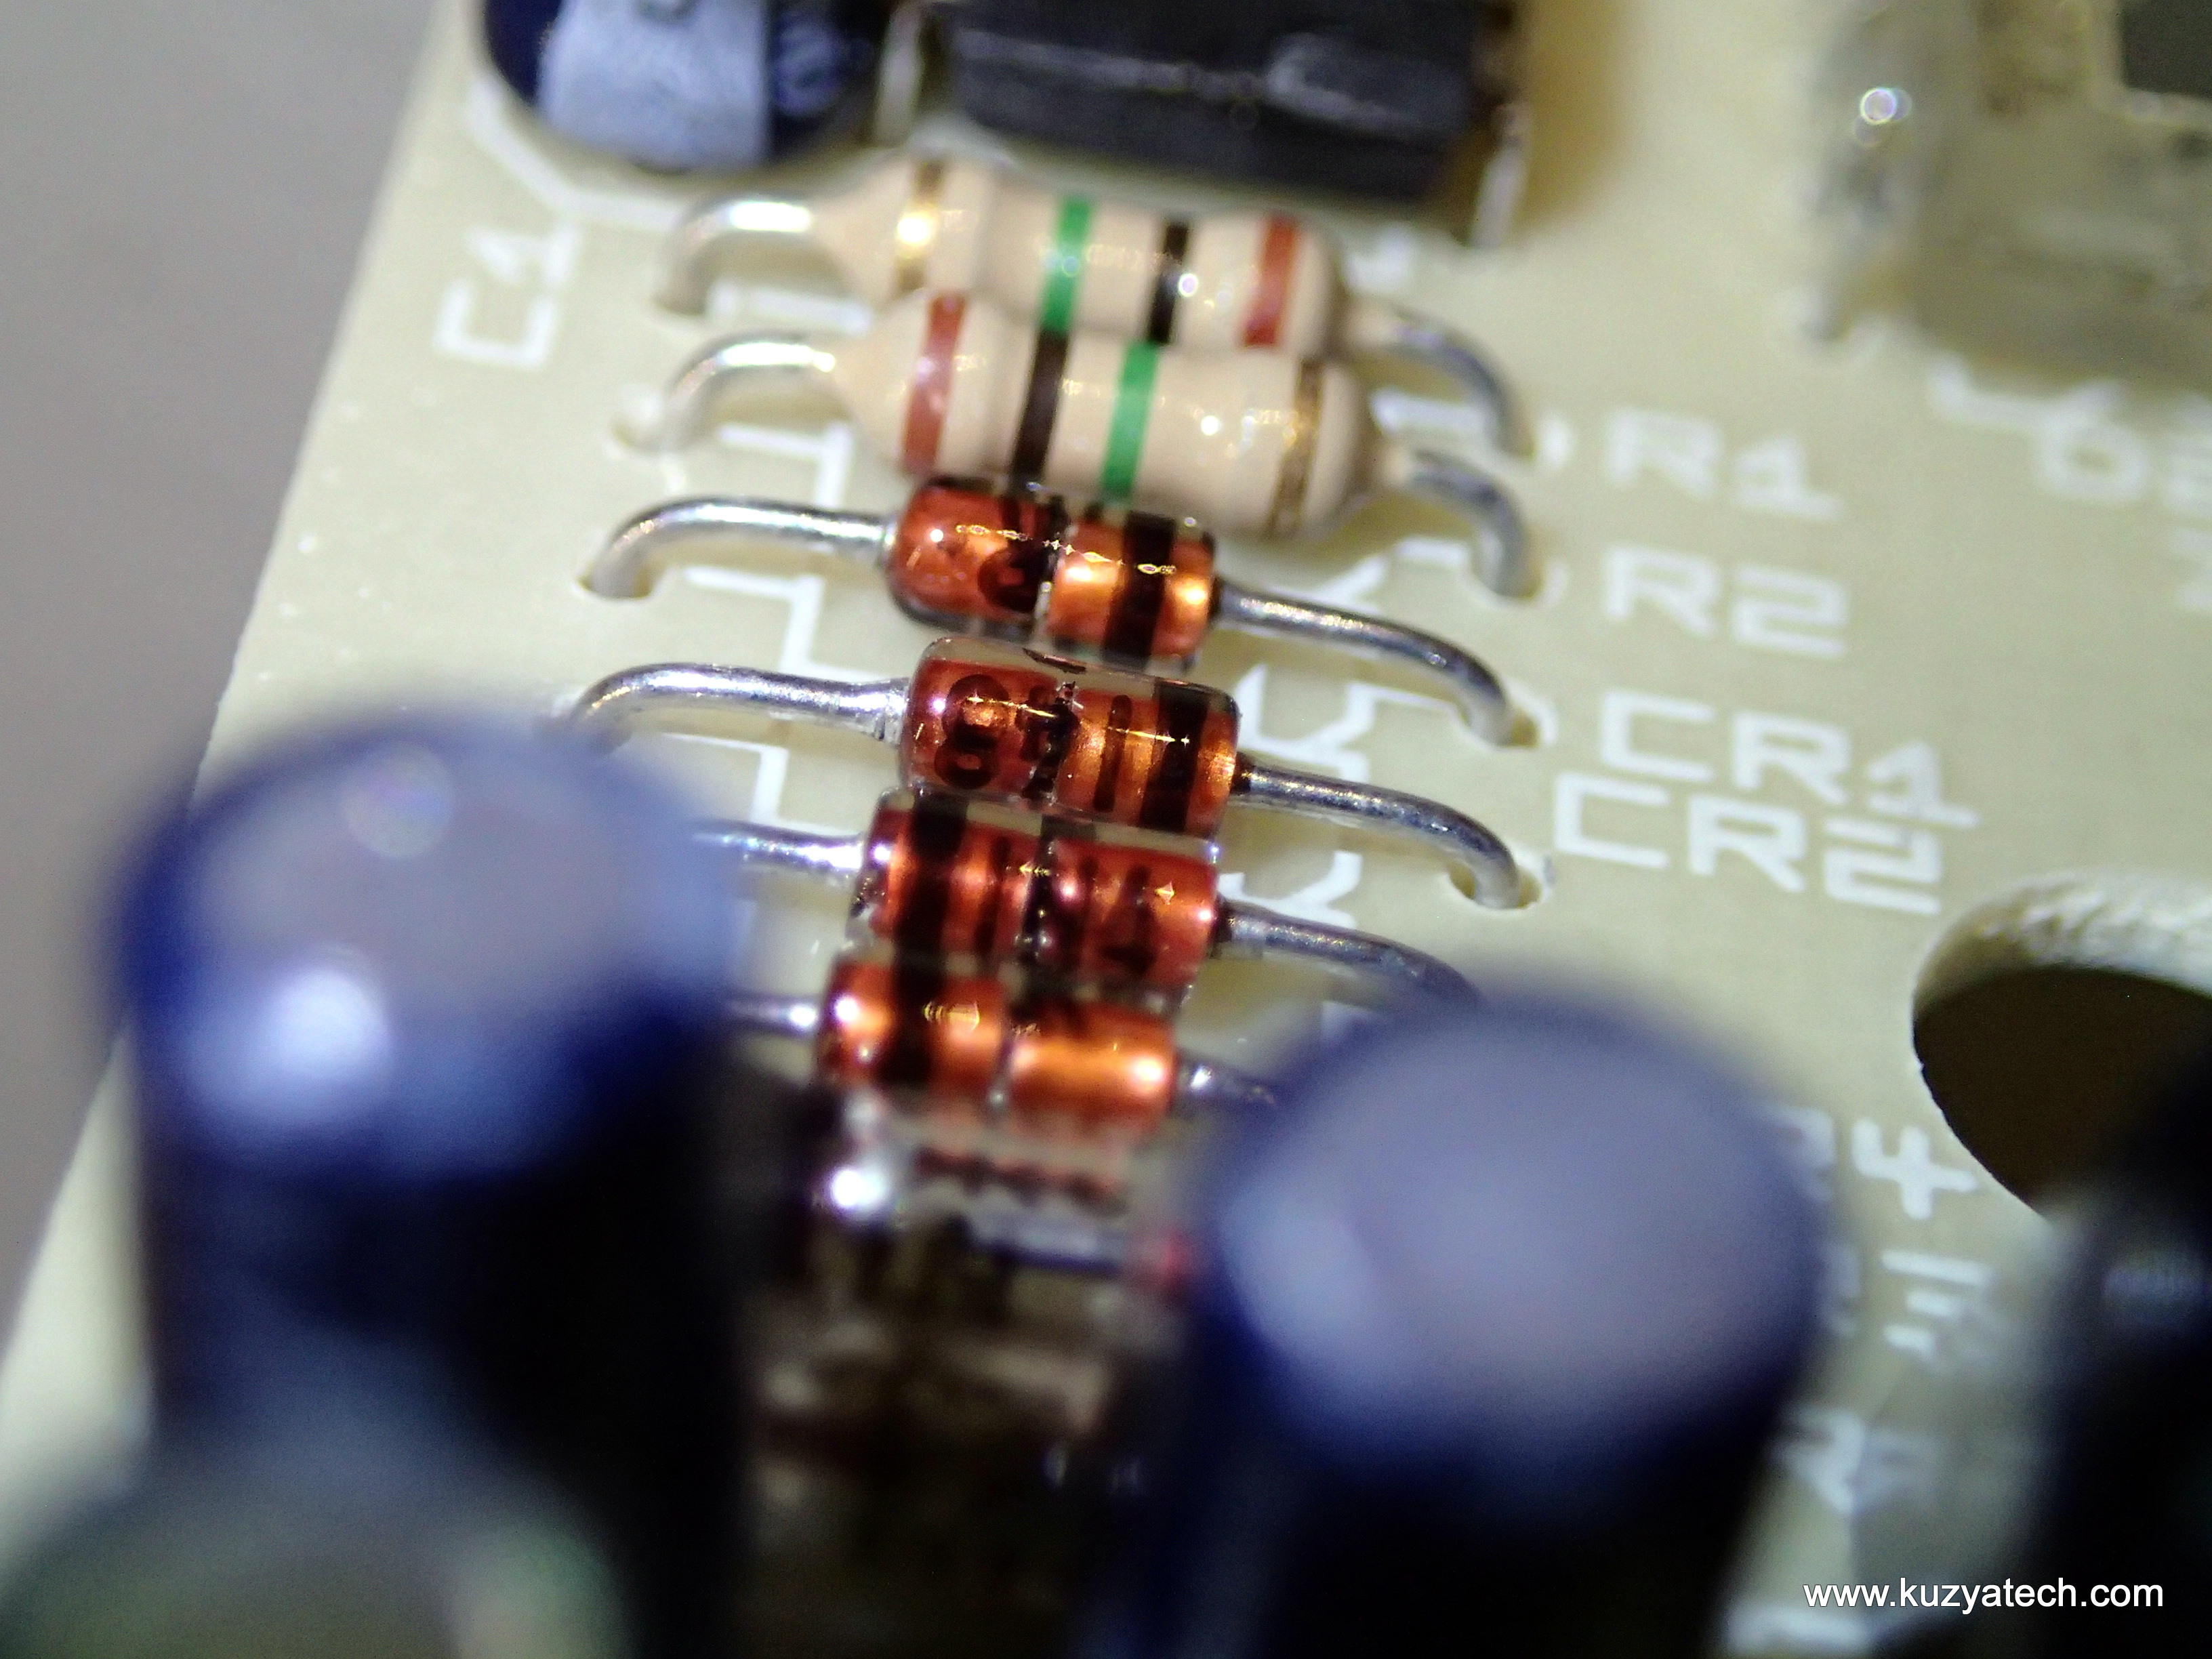
You gotta find 3906 somewhere. This one looks to by by National Semi
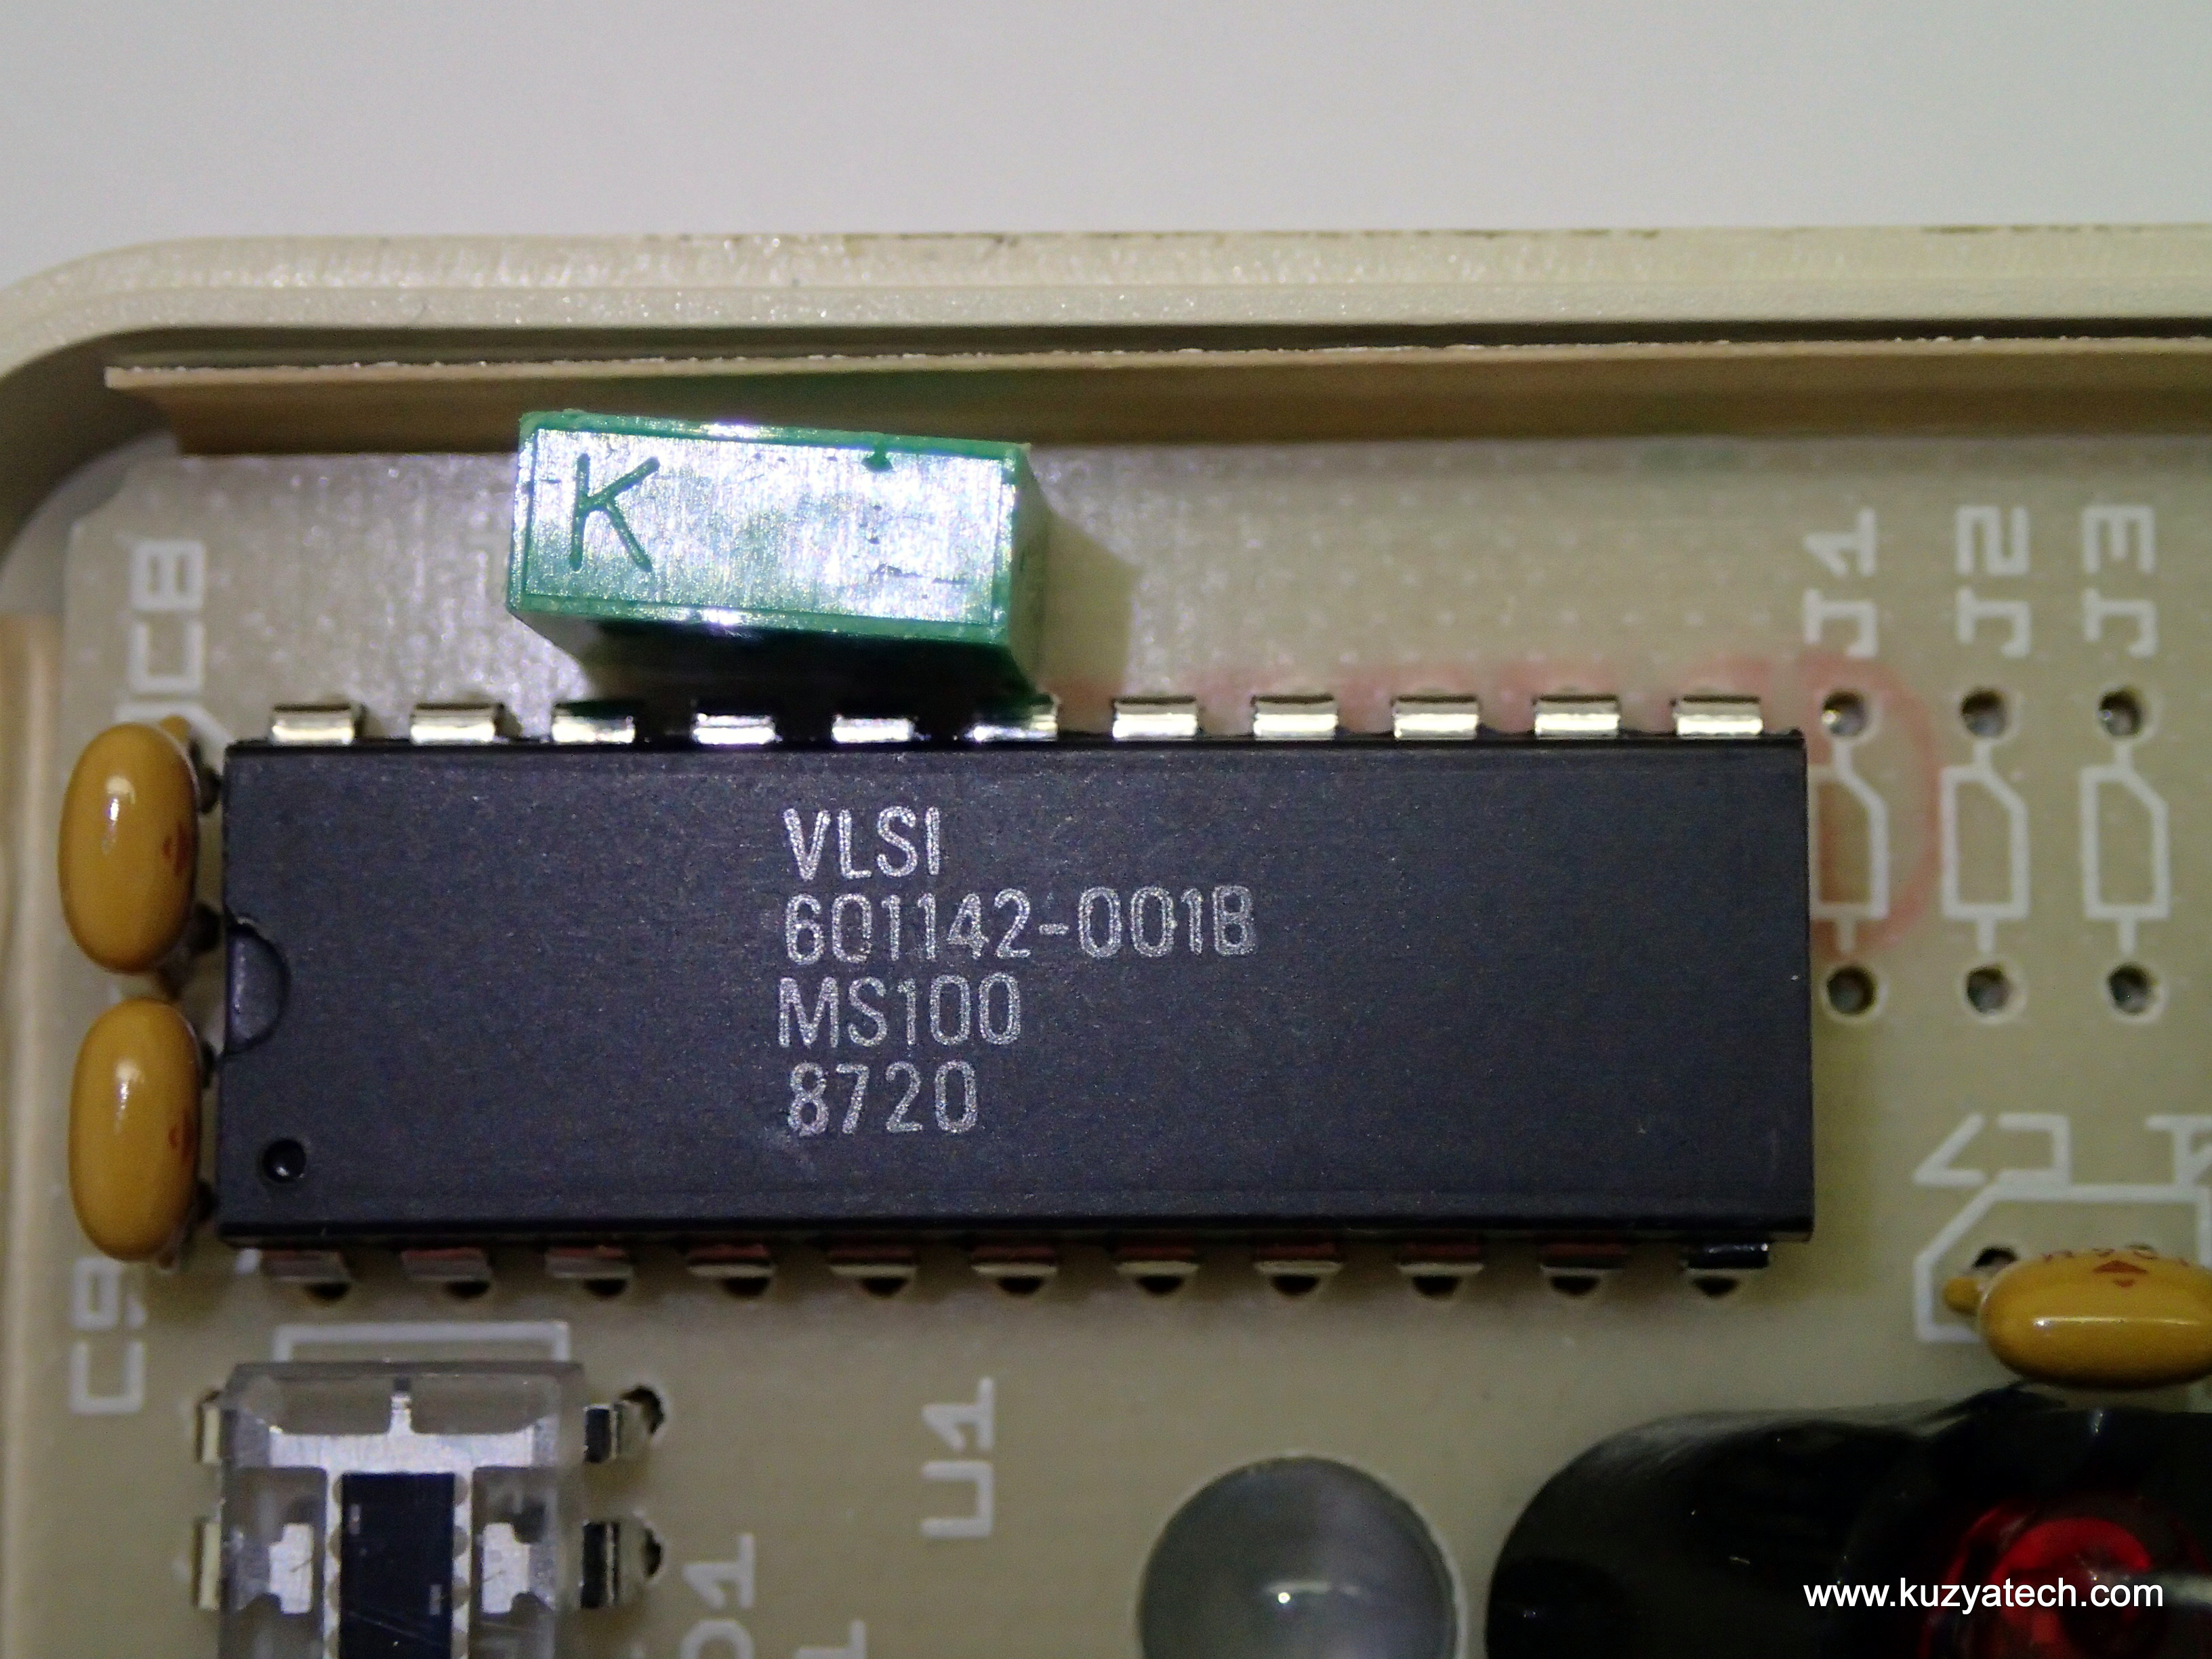
Custom VLSI ASIC
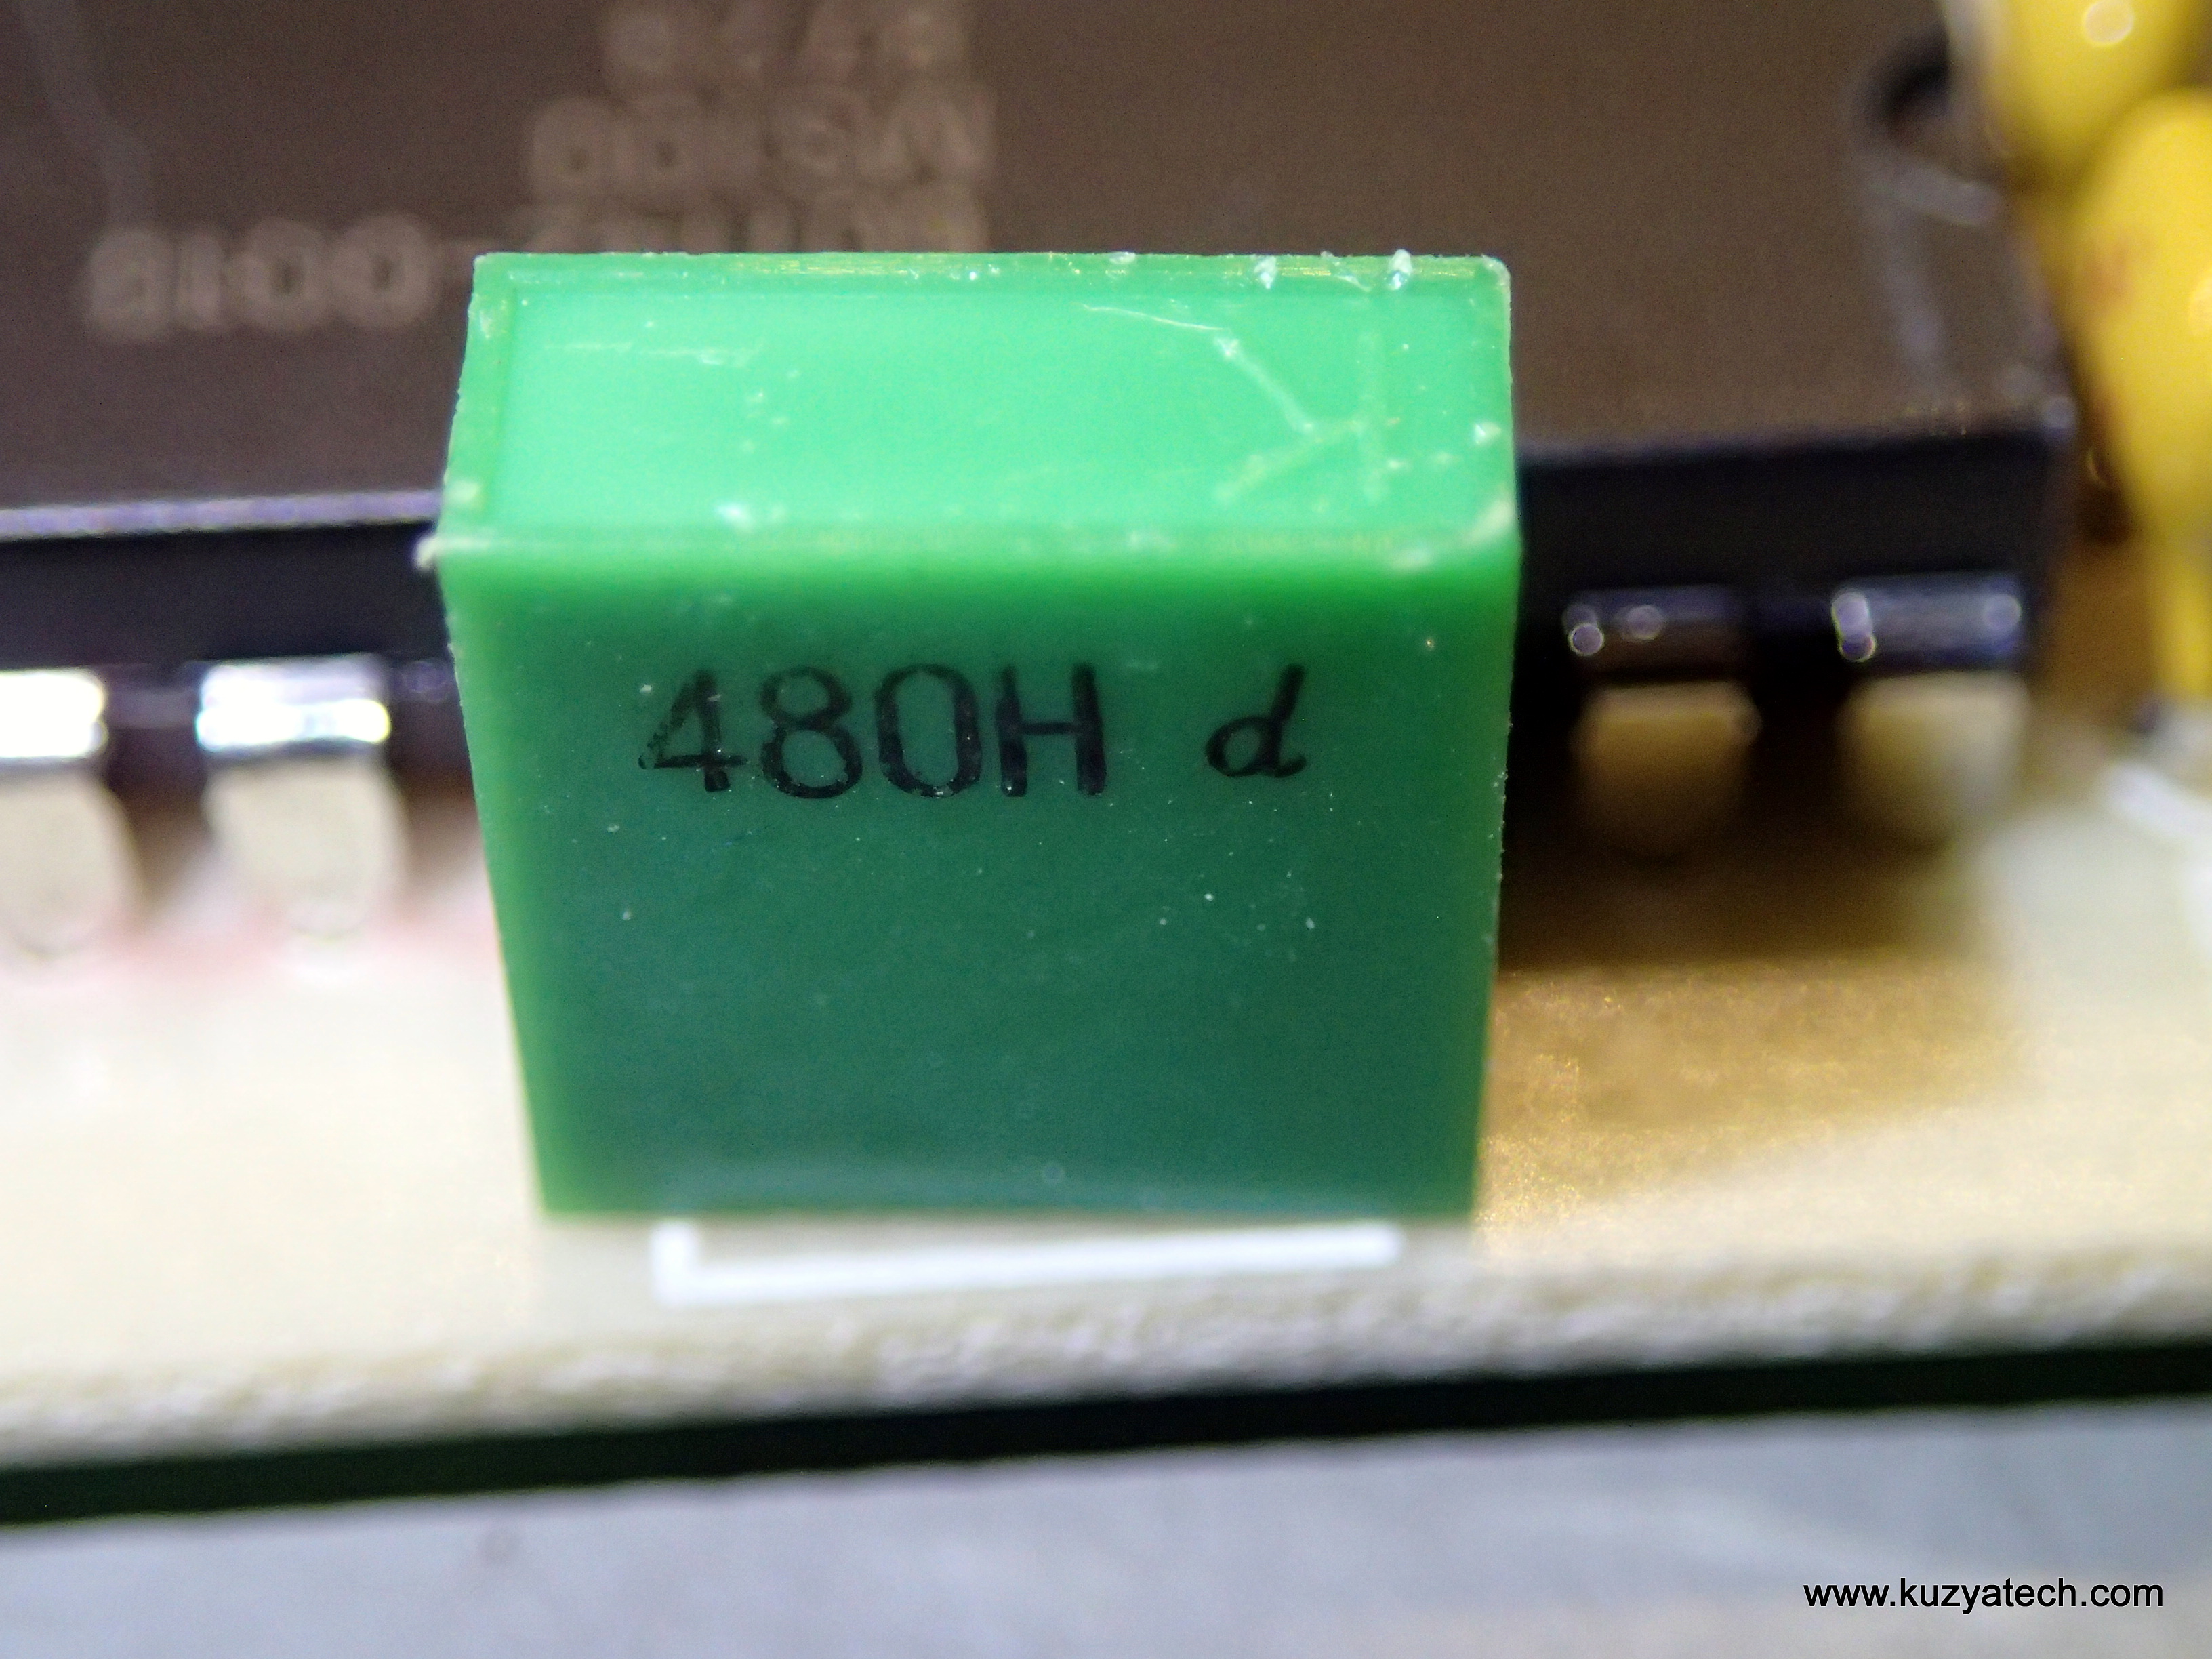
480 kHz Oscillator connected directly to the IC
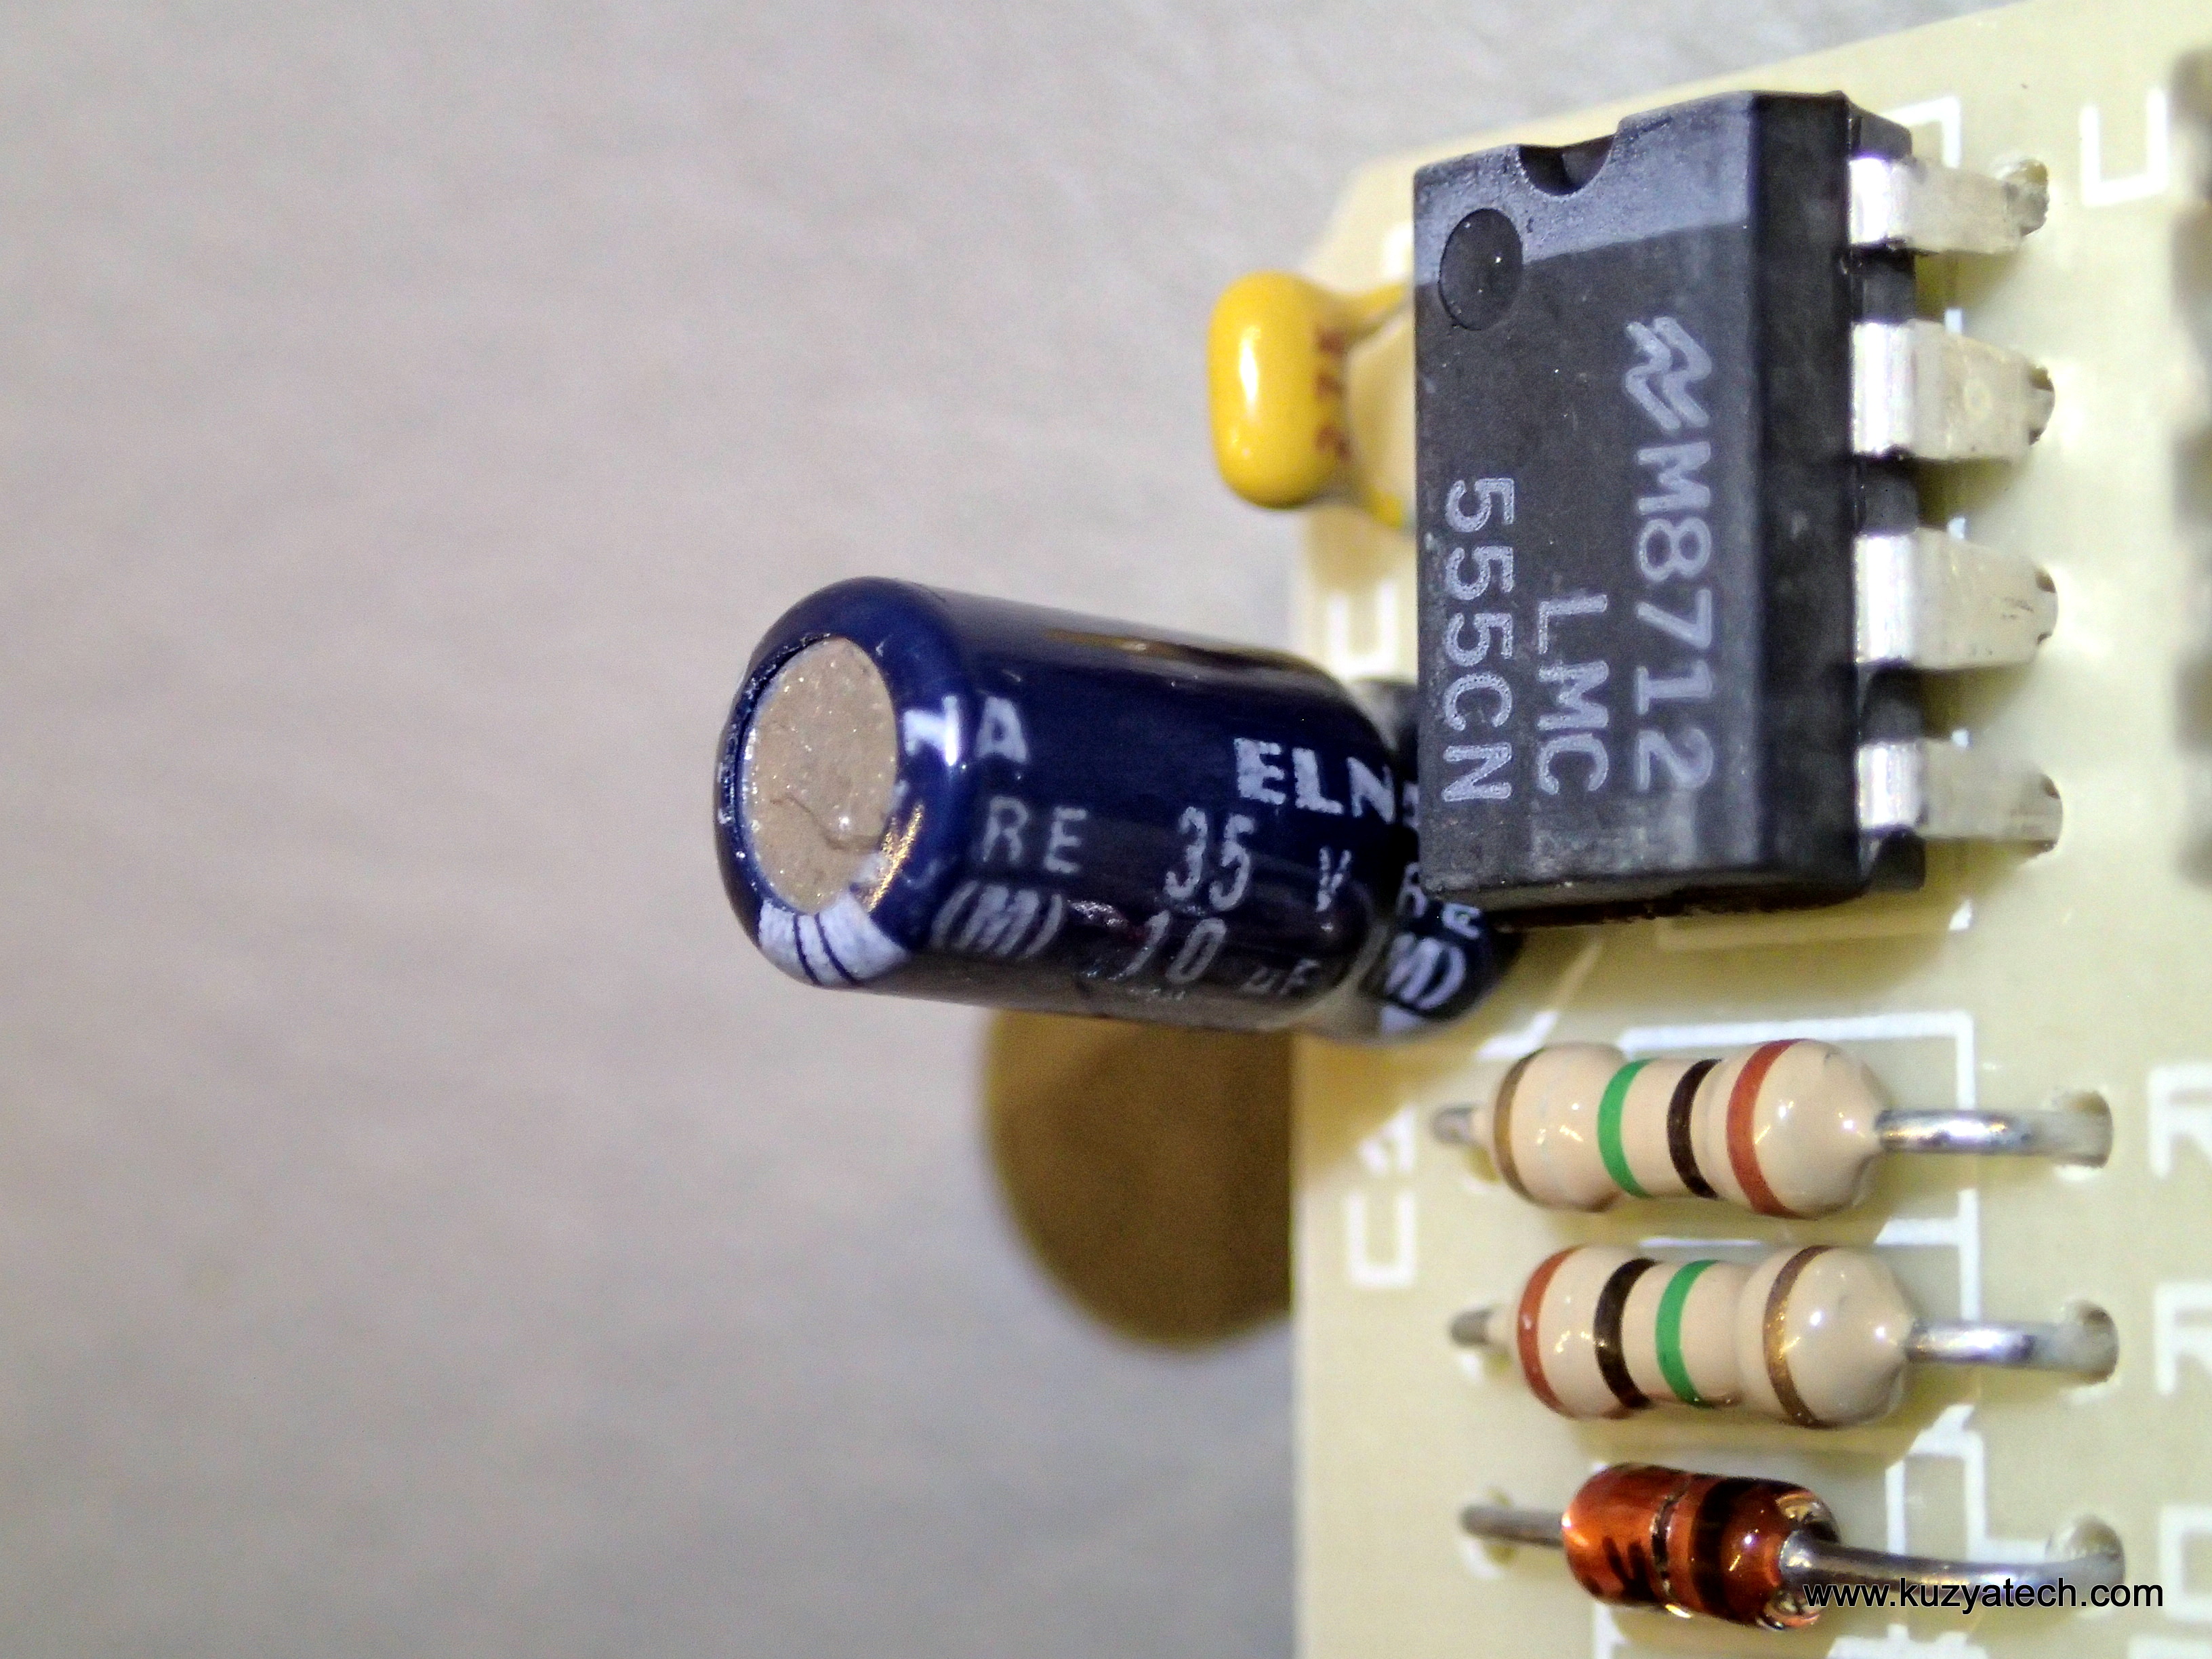
ELNA caps and a National LMC555!
Large grounding pad on upper right

Layout woops or guard traces?

Looks almost like a Hitachi logo
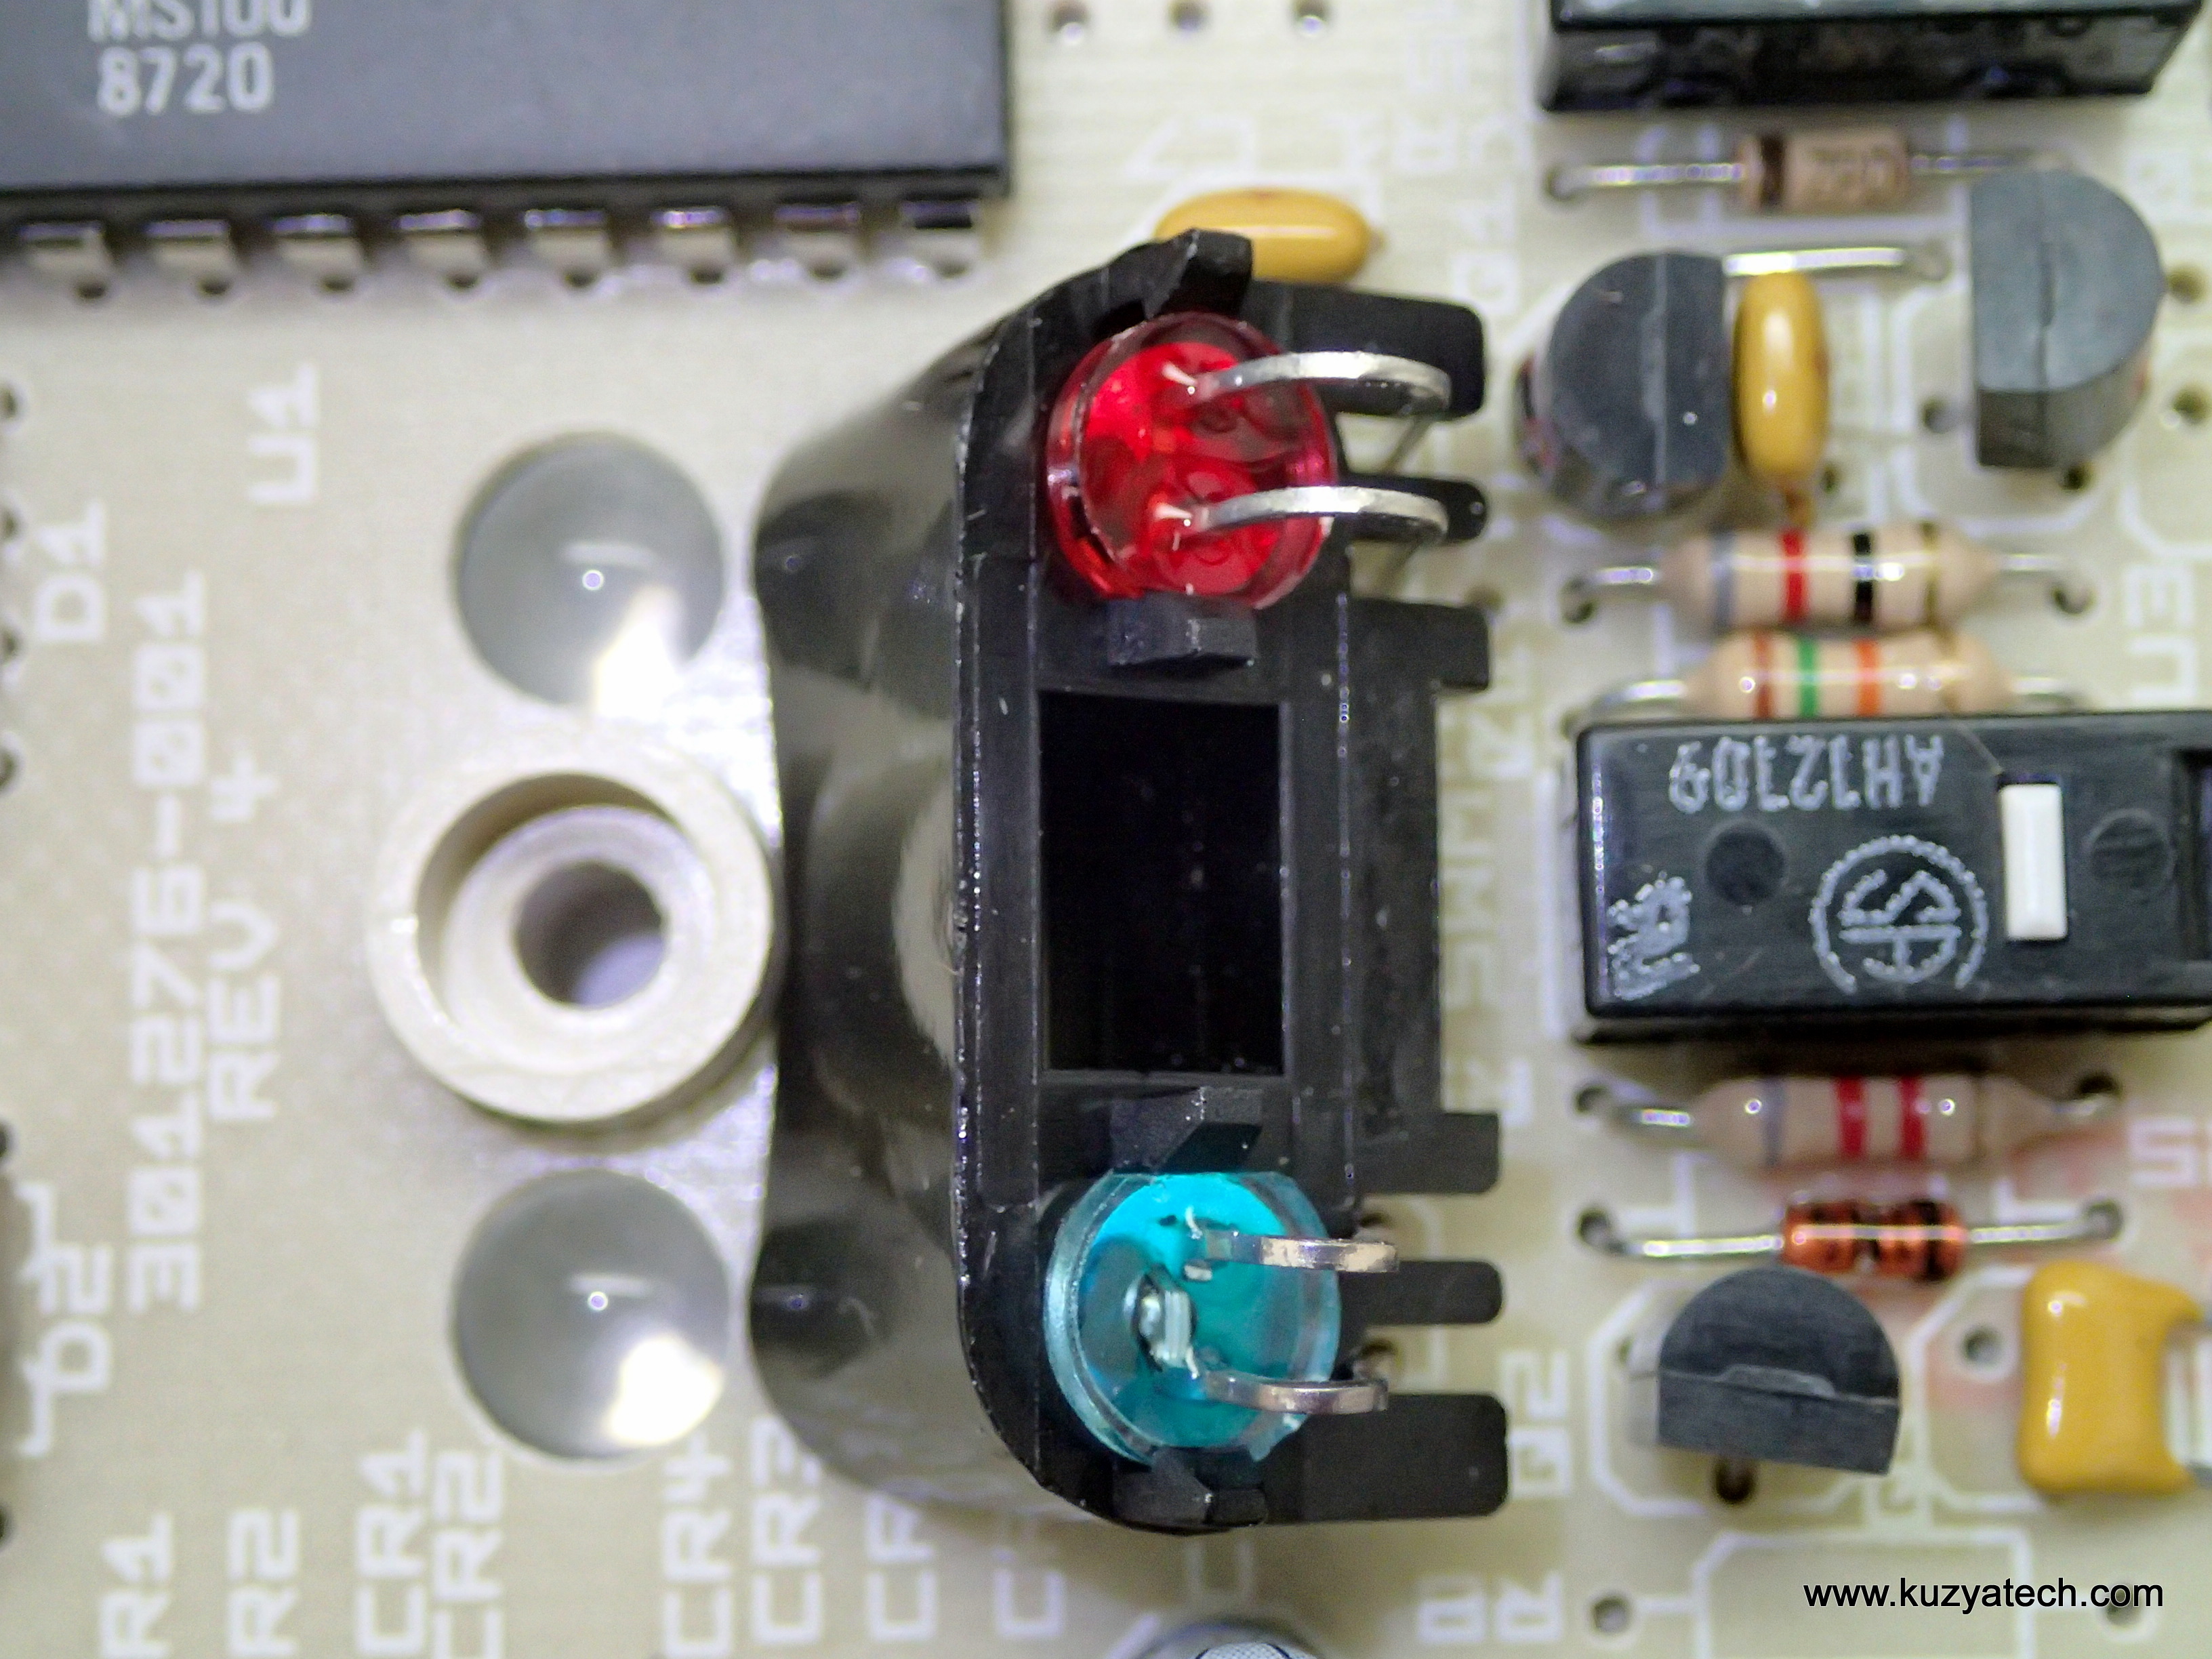
Principle of operation
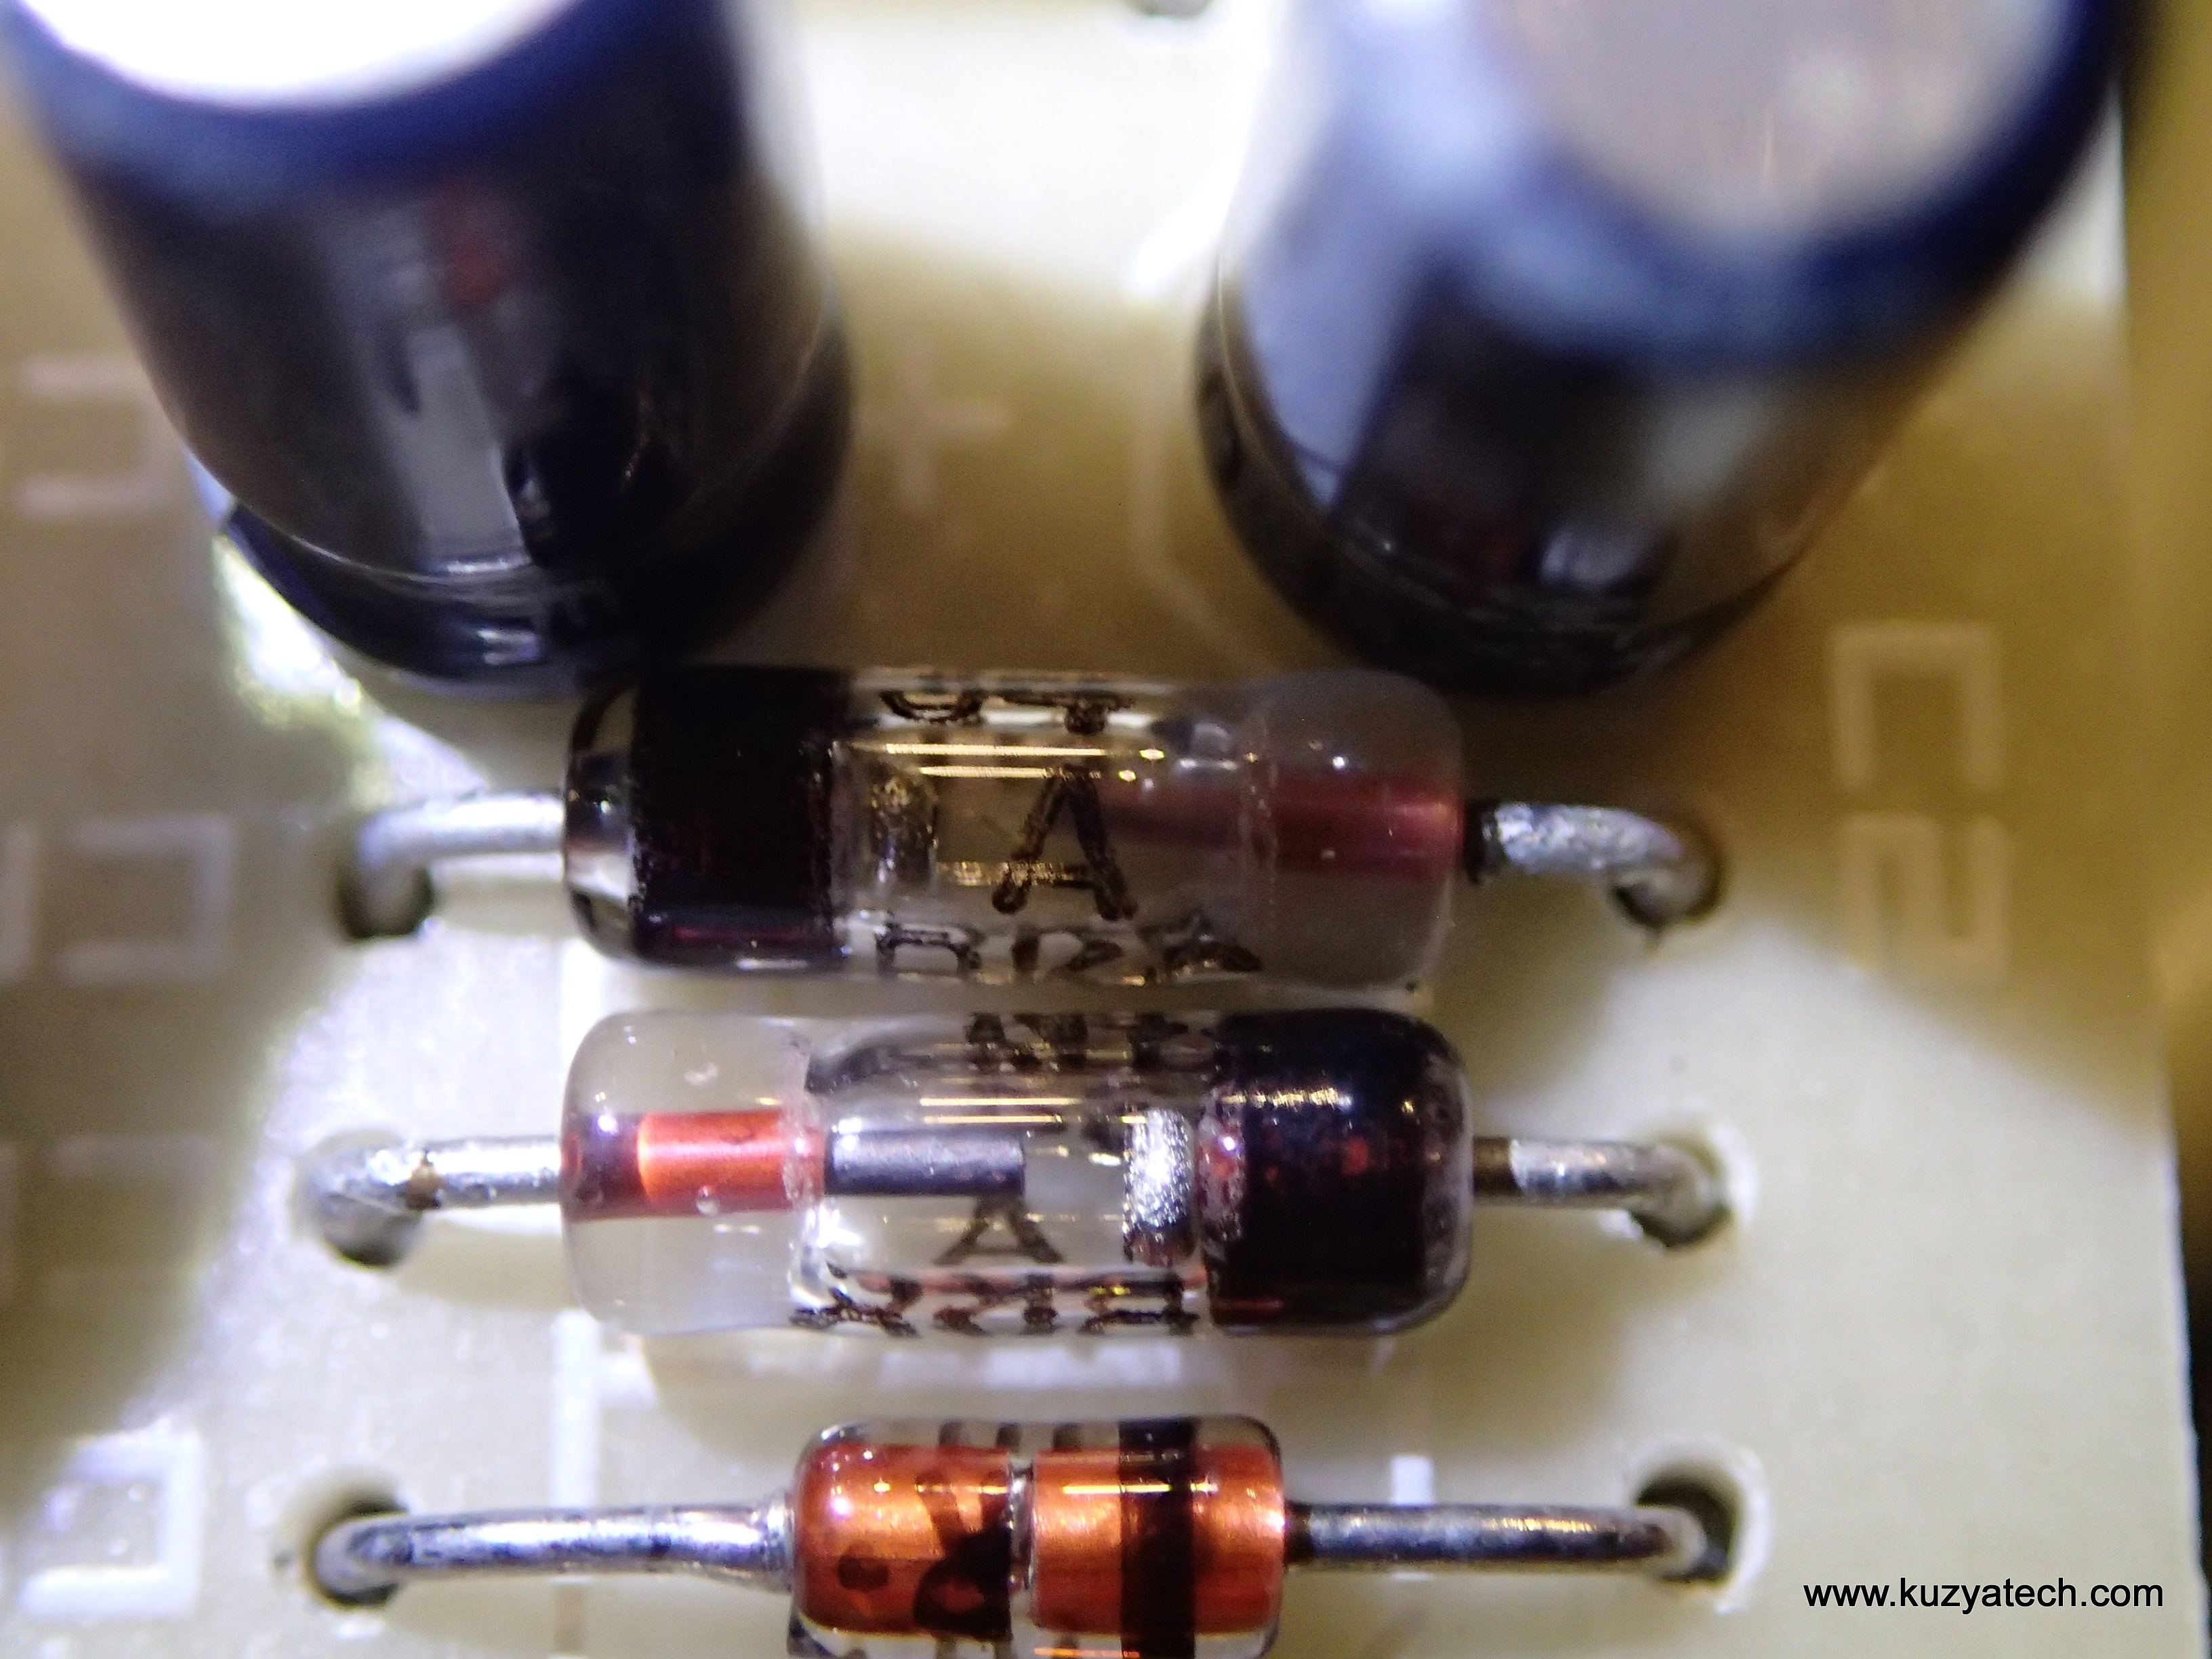
On a very high level, it seems pretty straightforward: two LEDs (IR and Red) shine through the bottom of the case. (They are most likely pulsed using 555 timer) The light bounces off the metal pad, runs through the spherical lens, reflects off the mirror on the top and lands on a photosensor. Moving across stripped line generates pulse train which tells the chip how far we’ve moved, though I am not clear on whether the intersections of the lines are used as anything meaningful. I supose they could be used as “universally dark” spots since they will not be reflective to both Red and IR. The manual does mention the expected orientation of the mousepad, so that has to match the sensors.
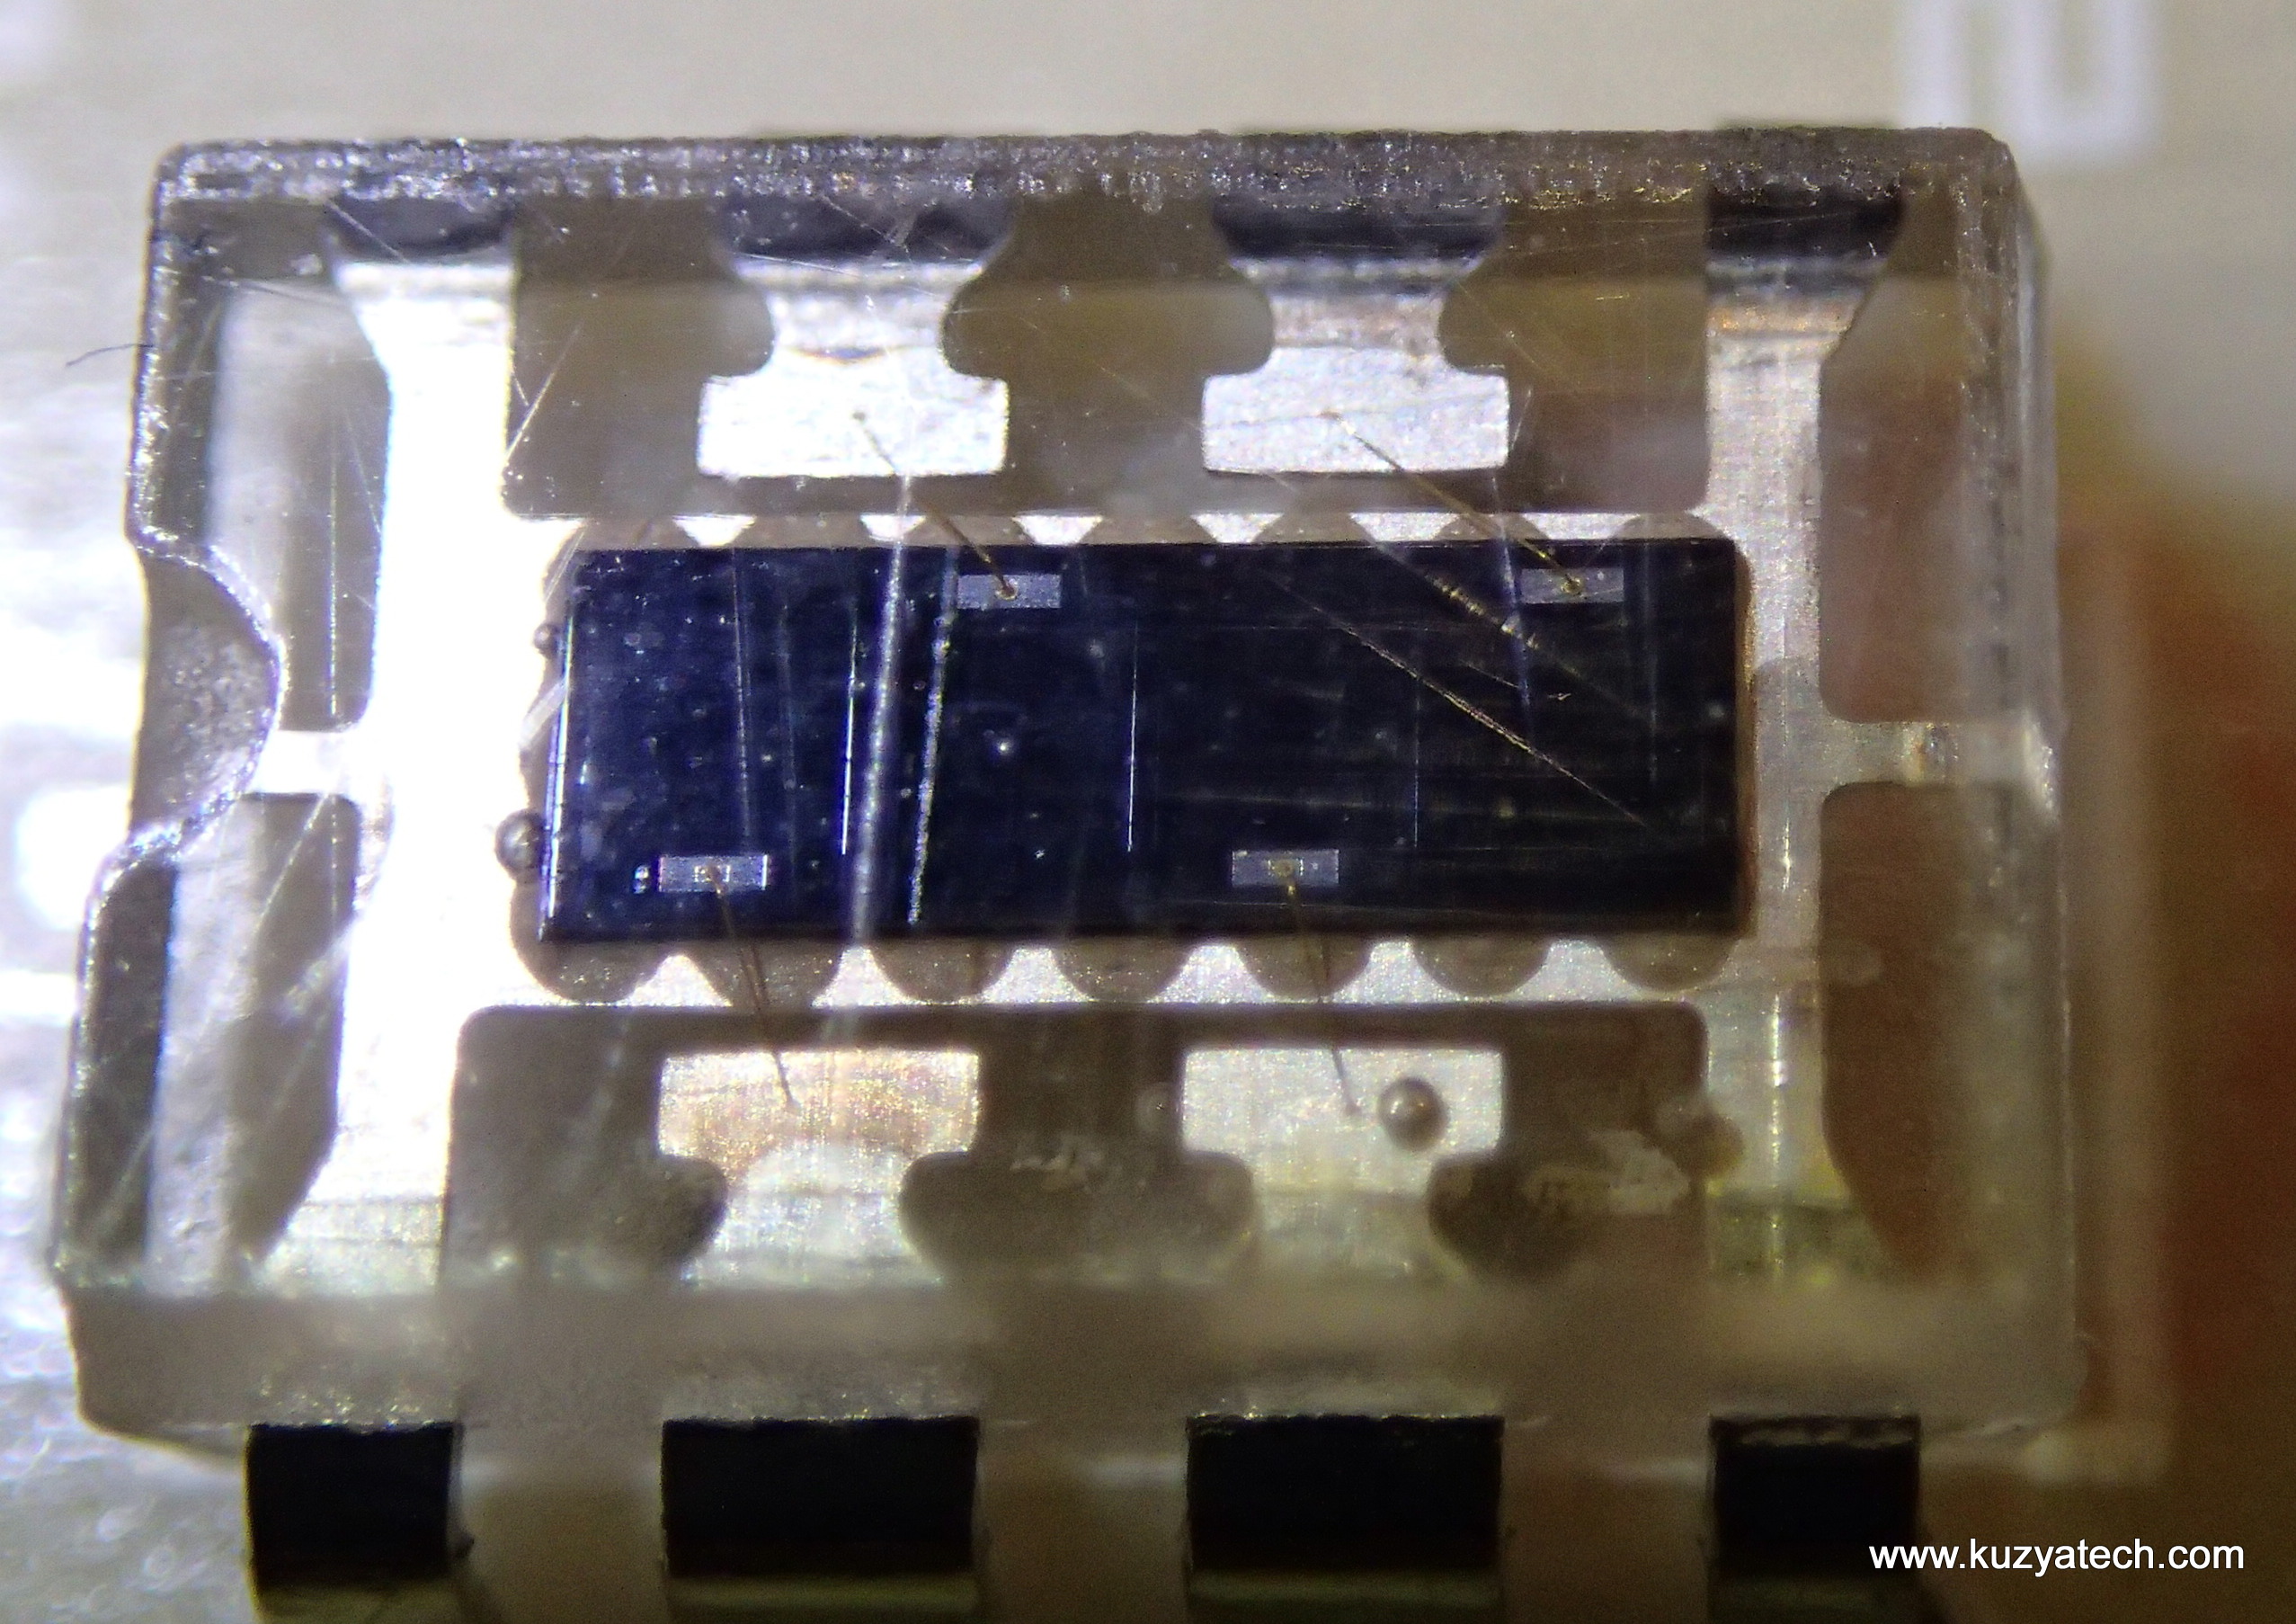
The design uses two light sensors shown below. I am not quite sure what these devices are exactly, but they appear to have one common and four separate electrodes going to the VLSI chip for processing
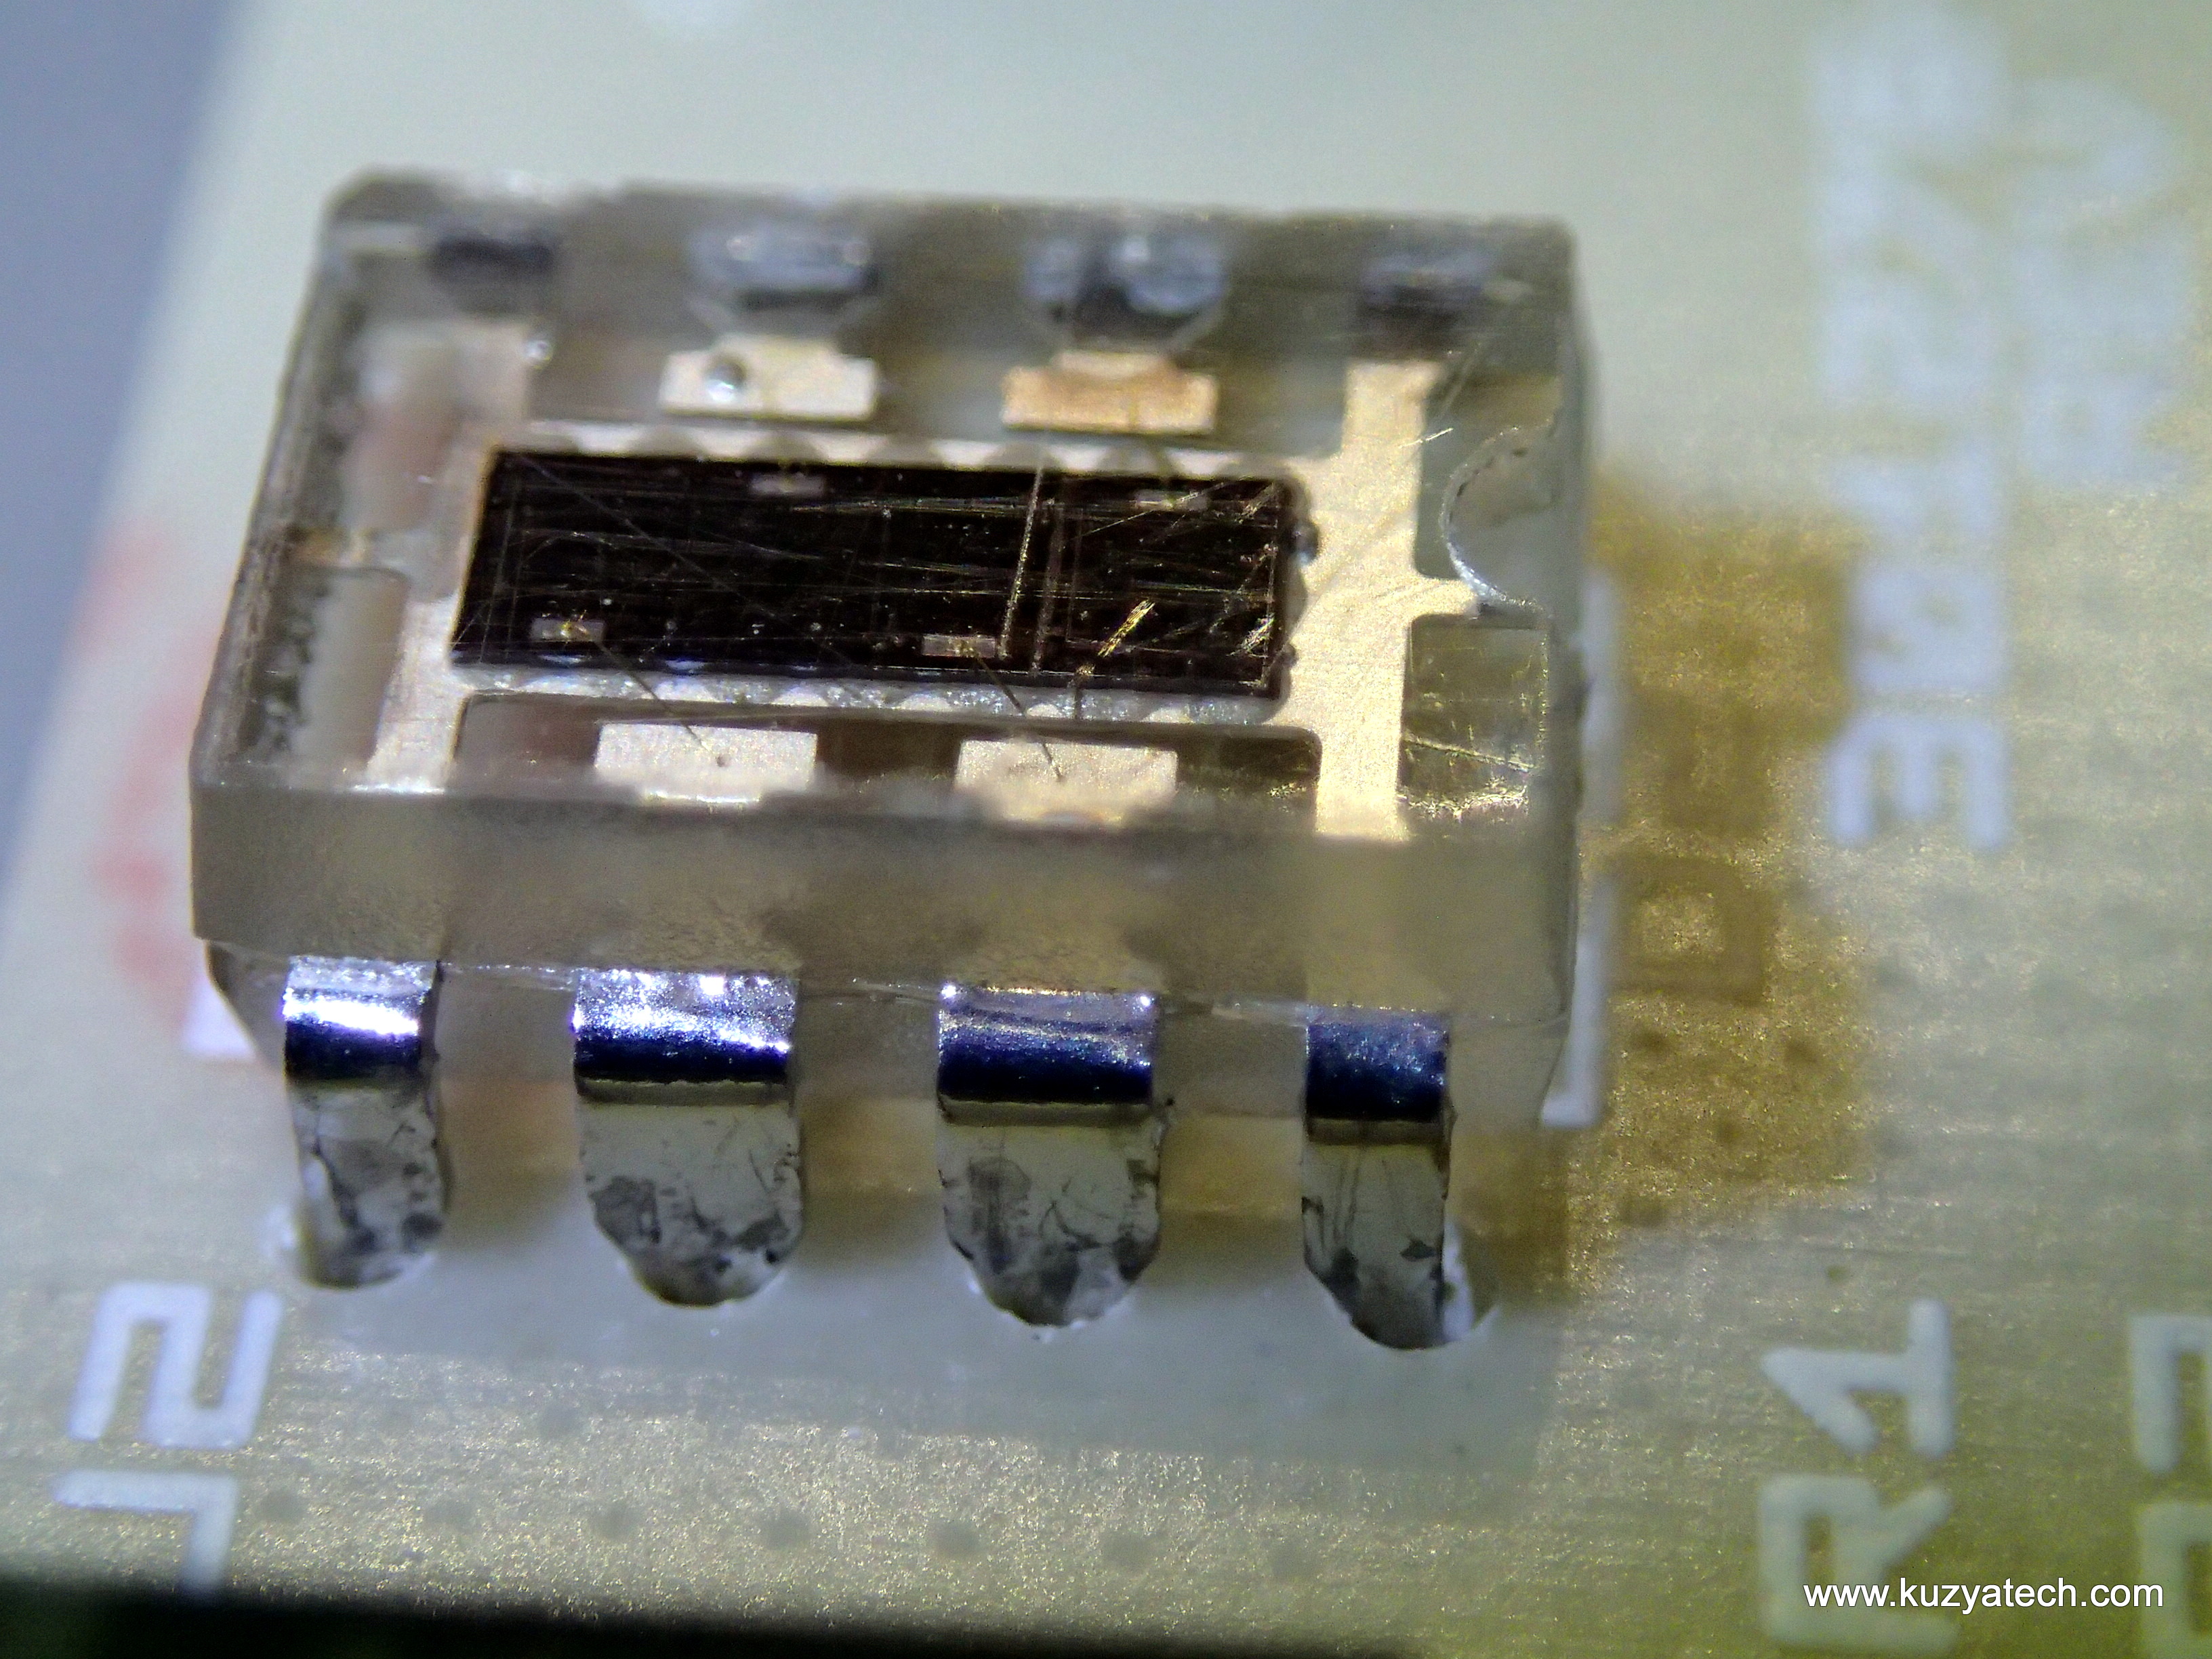
You can see 4 bond wires
Interface
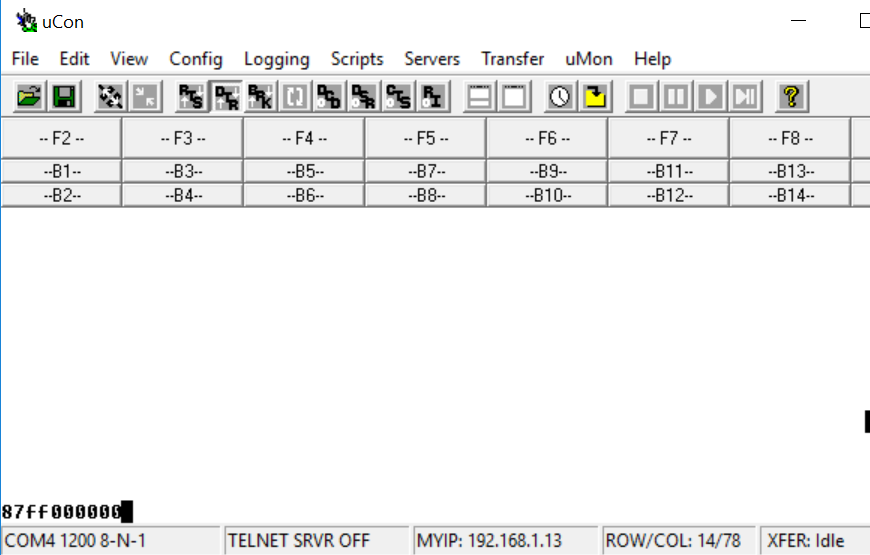
The manual mentions RS232 1200,8,N,1 with five bytes sent on status change: Sync, dX, dY, dX, dY. Sync byte is 0x80+ button status bits (active low) in positions 0-2. So idle state is 0x87, LMB press comes back as 0x83, MMB as 0x85 and RMB as 0x86. The coordinates come back as 2-s complement 8 bit numbers for the first quadrant (i.e. positive means right and up). Each time two updates are sent.
Turning it on
This mouse does come with driver floppies, but seeing how we are a few years removed from those days, there is not much hope the Windows 10 system will know what to do with them. That is especially true since the data format and RS232 settings do not match standard Microsoft ones (1200,7,N,1 3 bytes). So instead let’s look at the raw hex data coming in by using a USB-RS232 adapter. We expect binary data, so first we need to configure Ucon terminal for the correct data rate and also to perform ASCII conversion of incoming bytes into human readable format:
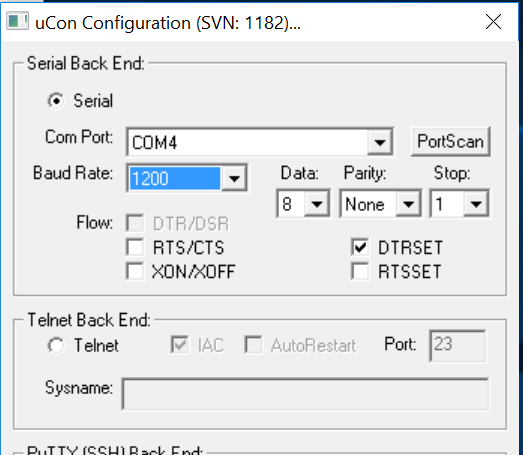
RS232 settings
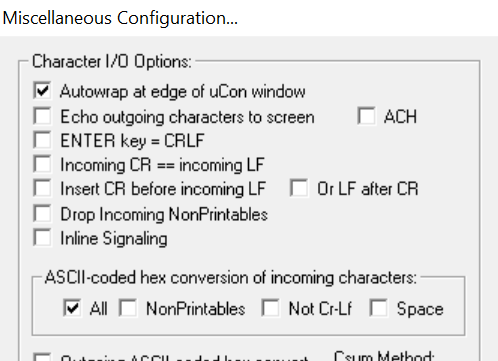
Ucon Settings
Aaand, it’s alive. Moving mouse right, no button presses.
And now pressing one button at a time. The first update also included an inadvertent nudge I gave to the mouse while trying to just press the buttons. As we can see the data follows the spec nicely- each button sends a status update on press, followed by a release:
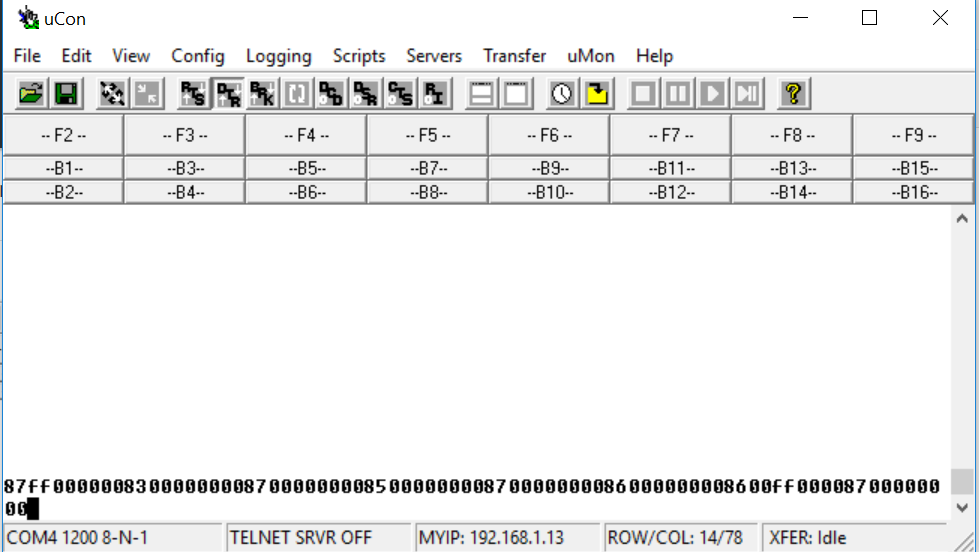
Going through all three mouse buttons, pressing and releasing
Conclusion
It’s pretty impressive how device made in 1987 is still functioning pretty well. Lifetime warranty indeed!
Compare with the Sun version..
http://www.classiccmp.org/dunfield/sun/h/sunstuff.jpg
🙂
Pingback: Clear Epoxy 8-DIP Inside ‘Mouse Systems’ 3-Button Mouse Model M4 HI Circa 1987 « Adafruit Industries – Makers, hackers, artists, designers and engineers!