Today’s teardown subject is a Philips 8E26A60 LED bulb. (An 8W 450 Lumens 2700K version) These appeared briefly at Home Depot and were replaced by the next generation “yellow tri-blade designs”. I liked the more conventional look of them, and a very nice omnidirectional light pattern, so I bought several. Three are still going strong, but one suddenly became significantly dimmer:
With only a year into the six year warranty, Philips was nice enough to replace it. Naturally we now have a teardown subject! Taking the outside globe off was a bit of a pain- I’ve assumed it was plastic, but once none of my hacksaws could even scratch it, I realized it was glass with a rubberized coating. Quick hammer hit and we can now look inside:
What looked like an “egg yolk” through the outside globe, is actually a remote phosphor sphere. The idea here is to convert light (usually blue in such setup) emitted by the LEDs into the desired wavelength. That brings a few benefits with it. Phosphor and LEDs are separated, lowering the temperature of the latter. (In a regular white LED phosphor is inside ) The emitted wavelength can now be controlled independently and easier than in the LED process. It also helps that the shape can be essentially arbitrary. A round one in this bulb creates a nice omni-directional emitting surface. That’s much closer to the light pattern of an incandescent lamp versus LEDs usual directional beam.
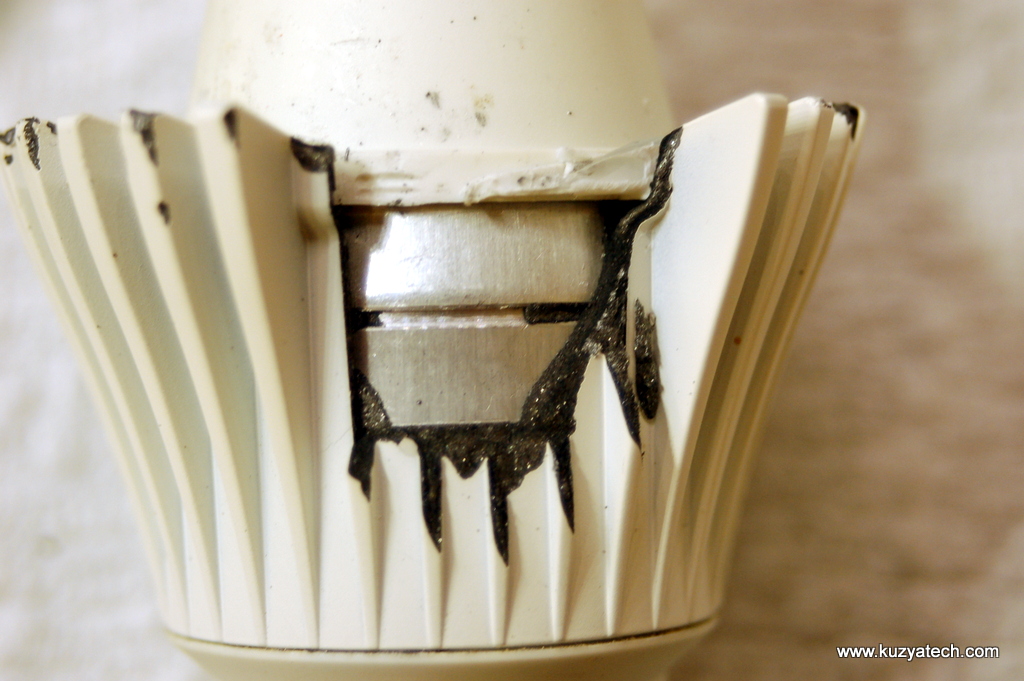
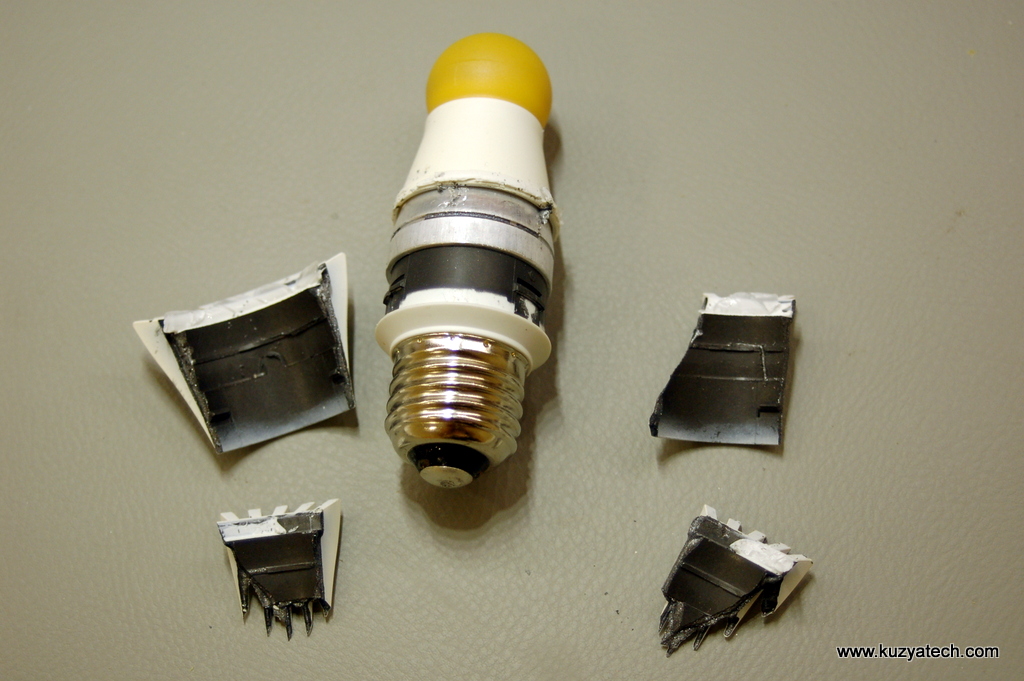
The heatsink is peculiar. It felt like a die cast metal part, until I pried one of the fins and it just broke off. Inside is what looks like a plastic with graphite particle or possibly ceramic material painted white. Note how the fins are open towards the bulb, minimizing shading of light in the downward direction.
The broken fragments are very light, so most of the weight of the bulb is still remaining in the main section.
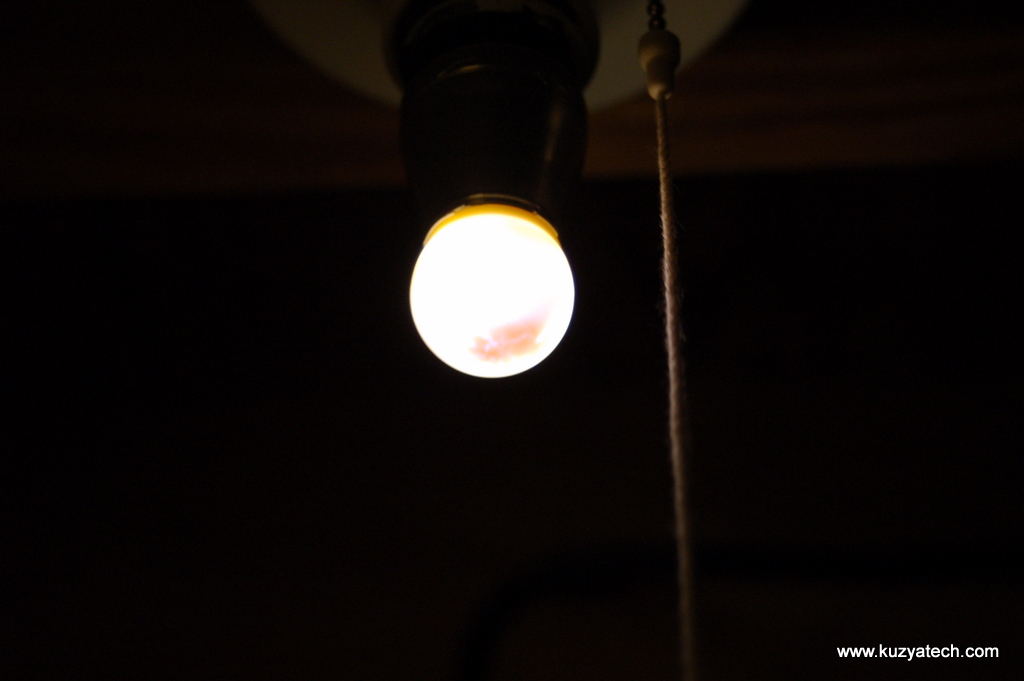
Now we can see what the bulb looks like when powered:
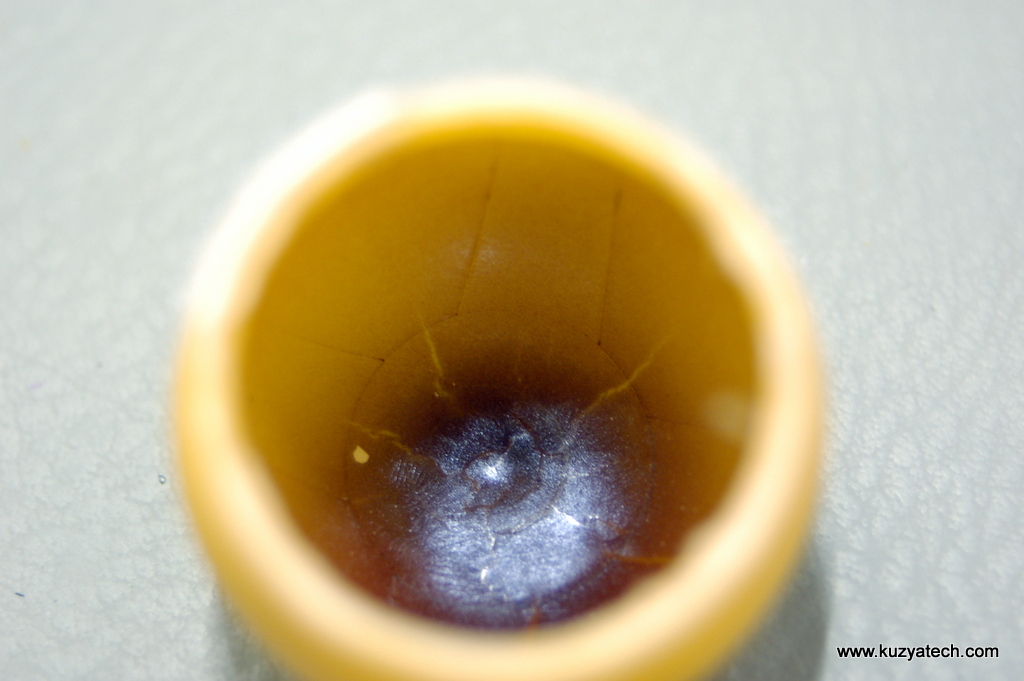
Notice the darkened area of the sphere. Let’s investigate it a bit further.
Taking the remote phosphor sphere we can easily tell what the dark spot is- the plastic is clearly overheated and partially melted. On to the LEDs:
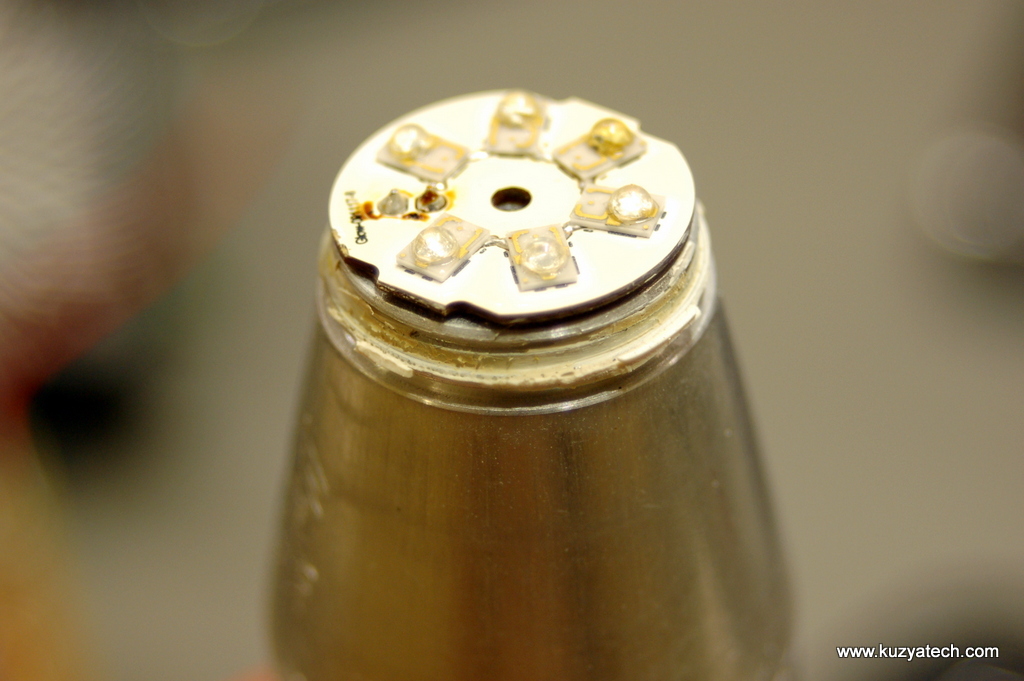
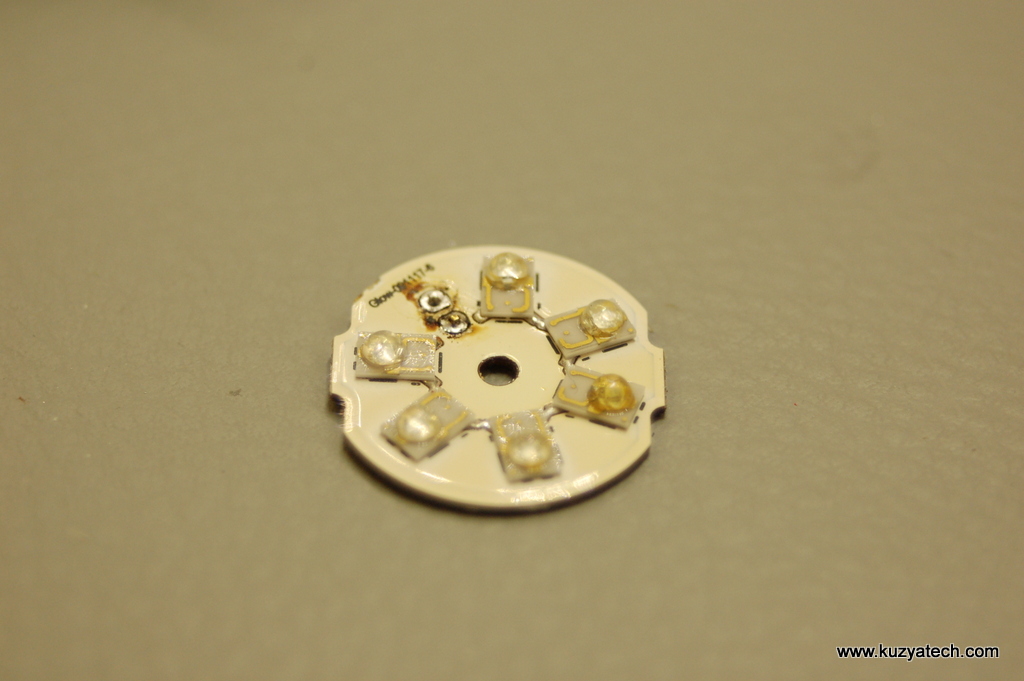
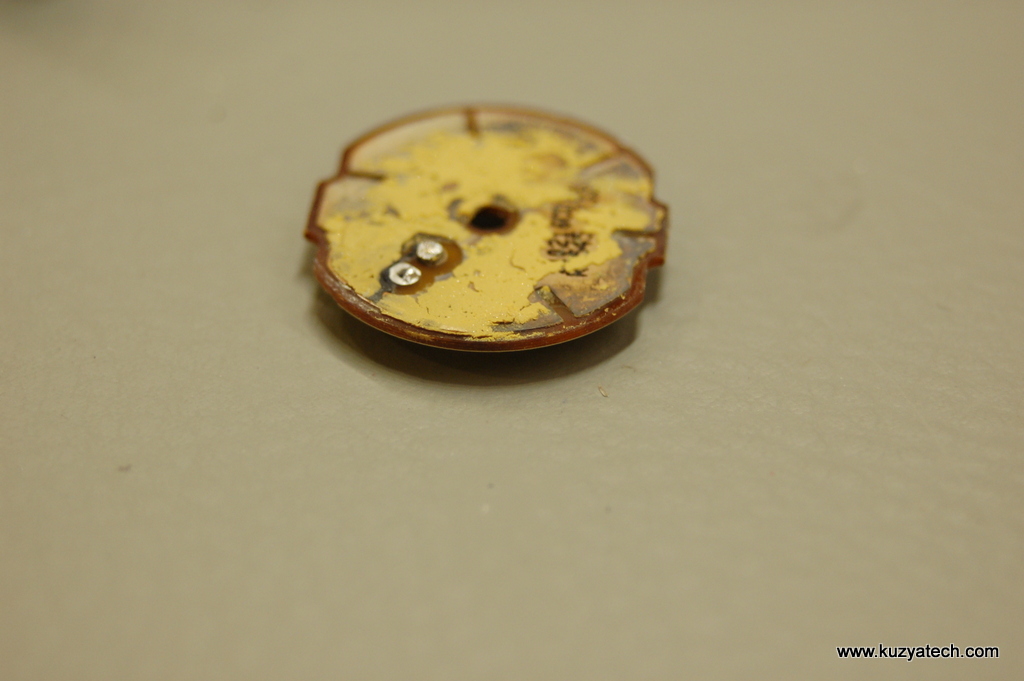
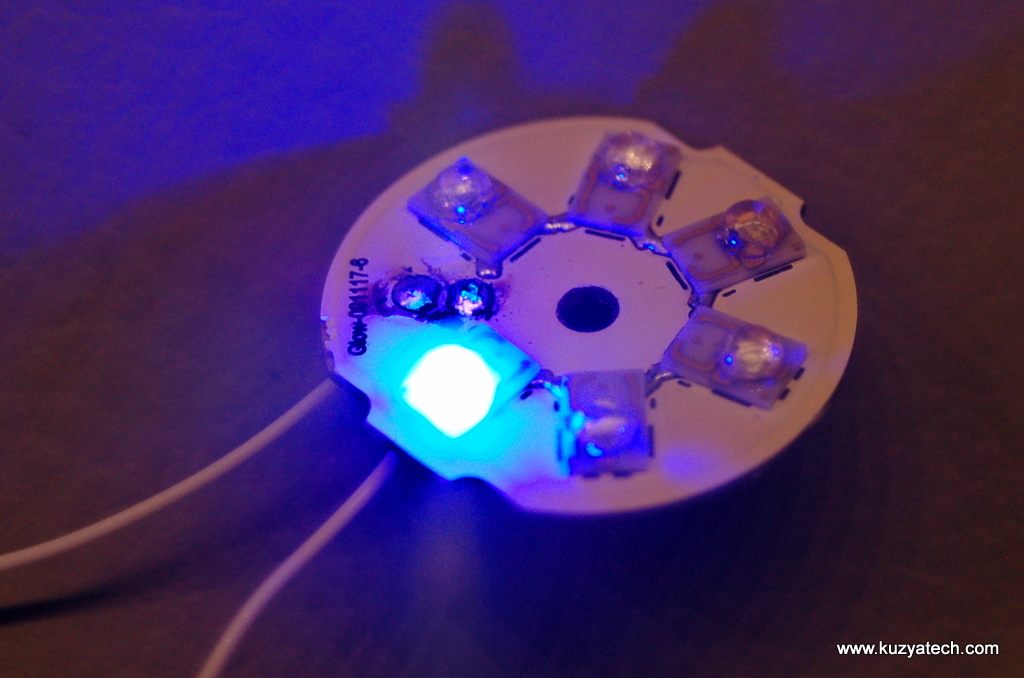
A really tiny metal clad board with six LEDs is all it took to generate 450 Lumens worth of light! The board was held in by the two power pins soldered and one screw.
Looking at the LEDs, they appear to be Philips Lumiled LUXEON Rebels, with a very characteristic package. Naturally, Philips uses its own parts. Most likely part number is LXML-PB01-0040 based on the number used/ specified flux and total bulb’s claimed light output.
Let’s power the board and see what we get. The LEDs are in a single string, so we have to supply 6x typical forward voltage – about 18V to get things to light up. At 100mA and 18V we get something:
The LEDs are rated to 700mA, but with no real heatsinking, I won’t be pushing that much current there. Now, let’s put the remote phosphor sphere over for some color magic:
Moving on to the driver:
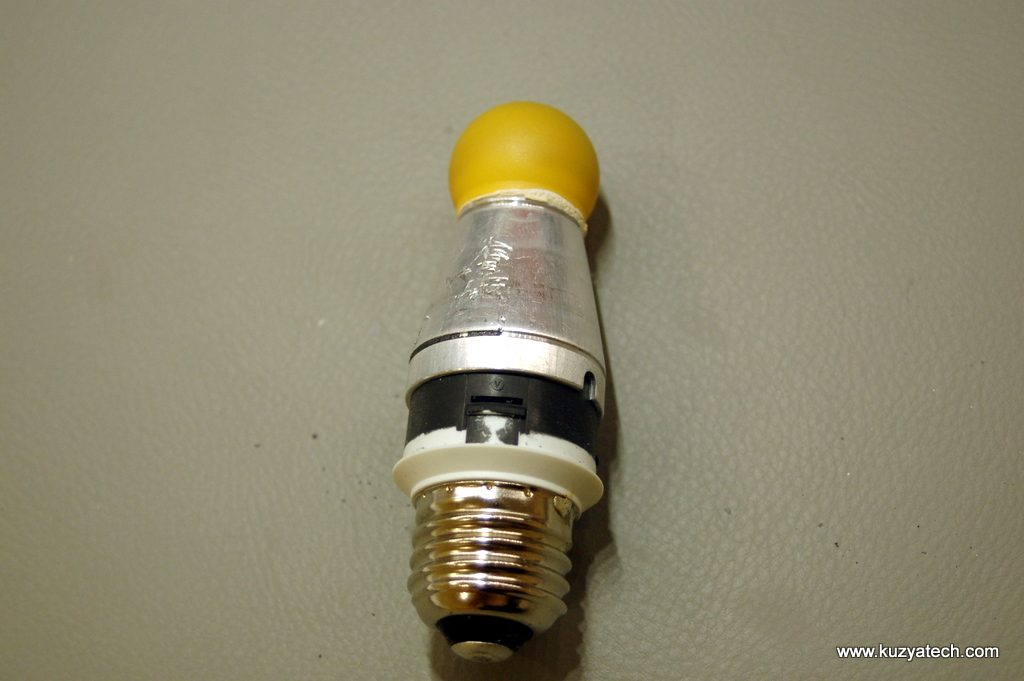
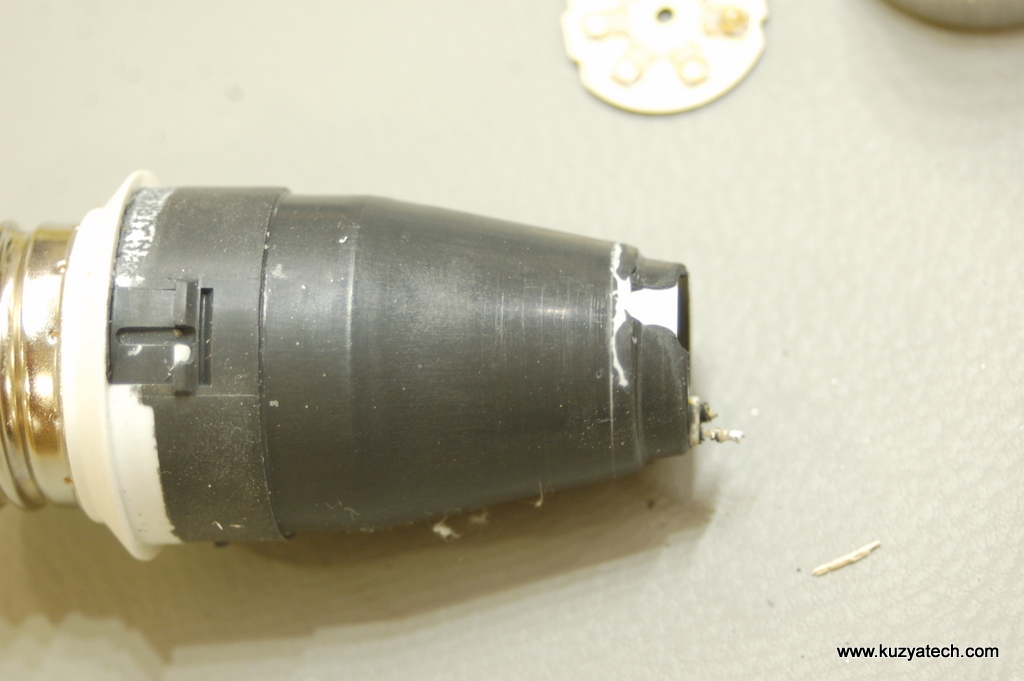
With the emitter board removed, aluminum cone slides out and we are left with the driver assembly. Everything is completely potted with a fairly rubber- like material for moisture and mechanical protection.
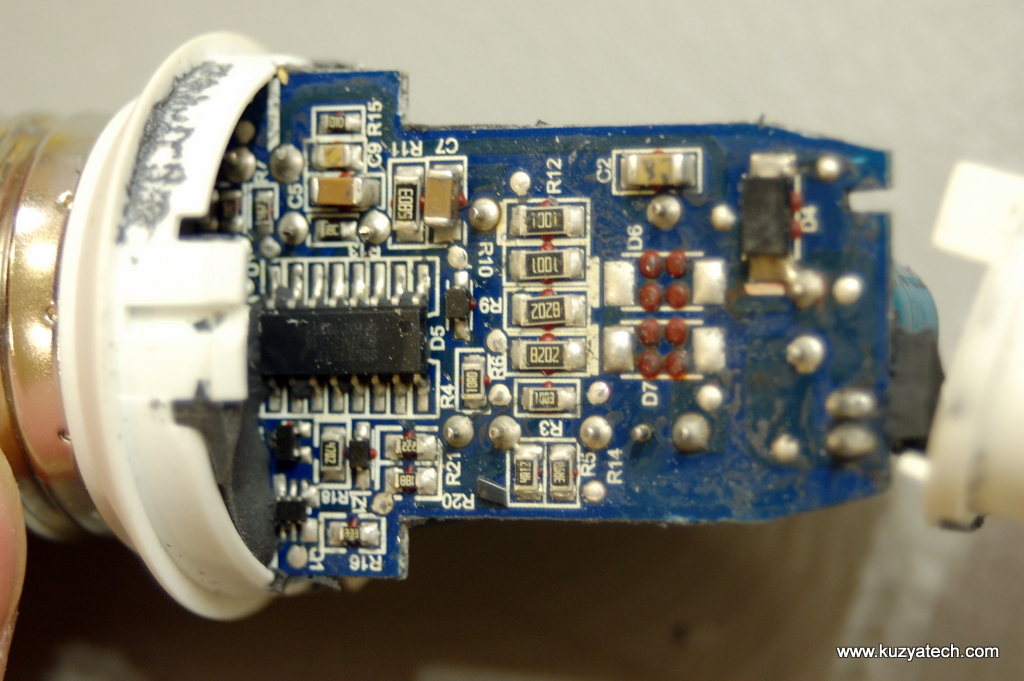
Finally somebody is using high temp Rubycon RX30 (130C) electrolytic caps in the driver design! Typical cheap bulbs are still sticking with 105C rated caps, not a very good idea if they were to get their claimed tens of thousands of hours lifetime.The output cap is rated to 25V, with the LEDs string possibly seeing 19.8V- a 20% margin. A bit less than what I’d like to see, but this a cutthroat word of consumer products.
Looking closer at the driver chip- no surprises there as well. NXP (A Philips spin-off) SSL2101T single chip dimmable driver for sub-15W LED bulbs is the part selected. The driver integrates most of the necessary functionality and just needs a few passives and a transformer. The selected topology appears to be flyback, with LEDs isolated from the mains. The driver also integrates bleeder switches, designed to sink sufficient current when used with triac dimmers to maintain their hold current.
Overall the board presents a clean, well assembled design. I do not see airgaps or primary-secondary separation on the board, but it is possible that having the whole thing potted may eliminate that requirements. Thermals, on the other hand do not seem sufficient, at least in this particular use case. With 6 LEDS heating enclosed remote phosphor chamber, heatsinking of the base becomes very critical and most likely relies on a lot of air movement around the bulb to maintain die temperatures. Depending on the light fixture, that may vary by quite a lot, explaining why some bulbs are still going strong while this particular one is clearly not!
Edit : a discussion thread for this post is over at the EEVblog





Very good job of infomation and break down.
The rebel at the 5’oclock position with the power input pins at the 12’oclock looks to be the worst lens failure. I too broke down the same bulb. Mine unlike yours was not failing. But with the bulbs “egg yoke” removed and observing the blue/violet light using protective eye ware, I notices that the 5’oclock led was about 5-10% dimmer than the others. My guess is that it would be the first led failure given enought operating time.
Enclosing the eggyoke in an outter glass shell, is asking for overheating regardless of airflow. I believe after yours and my teardown, that this bulb would fail at any level unless used in a very cold enviroment.
Thanks for the page on this bulb. Well done
I have a sneaky suspicion the early failures were the reason these were quietly replaced by the new style bulbs, while keeping the same stock number. Of course for the exposed fixtures, the “egg-yolk” style is a lot nicer looking than the yellow plastic thingy with metal heatsink . I’ve been able to persuade the wife to use the LSG Definity A19 instead, though it did take a while 😉
My 9 bulbs are all dim. Who did you contact to get a replacement?
I called Philips at the number listed on the packaging: 1-800-555-0050
Thanks!
I have these in my kitchen, for almost 2 years now, and they are the only LEDs my SO would tolerate at 2700K! Good stuff. I have many other types/brands but not as straightforward as these. Wish I could buy more.
Nice teardown on the 8E26A60. I bought one of these bulbs from Home Depot and had it go bad in less than a year. What a disappointment! I assumed LED lights would last the rest of my life so I didn’t bother keeping the receipt. I plan to call Phillips anyway to see what they will say. This product should have been recalled even though it’s not a safety issue like the GM ignition switch.
Thanks…
In my case the three bulbs used in open air fixture are still fine. The one that overheated was partially my fault as it was in a mostly enclosed outdoors light that got really hot during summer. Philips was nice enough to honor warranty though