Well, my test design is complete and now I need a few prototypes to play with. The usual ways of ordering PCBs are rather expensive, with just tooling fees in hundreds of dollars. The remaining options are a few China based places such as Itead Studio, Seeed Studio ,PCB Pool and Batch PCB ran by Sparkfun, and an OSH Park ran by Laen from Dorkbot. He runs a community PCB service that groups orders and orders them periodically on a common panel, sharing costs between all people. The cost is very reasonable ($5 a square inch) and you get three boards. So a 2 square inches board in three copies will cost you $10 delivered from a US based board house! That definitely opens the door for quick prototyping of pretty much anything! After having used other company’s prototyping services, I must say OSH is also by far the most user friendly. Lets walk through the steps of ordering these boards.
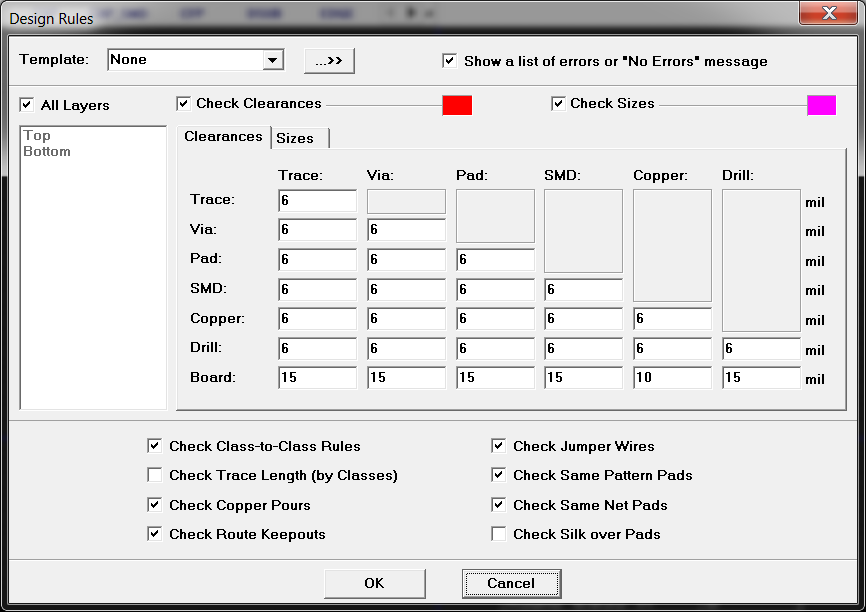
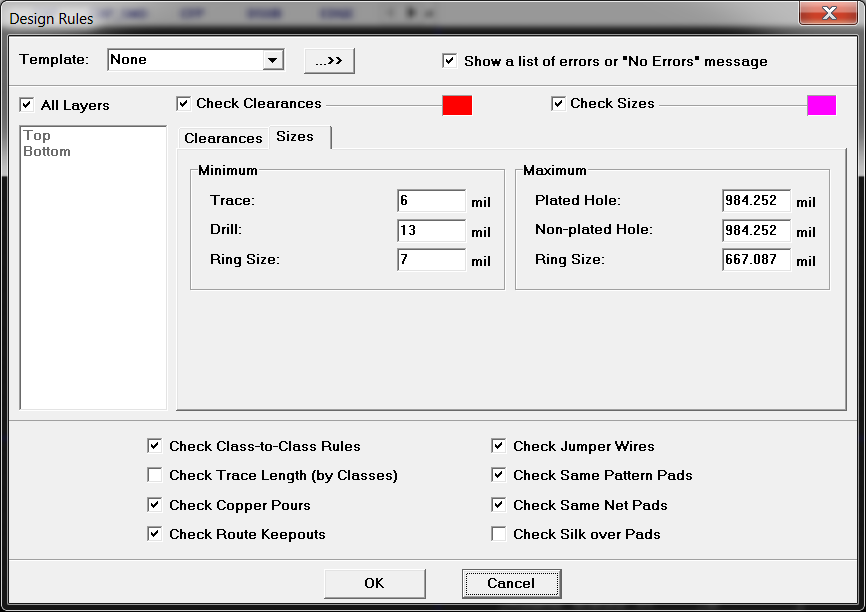
First you need to check that the design complies with the design rules listed. Ideally those are setup at the beginning so that you do not have to deal with things being too close or two narrow after the fact. Here is what they look like in DipTrace (Under Verificaton, Design Rules)
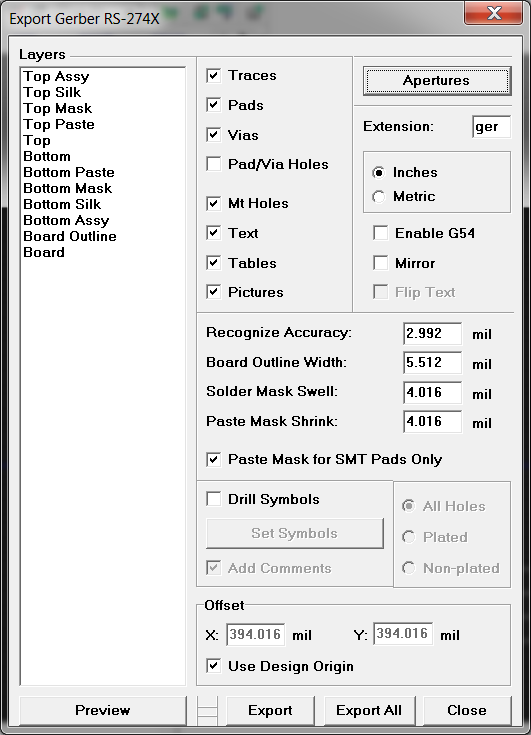
Once the design passes the DRC check, we can generate the Gerbers and Drill file. The process is very simple- go under File, Export, and select Export Gerber.
Then click Apertures, then Auto. That populates Shapes table. Change Extension to ger as per OSH instruction, then select Export All. As each file is generated, you will be given an opportunity to rename it. Follow the OSH convention:
Top Layer.gerBottom Layer.gerTop Solder Mask.gerBottom Solder Mask.gerTop Silk Screen.gerBottom Silk Screen.gerBoard Outline.gerInternal Plane 1.geronly if you’re uploading a four layer boardInternal Plane 2.geronly if you’re uploading a four layer boardDrills.xln
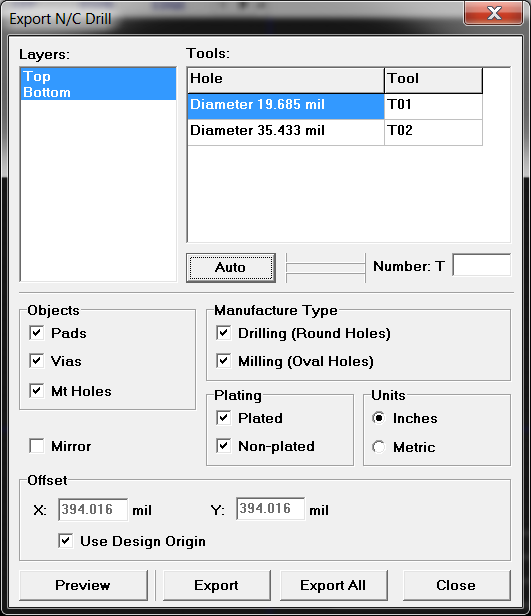
Click Auto to populate tools table. then export all. Rename the file to
Drills.xln
Now we are ready to start ordering. Create a zip file with relevant files (all the files listed above). You can omit paste, assembly and board (not board outline!) files as they are not used for manufacturing of the PCB. First, drop the archive onto the upload bar in the middle of the OSHpark.com page.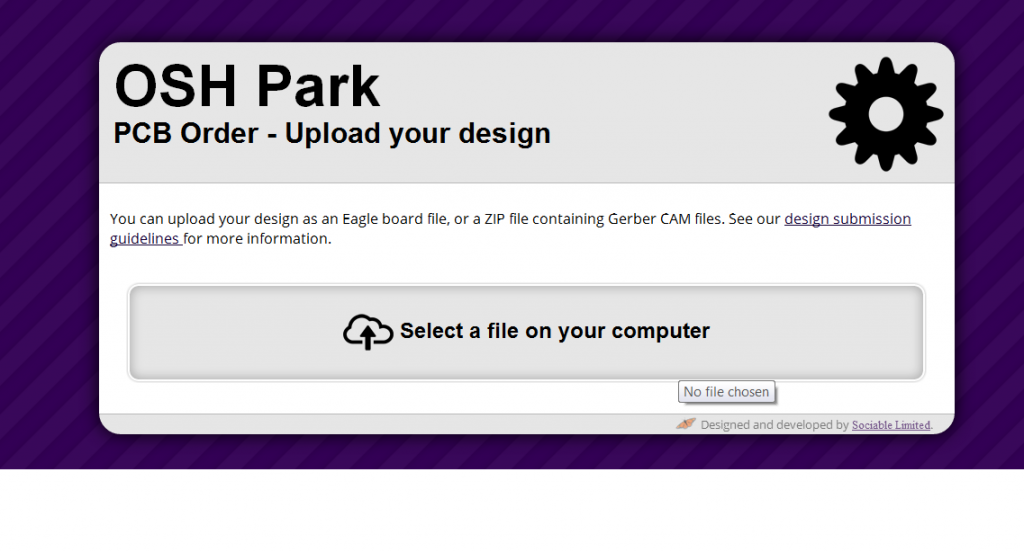
It will take a bit to upload after which a preview of the board appears.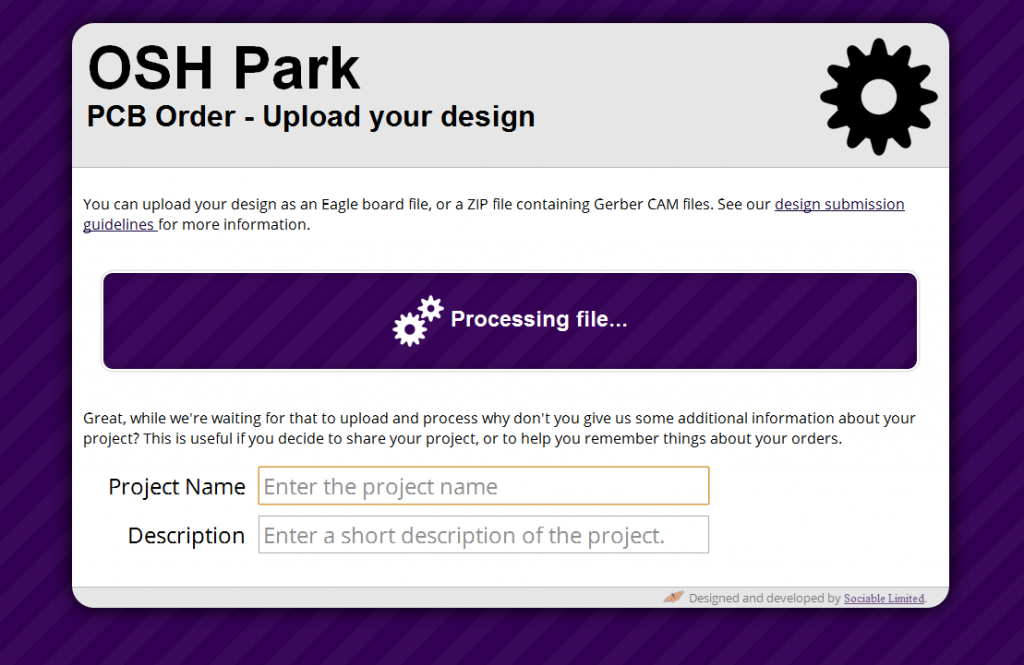
Each layer is rendered in a very clear and easy to understand format, with detailed instructions and specs by the side. Once you review all layers and click approve button,
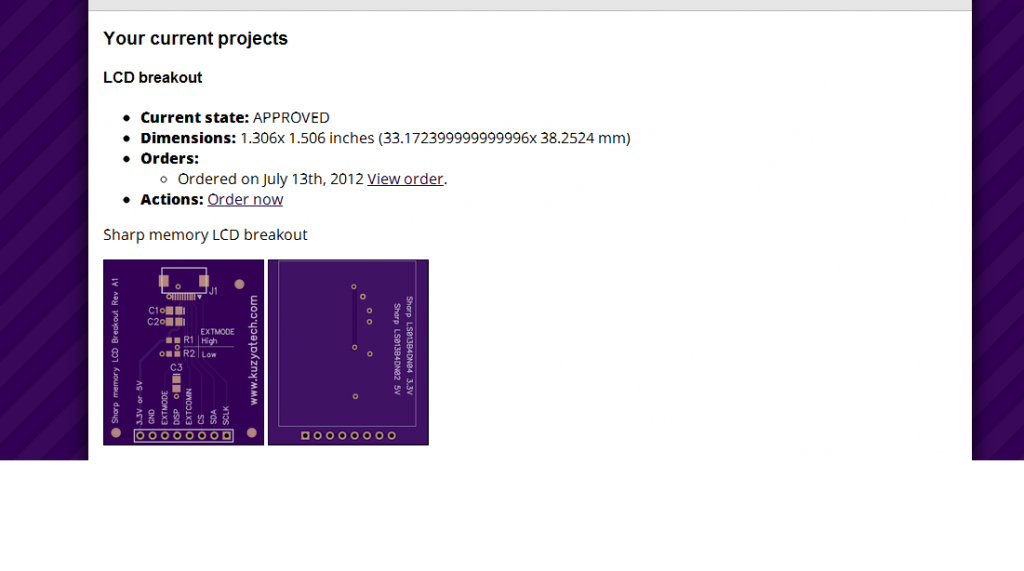
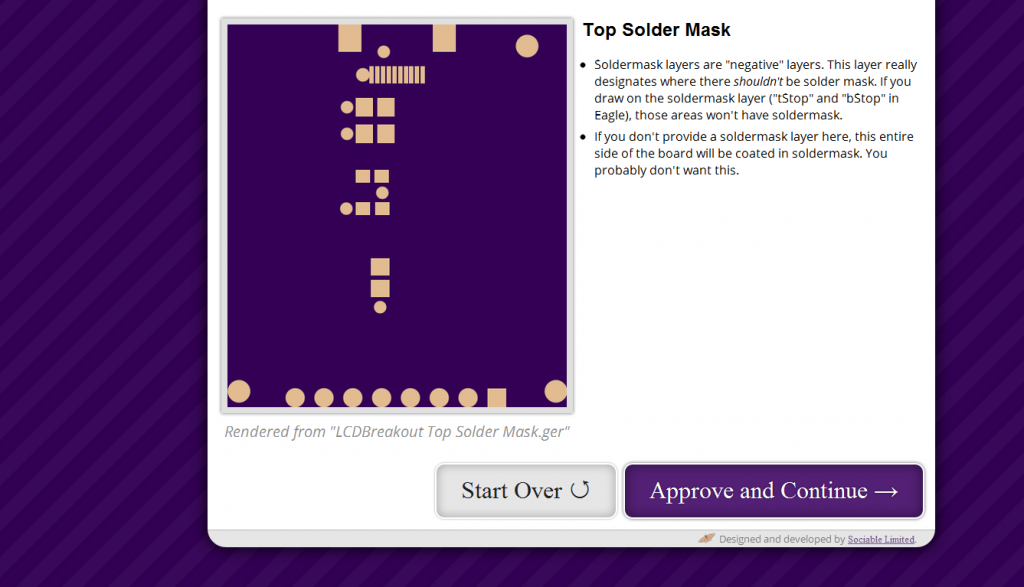 you are taken to a page to enter number of sets of three boards you’d like to order, as well as the shipping info and paypal/CC info. After that, you get assigned to the next panel going out and get a nice confirmation page with a render of the board.
And now we wait! In case anybody is wondering, this is indeed a Sharp Memory LCD breakout. Those 0.5mm pitch flex cables are a pain to deal with, plus there are a few caps and resistors that are needed, so I am spinning a board to hold all that together.

Maybe I missed it, but what program is this that you are using? Doesn’t look too much like Eagle, but it’s been a while since I’ve used it.
DipTrace- to me it’s a much saner program to learn compared to Eagle 😉
Designing my first board at the moment, this was just the article I needed for the Osh Park design rules in Dip Trace. Thanks.
Thanks- glad it was useful!
Hi nice piece just need to make one correction. PCB-POOL’s has nothing to do with Sparkfun. It’s a totally separate company and has been serving prototype PCB needs for over 20 years. You don’t need to wait for a group to fill a panel, that’s PCB-POOL’s responsibility. Sorry about the plug but felt the need to get the record straight – Siobhan PCB-POOL USA
I stand corrected- Sparkfun is affiliated with Batch PCB, not PCB Pool. Sorry about that!
Thanks a bunch for the tutorial. Helped me quite a bit with setting up the order.
I don’t think you have to rename layers. The DRC bot did not complain and everything looked fine with default names.