
This one has been sitting since the summer- it took a while to get all the rain to evaporate from the inside! When I grabbed the pour fella, it had water up to the mirror.
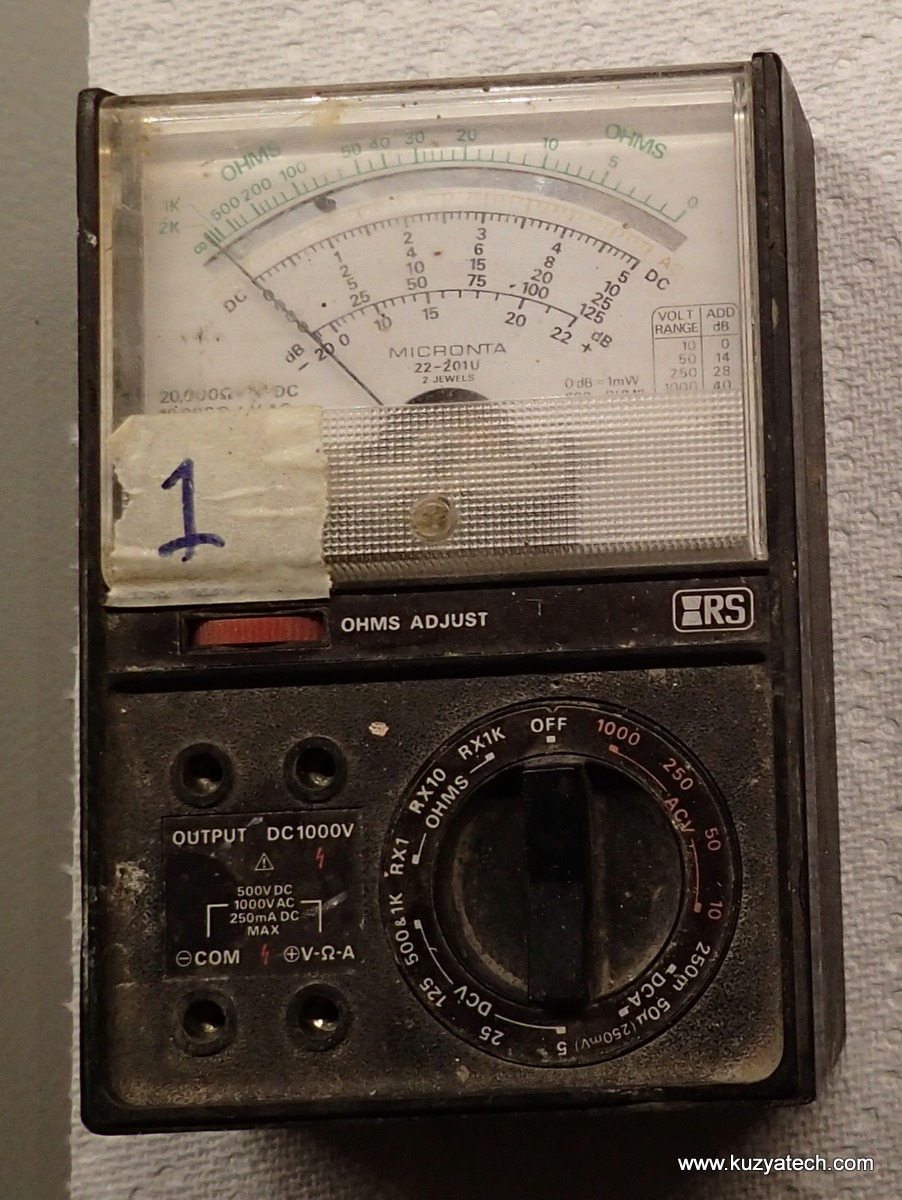
$1 takes it!
The back wasn’t much better looking either: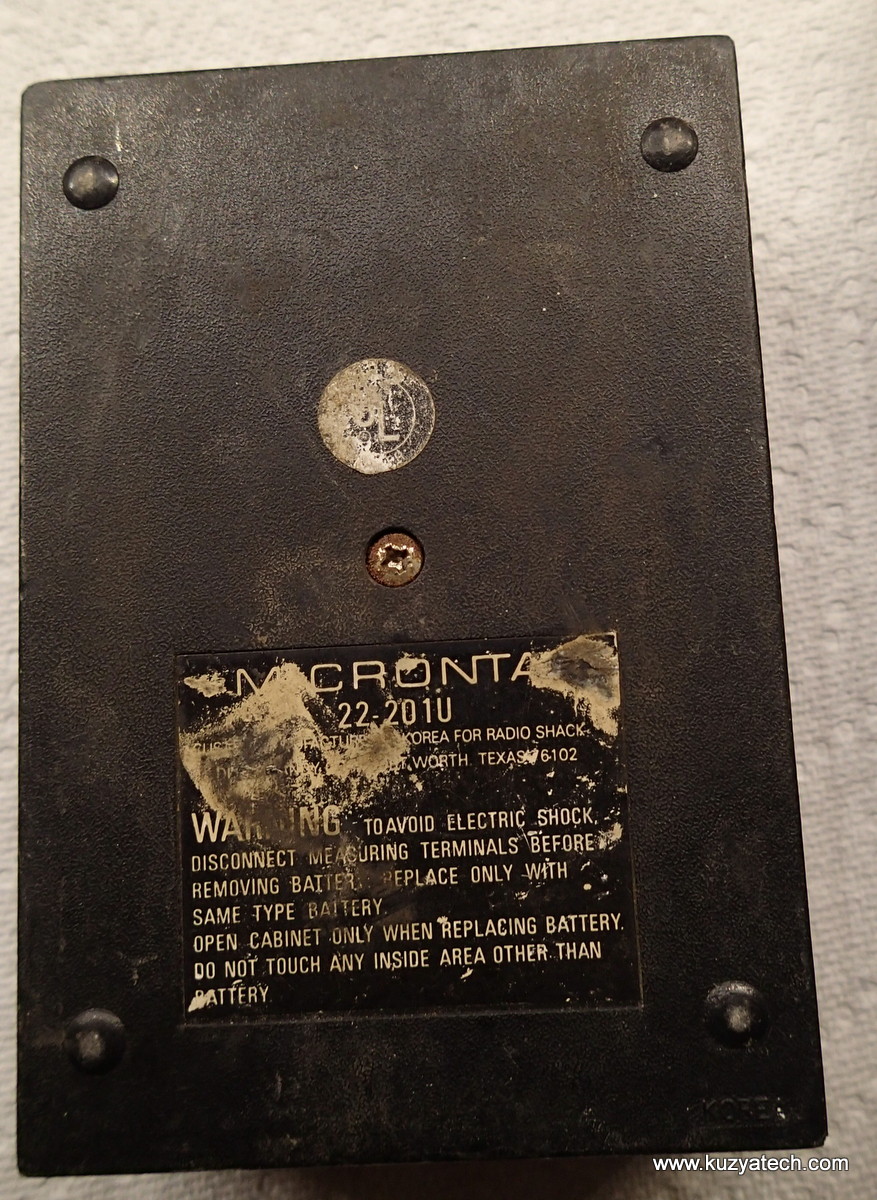
After drilling out the lone rusty screw, “we are in like Flynn”: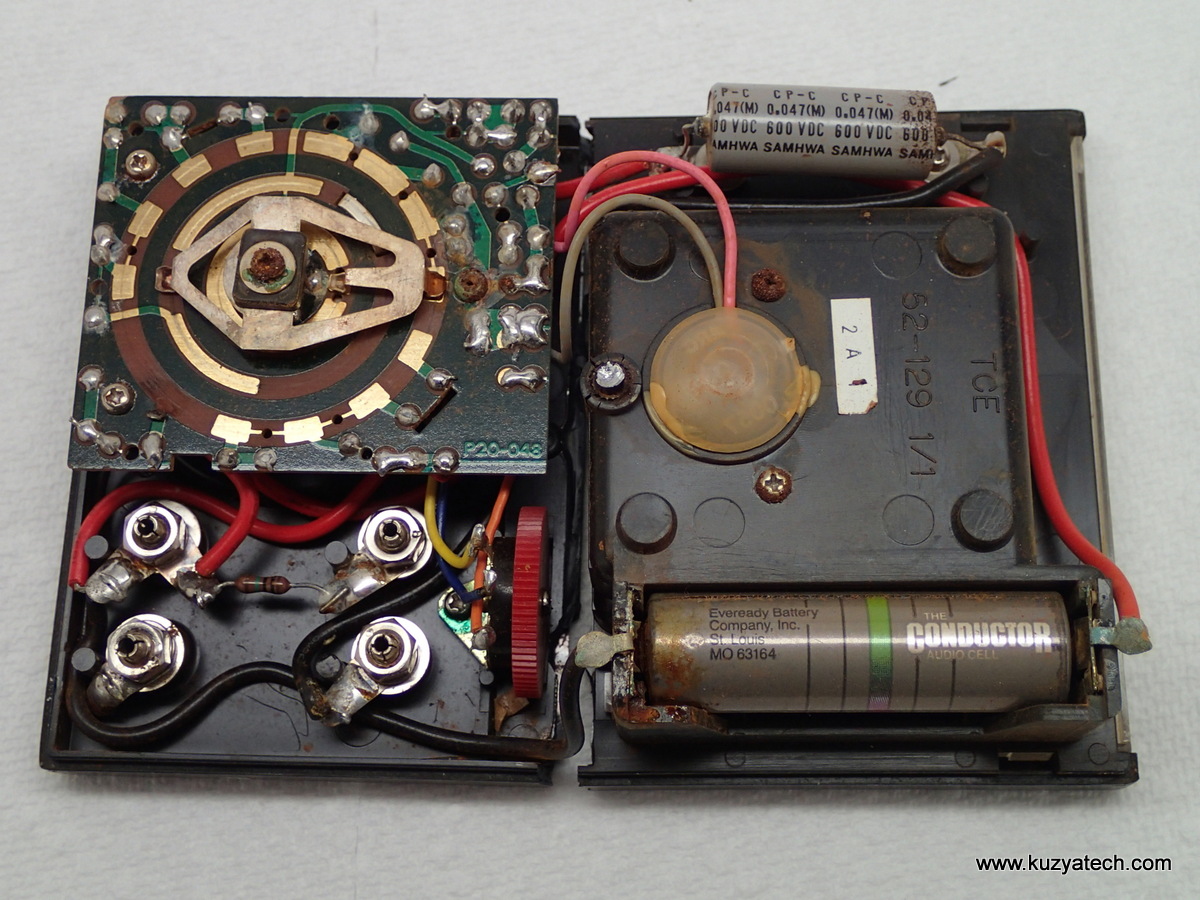
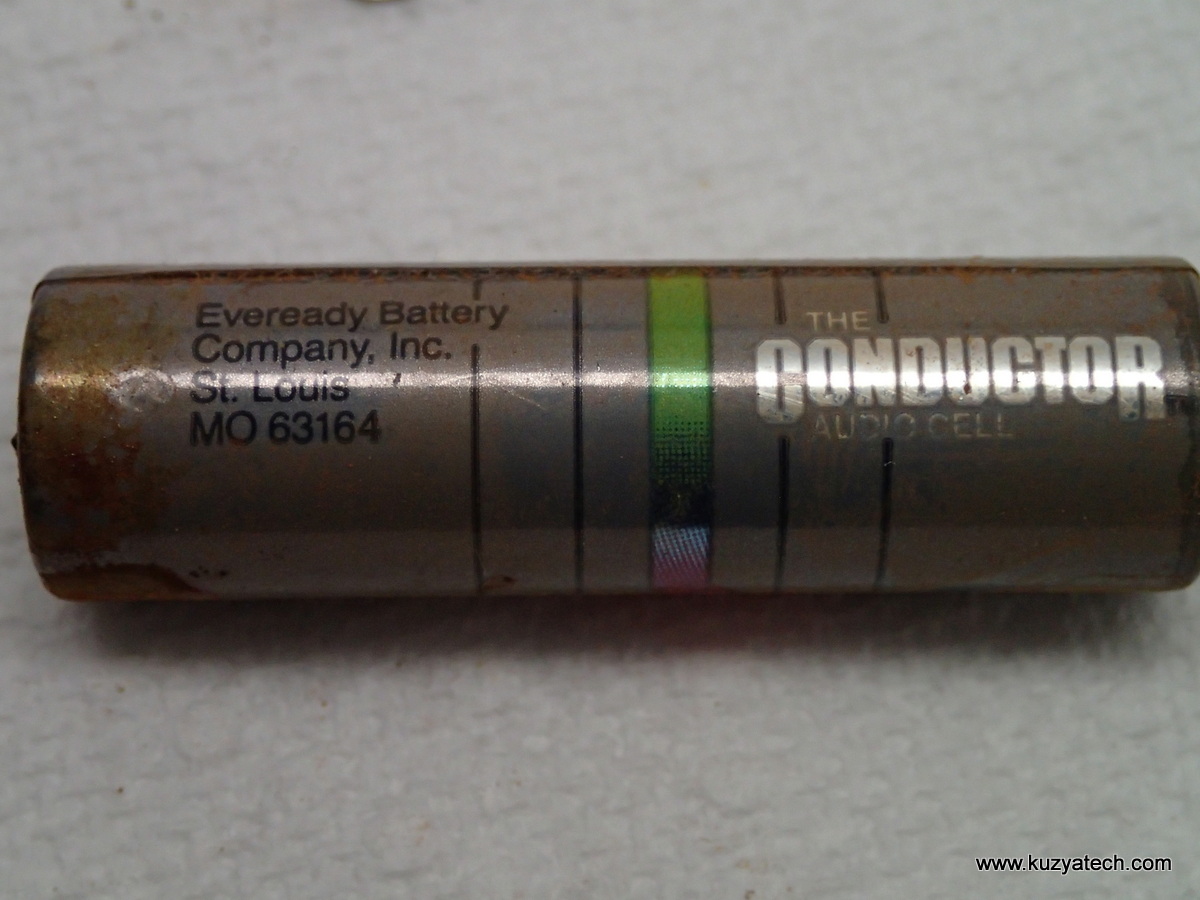
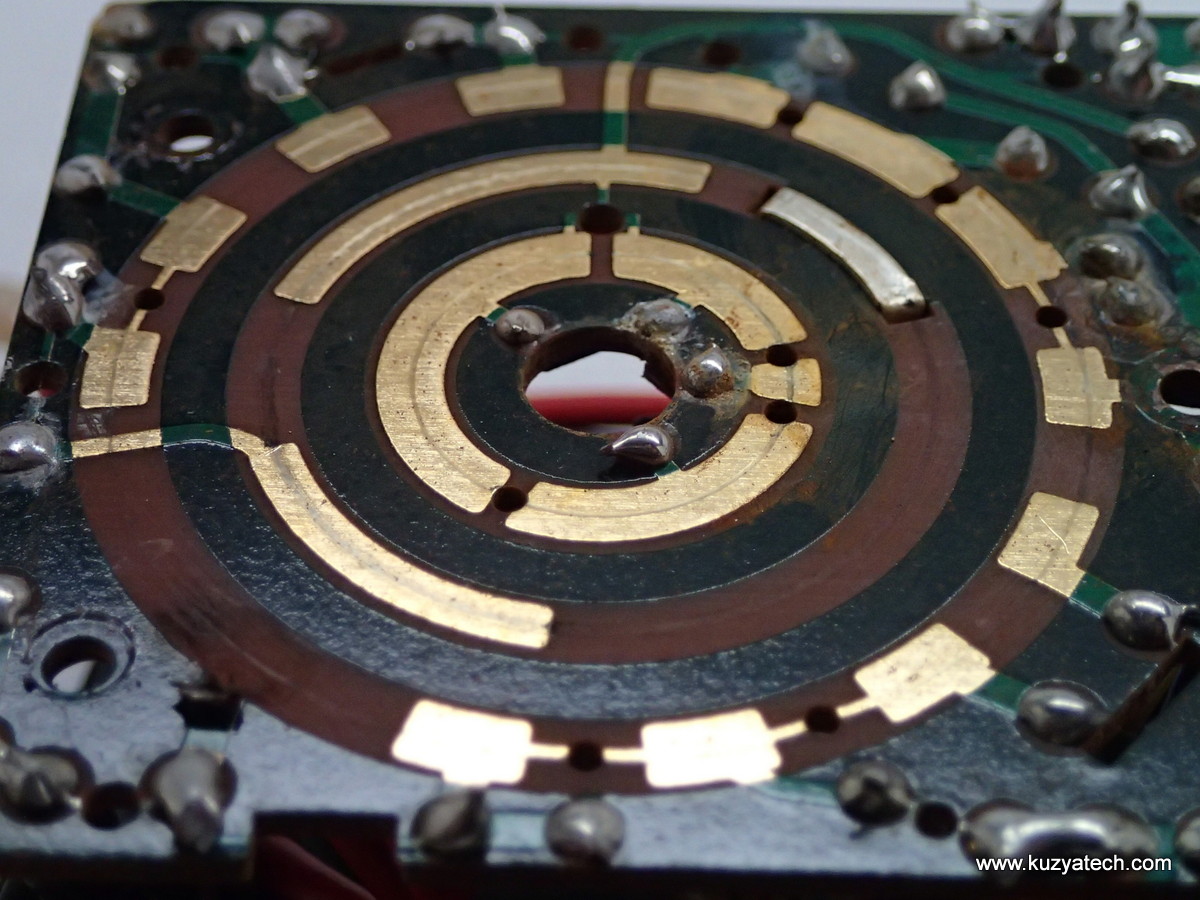
Who still remembers The Conductor audio cell”?
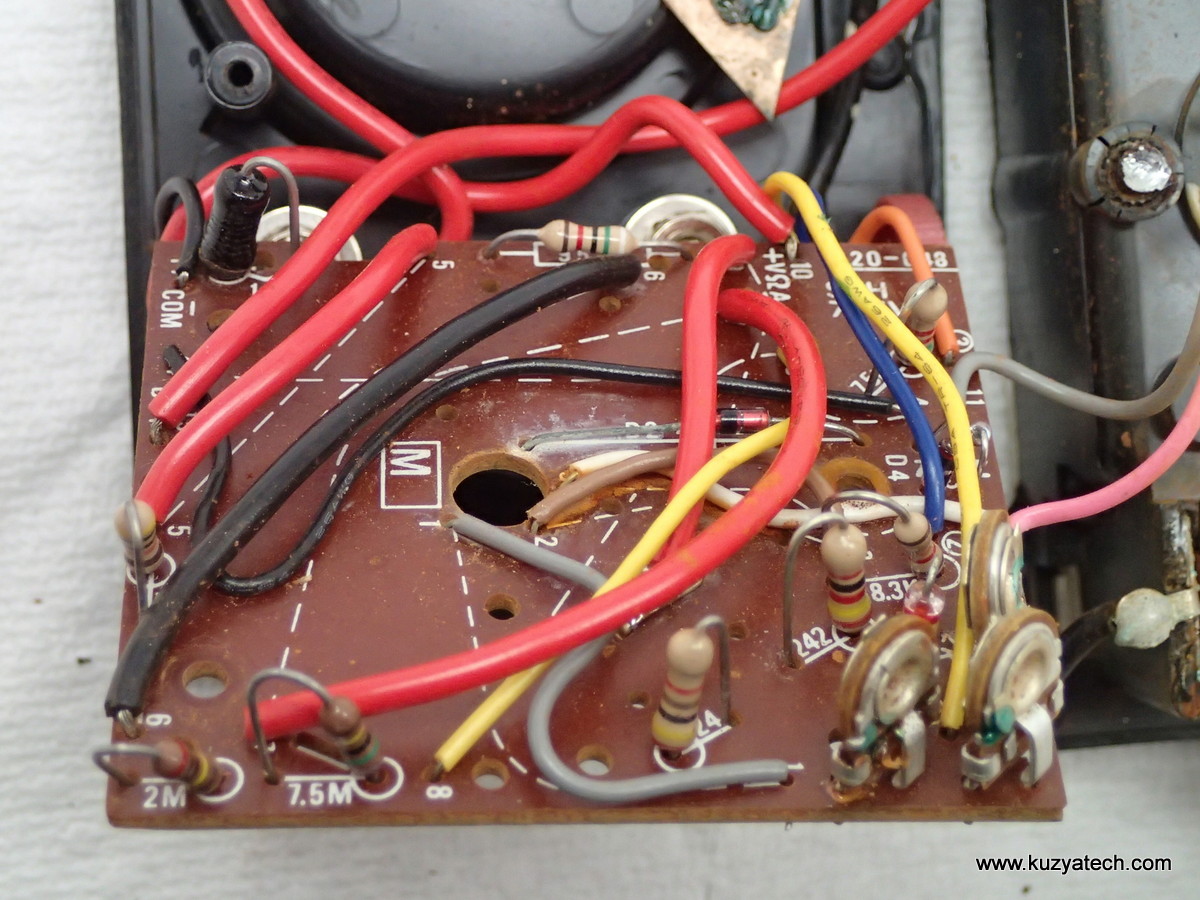
That’s one way to do a two sided board- with wire jumpers following(kinda) silk lines. Marking component values is always appreciated though.
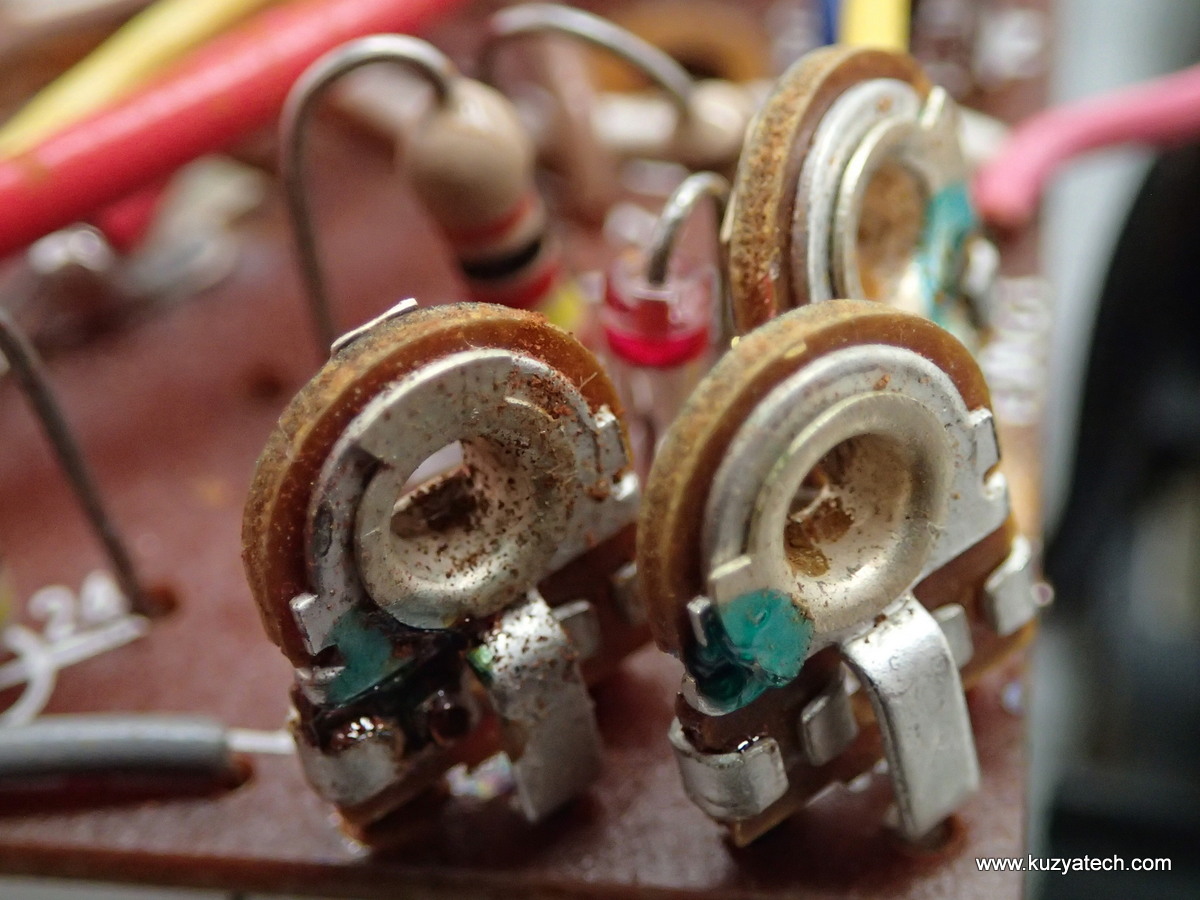
Crusty. Though there appears to be some lacquer holding them in position
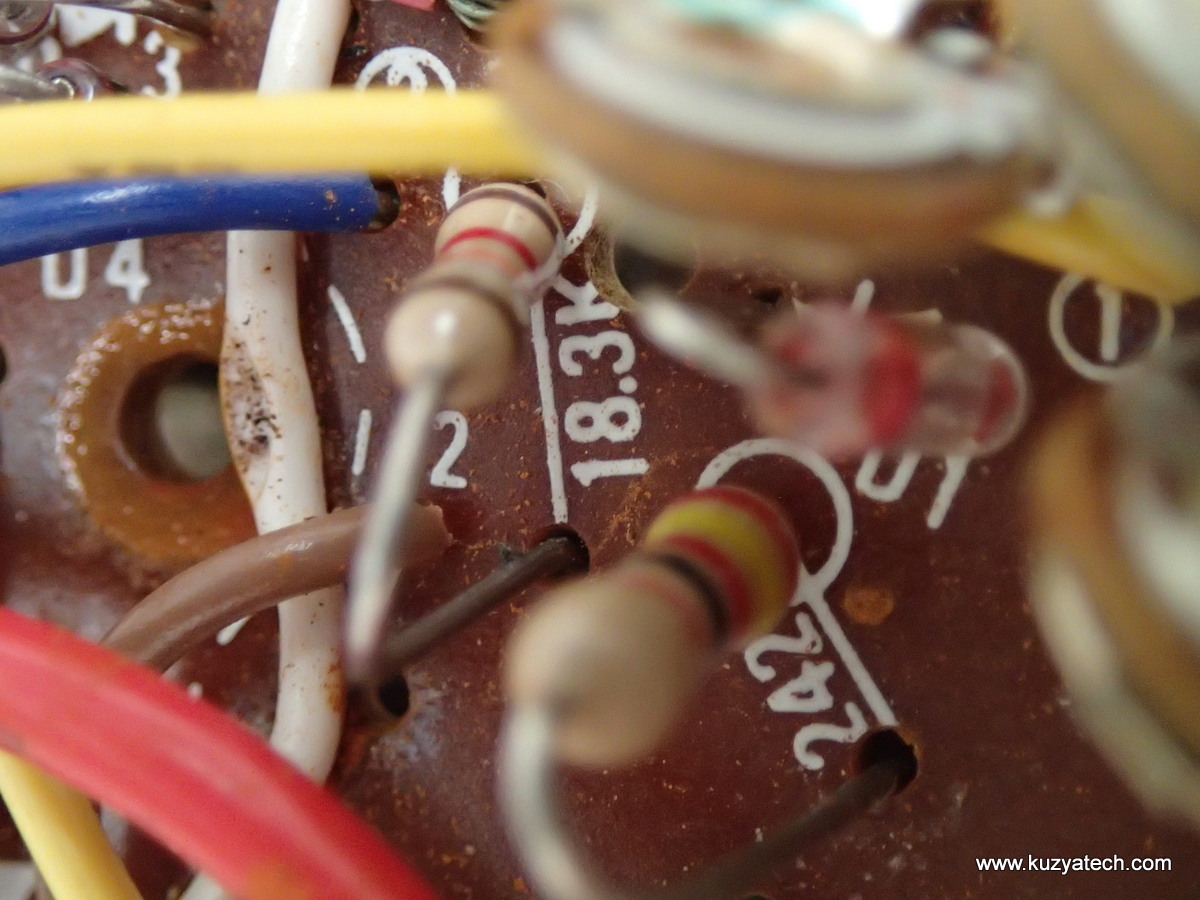
Sure, you can run that wire right over the mounting screw.

There is your problem (at least one of them)
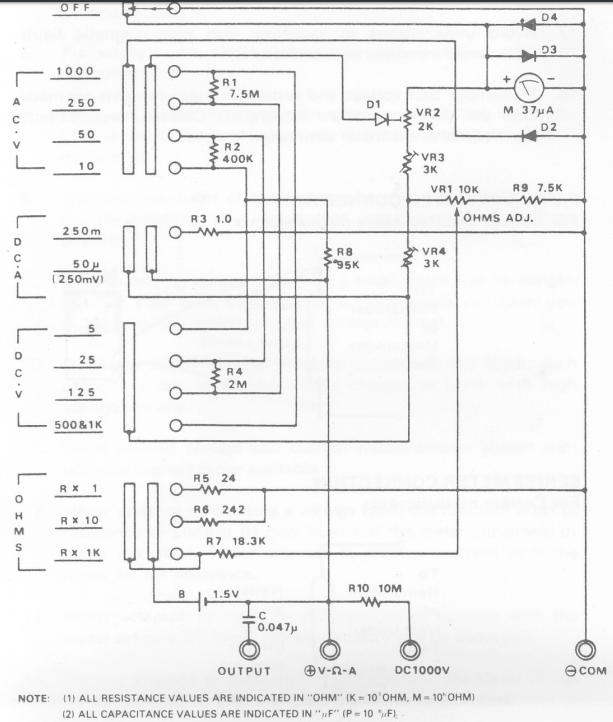
Schematic diagram from the user manual- those were the good time!
Resources:
User manual
Thanks for the trip down memory lane. I had one of these back in my high school days. I used it until it became too battered to work. Then I bought another. (Couldn’t afford a DMM back then.)
Do you now de type of diode 2 and 3