It all started innocently enough.
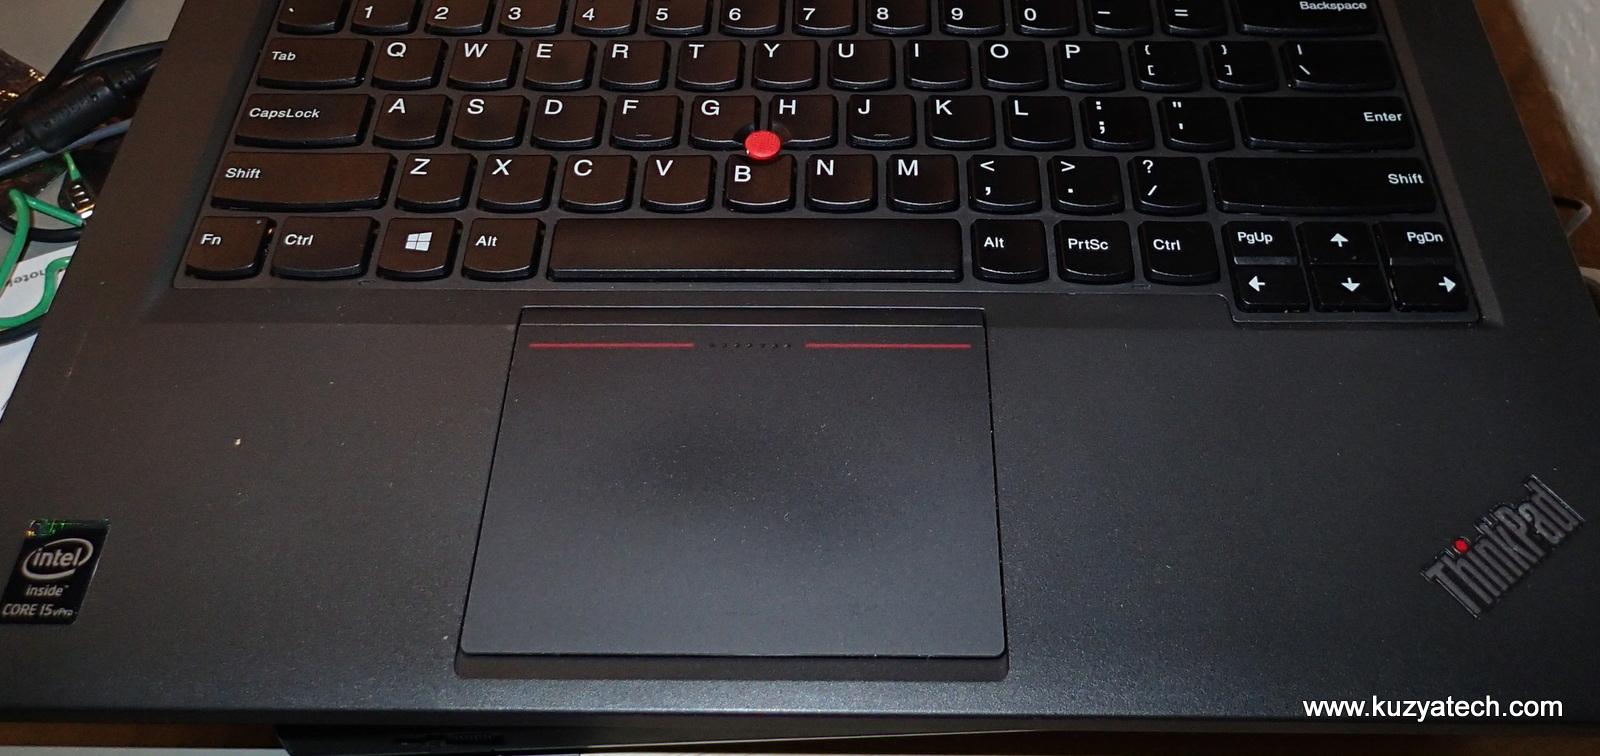
I finally decided to replace my 6 years old Thinkpad X200 with a bit more modern used T440P. More power, better battery life and all the other modern goodies were all things I was looking forward to. Unfortunately I also knew that for the 44x series Lenovo changed the design of the trackpad to a single piece clickable square. No more beloved buttons, so easy to use with the trackpoint. Not a big deal- plenty of people reported using the newer design of the trackpad off a T45x series to get those buttons back, so I figured i’ll just swap it in. The laptop came in, and I tried really hard to like the trackpad as is. No go: total lack of feel, constantly pressing RMB instead of LMB and a very annoying clicking sound heard in the whole house. It had to go!
Take it apart
Quick Ebay search (I used seller gadgetstopstore) mentioned in several forum threads) and I have a new trackpad in my hands. Taking laptop apart was actually relatively easy, especially since Lenovo is nice enough to have good manuals posted. You do not need to follow directions for trackpad replacement to the T, as I found you can get away with less disassembly. I ended up doing only the things below:
- Remove battery and unplug power
- Remove “Big door”
- Remove HDD and optical drive
- Remove keyboard (slide cover down, unscrew a bunch of screws, lift up and disconnect)
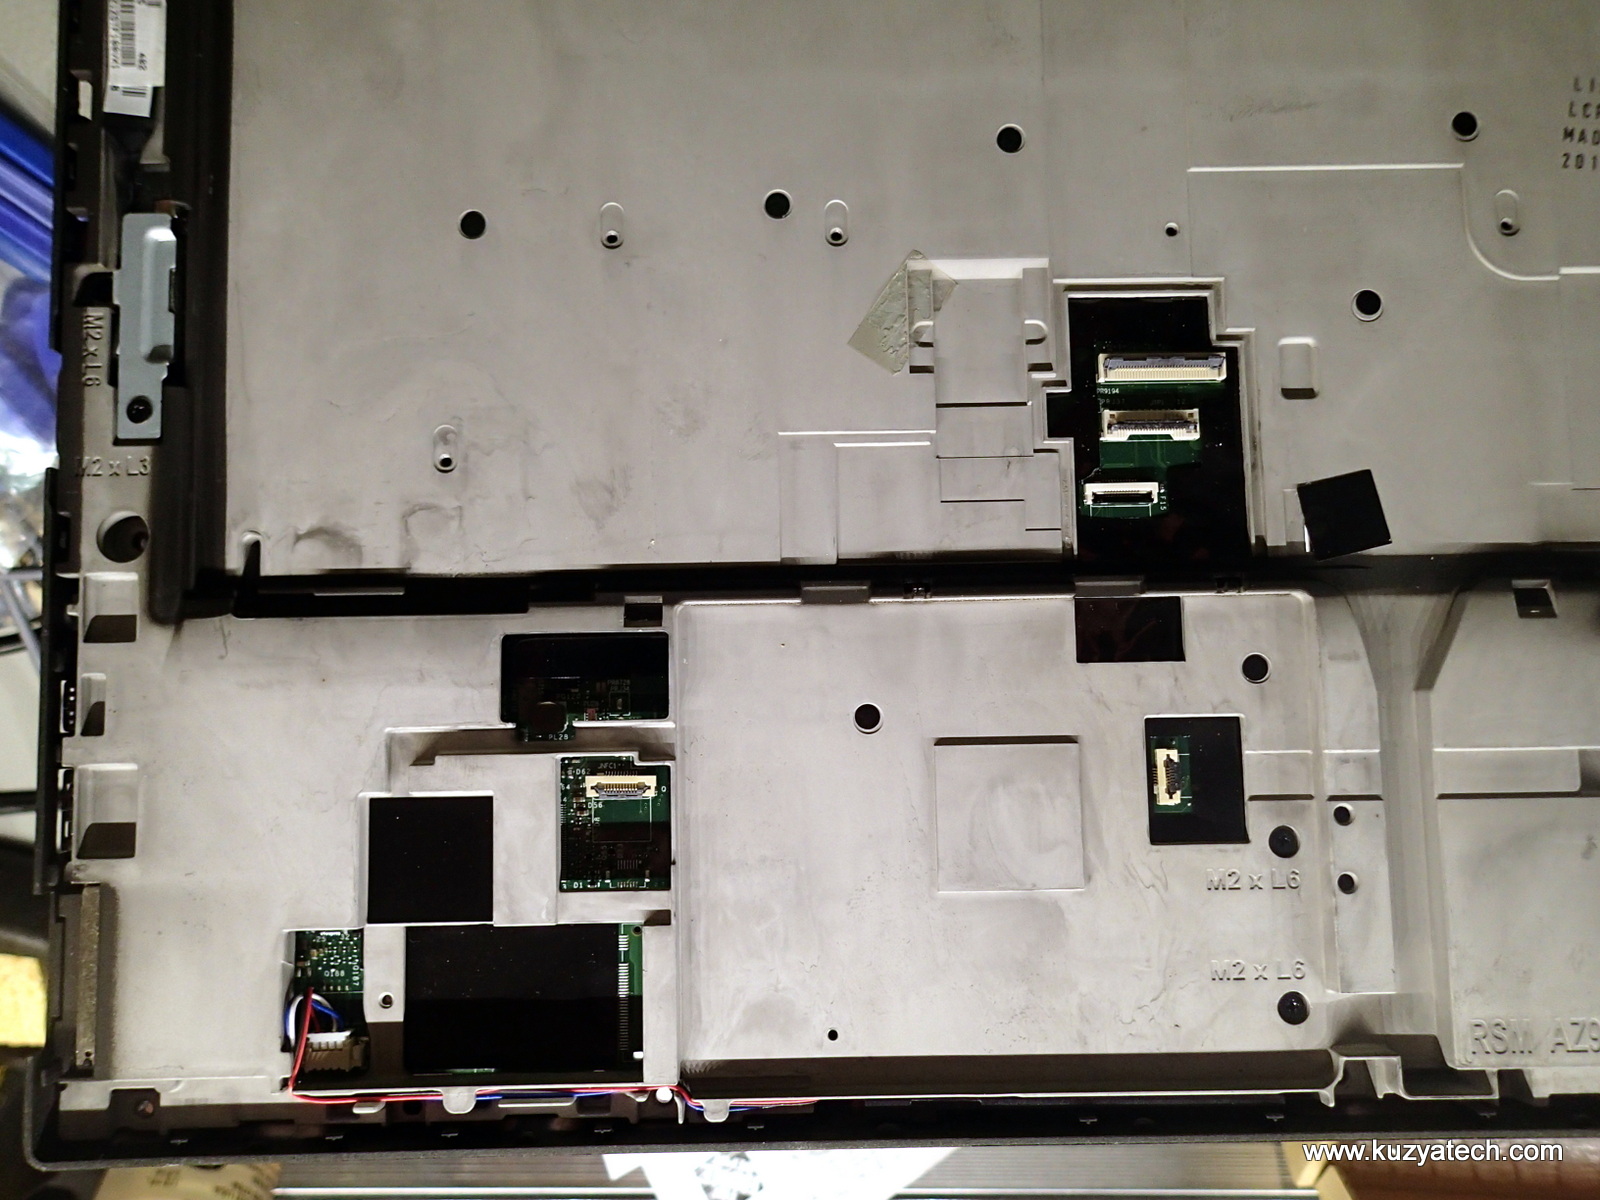
- Remove keyboard bezel: Take out all the screws on the bottom, marked C or R, plus three smaller ones under battery and one small under Ultrabay. Then carefully unclip keyboard bezel and lift it. Touchpad is attached to the bezel and has a flex cable going to the base.
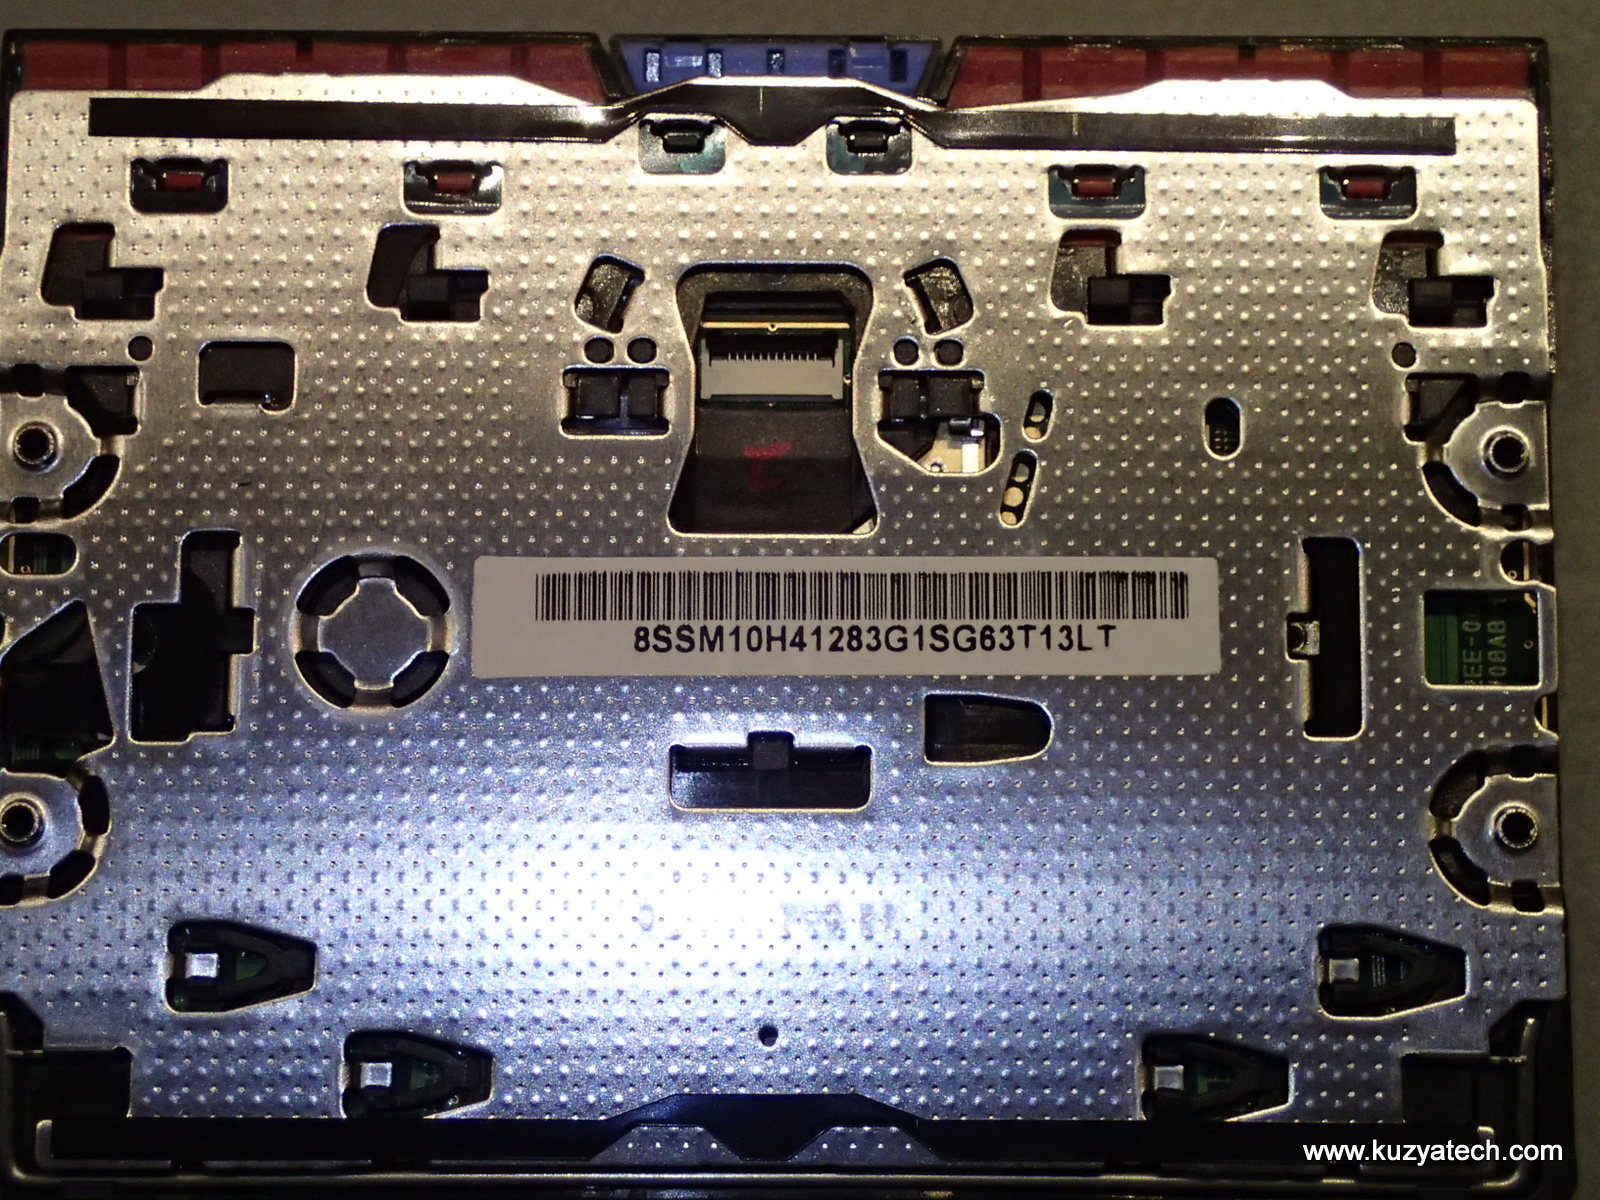
- Unscrew the four screws, remove the trackpad . Transfer the flex cable over to the new one, install it and put screws back in.Be careful with foil grounding strips that are under the screws- they are there for ESD and EMI reasons
So far so good. This is where it went downhill for me. Seeing how the keyboard bezel has a lot of plastic clips and not wanting to subject them to more stress than needed, I decided to connect everything temporarily and make sure the new touchpad works before snapping things together. So I plugged the touchpad and keyboard cables in, installed the battery and hdd and powered things up. And got no mouse pointer at all. No reaction to trackpoint or touchpad at all.
Woops.
I plugged a USB mouse in and checked device manager only to find no touchpad listed. Great. I powered down, went back in and rechecked the cables, only to find the touchpad one partially pulled out of the connector. Reseated, powered back on and still nothing. Ok, maybe the part is faulty- not likely, but who knows. Lets put the old one back. Still nothing detected by Windows.
Panic for a bit..
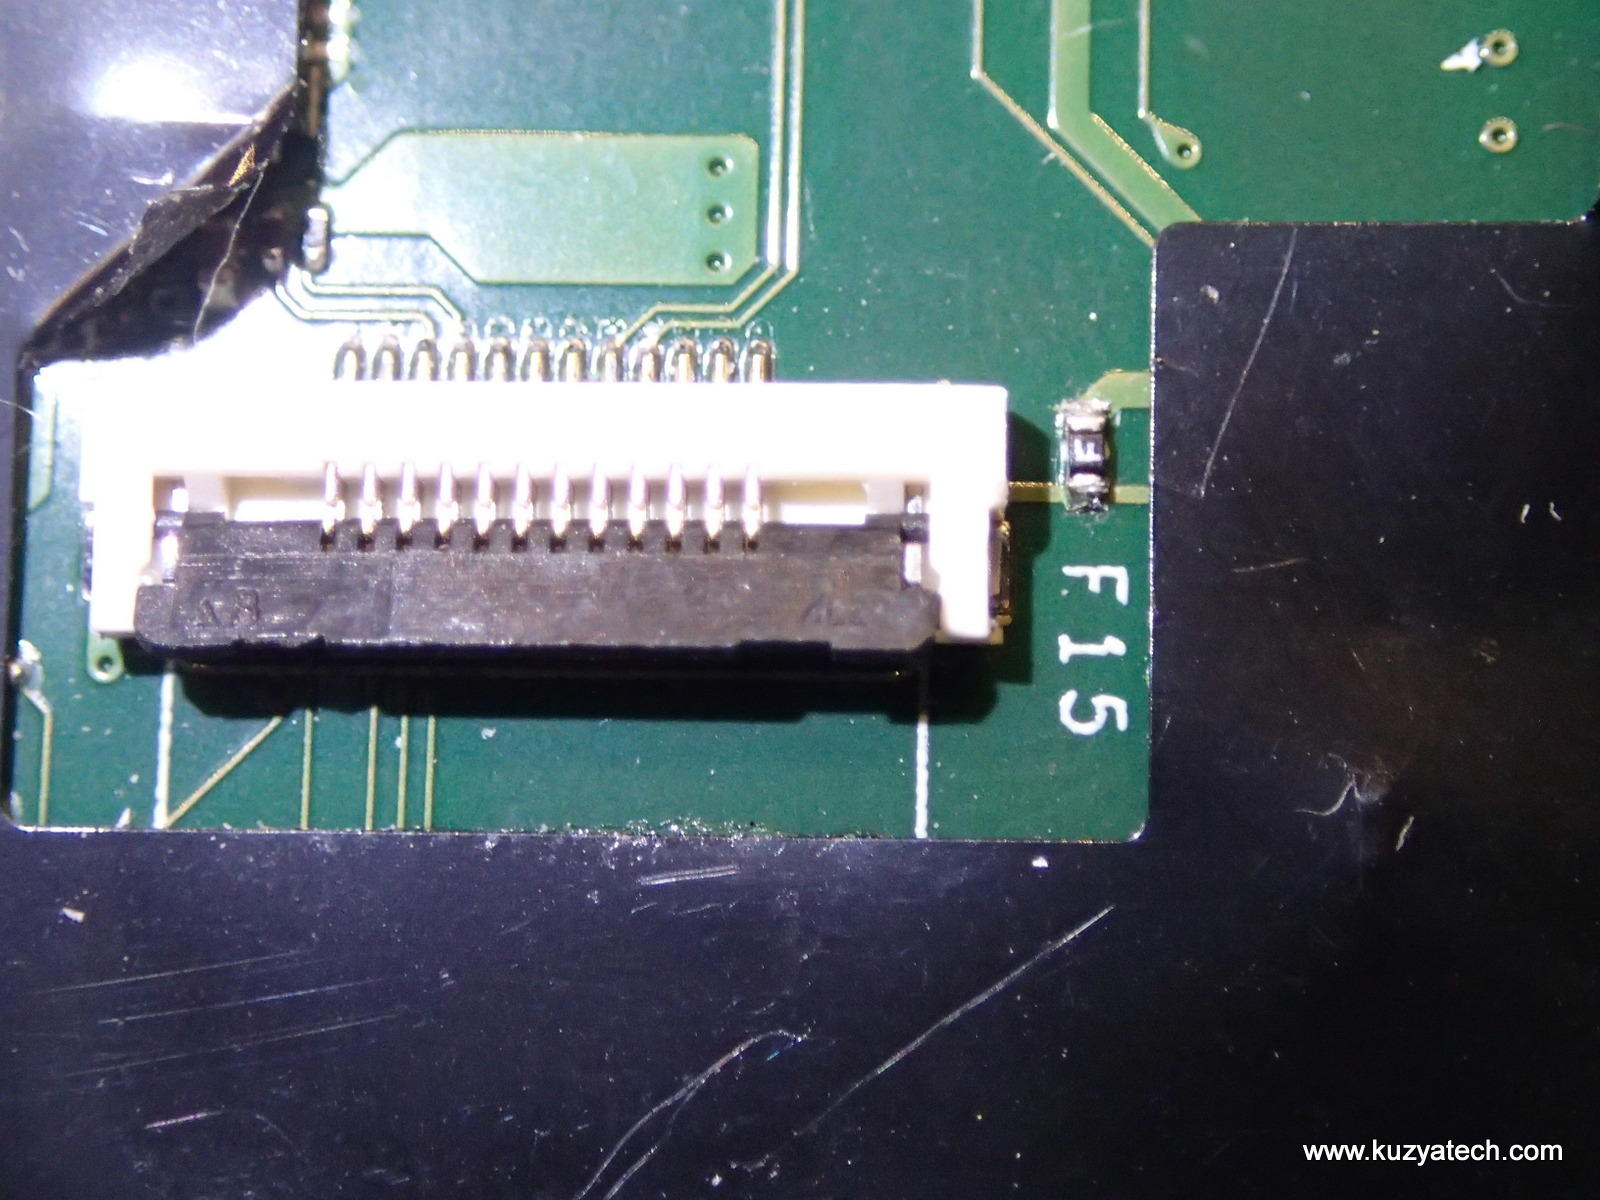
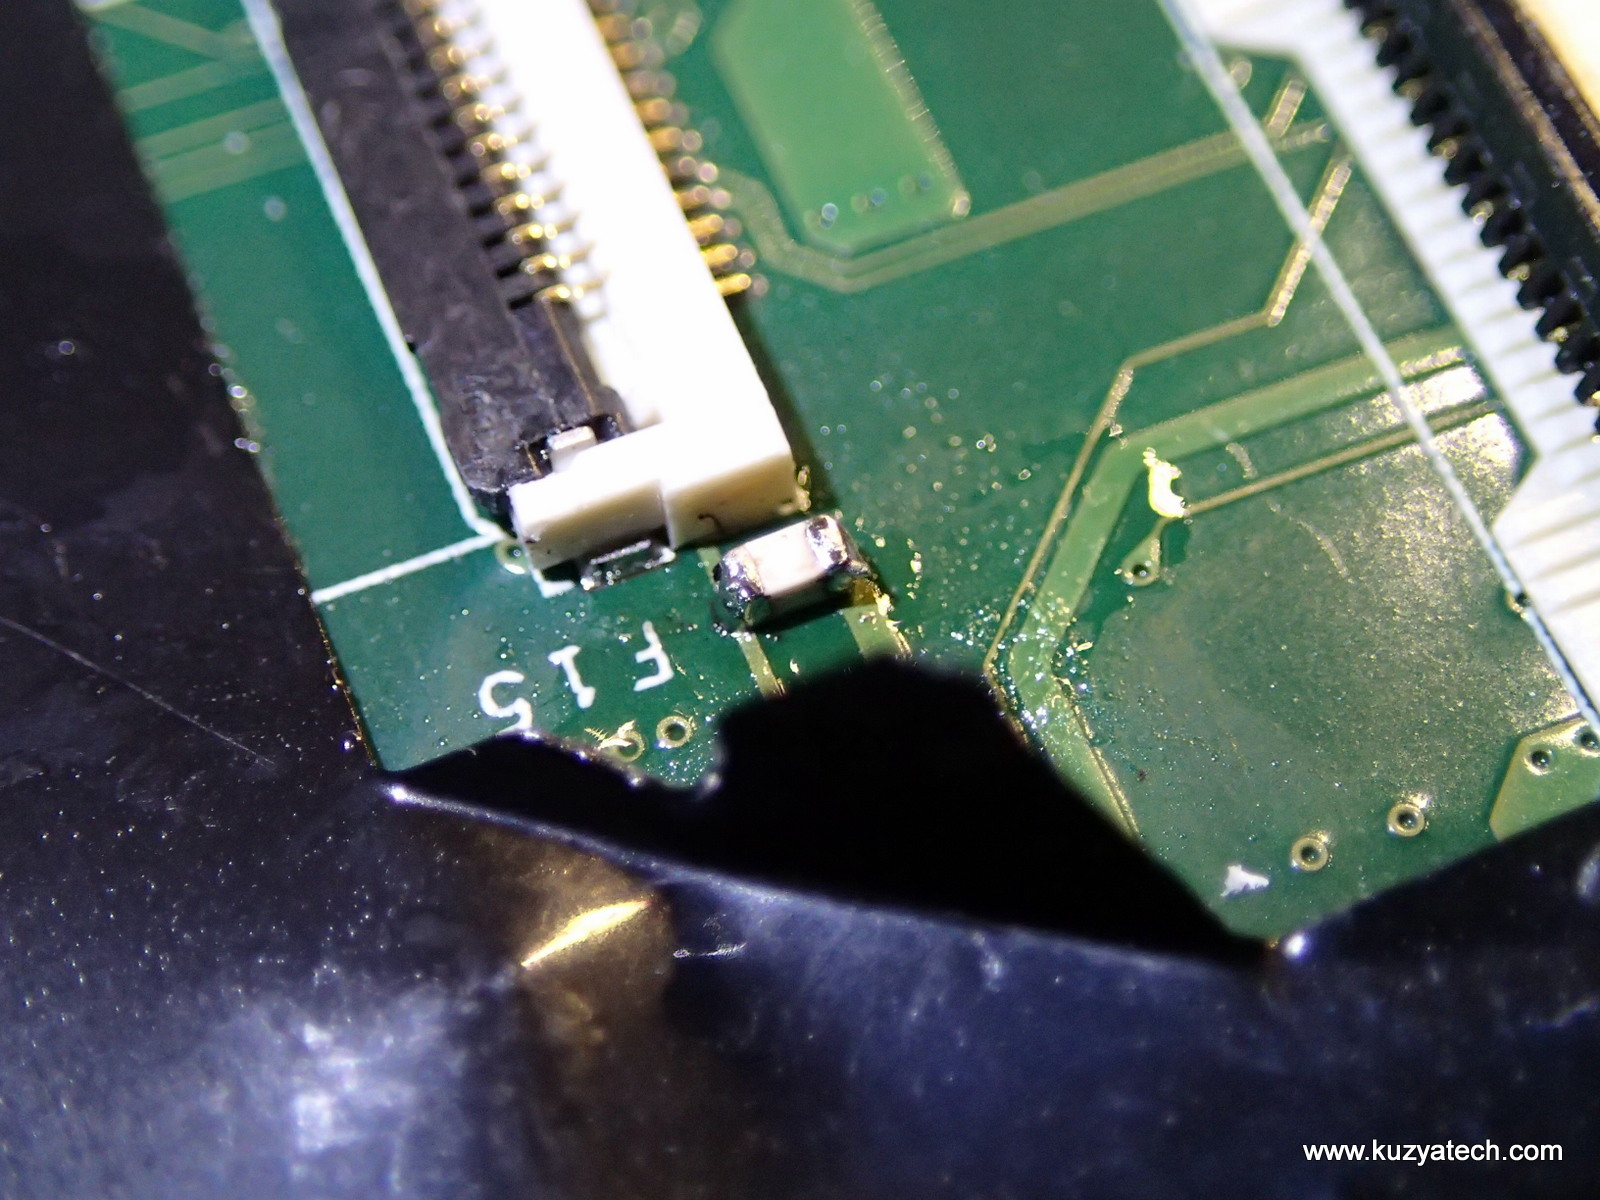
Great, so something else just got damaged. Maybe it’s the flex cable? Checked with multimeter and all signals make it across. That’s when it hit me- the interface is most likely USB, and it behaves as if it has no power. Did I by any chance blow a fuse on the motherboard? Well, there is something labeled F15 that looks like a fuse and it feeds the connector. Ommeter shows an open circuit. Measuring the voltage shows 5V on the top and 0.9V on the bottom. We may be onto something here. I wonder if flex cable shorted something when it got pulled sideways…
Let’s try shorting the fuse with tweezer and rebooting the machine- and we now have a touchpad! Ok, now on to replacing the fuse. In the absence of schematic, my best guess it’s an 0603 size fuse with an “F” marked on the top. Quick Google search leads to a Bourns SF-0603F series, with 0.5A rating. This is at best a guess, but looks plausible. I don’t have that exact part handy, so whatever I can scrounge off my scrap boards pile will have to do. Luckily it’s not a high current application and I don’t plan on touching that cable again. Ideally you’d want to replace fuse with the one having identical rating- who knows what the upstream circuits are rated for- you want this one to go before something less accessible does.
Retested with both old and new touchpads and they both now work! Windows 10 reports the new pad as a Synaptics Pointing Device, with driver version 19.0.17.85:

Hardware is reported as :
Now all that’s left is carefully reassemble the machine.
Conclusion:
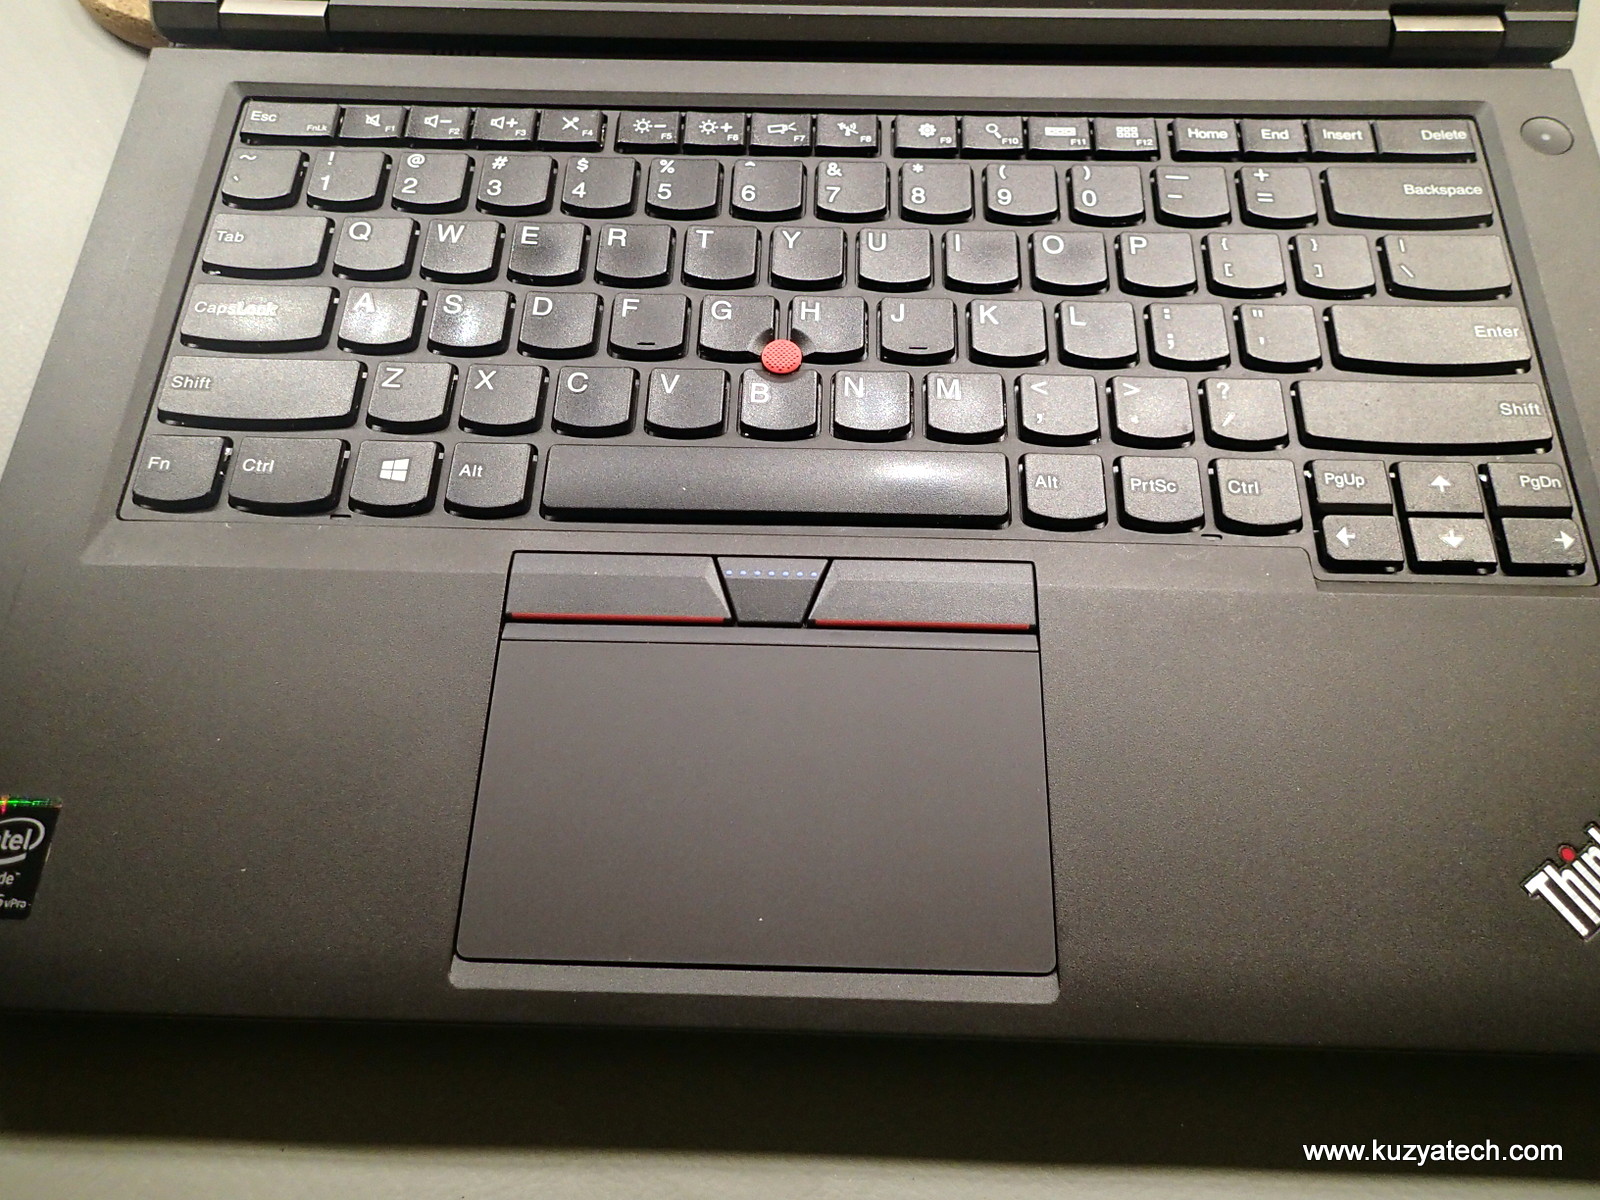
The transplant overall was a success- fit is good and all three buttons work. Just don’t repeat my mistakes.
Disclaimer: do this on your own risk, it’s way too easy to blow something up as this post is illustrating!
Resources:
- Lenovo T440P Hardware Maintenance Manual
- Ebay listing: Touchpad Trackpad w/ Three 3 Buttons Key For LENOVO T440 T440P T440S T540P T450
- Lenovo Forum discussion
- Bourns SF-0603F fuse (best guess)



It’s interesting they fit in the same space.. It’s also interesting you can get along with old T440p.. Isn’t it a little bit clunky for today’s standards? I would like to see how you work, how your desktop look like.. Why don’t you write a small post about that?
Yep, they fit and even have the same pinout. As far as clunky- this machine is in my lab, so the key is upgradability, reasonably modern hardware and ability to run various tools. And cheap too 🙂
After your post I checked out.. Interestingly used ones have reasonable price.. I’ll keep in mind when I need another laptop..
Hello. I think I blew the same fuse on my T440p. Here’s the problem:
-Keyboard’s backlight and trackpoint doesn’t work, only typing does
-At first only the mousepad on the touchpad was the only thing working (the right/left click buttons weren’t working), but then it completely stopped working
-System refuses to start with the touchpad installed, when it’s not installed it boots up fine
Should I solder SF-0603F050 as a new fuse onto the F15 fuse? I did not check with a voltmeter if it’s blown or not. The fingerprint reader still works though, if that’s helpful. Thanks